Its been a few weeks since I posted a status update. Its been busy recently, and I haven’t had a lot of weekend time to work on the car. Unfortunately as it gets colder the odds of me doing much work during the week drops because its fairly expensive to heat up the garage for an hour or two’s worth of work.
I’ve taken this week off and have been getting some work done, along with just relaxing and enjoying some time off from work.
I’ve been still working on wiring, although its been going very slowly. Its not particularly hard, its not particularly complicated but its not a whole lot of fun so getting motivated hasn’t been easy. I decided to assemble the dash yesterday, though, as I need to get the switches wired up fairly soon.
Assembling the dash was slow work, although fairly simple. The basic work was to spray adhesive onto the aluminum and the vinyl, adhere the vinyl cover to the aluminum, then cut out the openings to fit the gauges and switch panel.
It took about two hours of futzing around with it, most spent hunched over my dining room table, which is definitely not good for my back. I haven’t glued down the edges of the vinyl yet, but the main face of it is glued and the gauges are in. I haven’t installed the switches yet, as I couldn’t find my multimeter to verify that “on” was up on all of them. I’ll find it today and get the switches in and start building a switch harness for the dash.
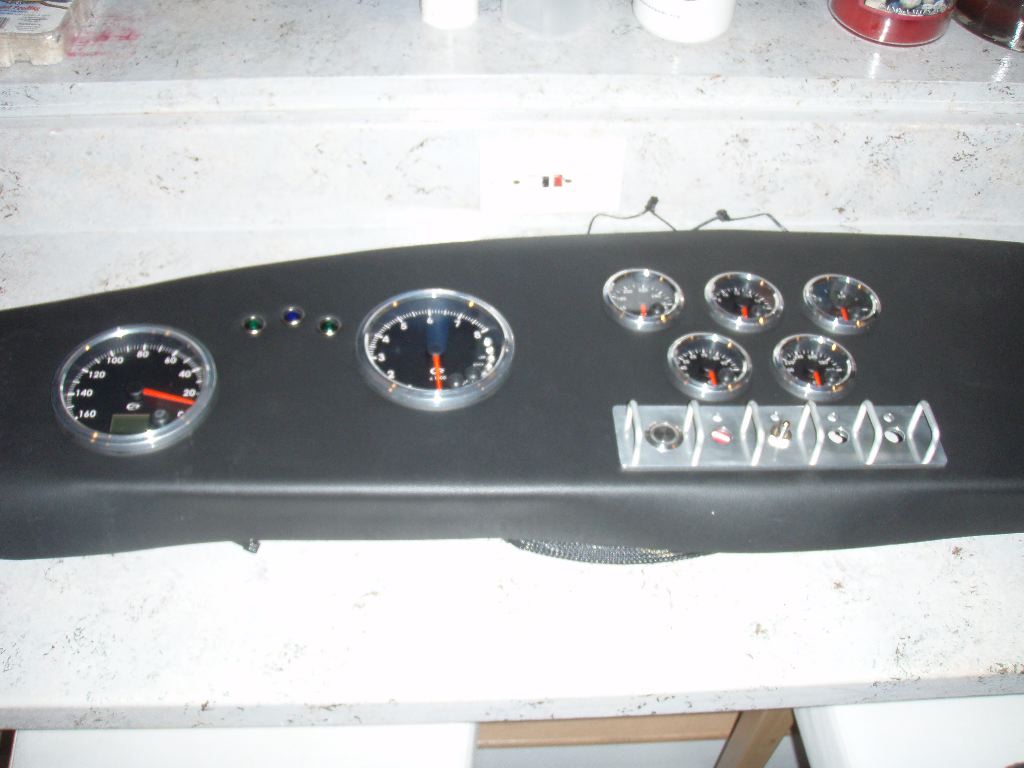
The dash assembled. There is one switch installed to verify I could install them correctly with the way I had decided to support the switch panel. The starter button is also installed.
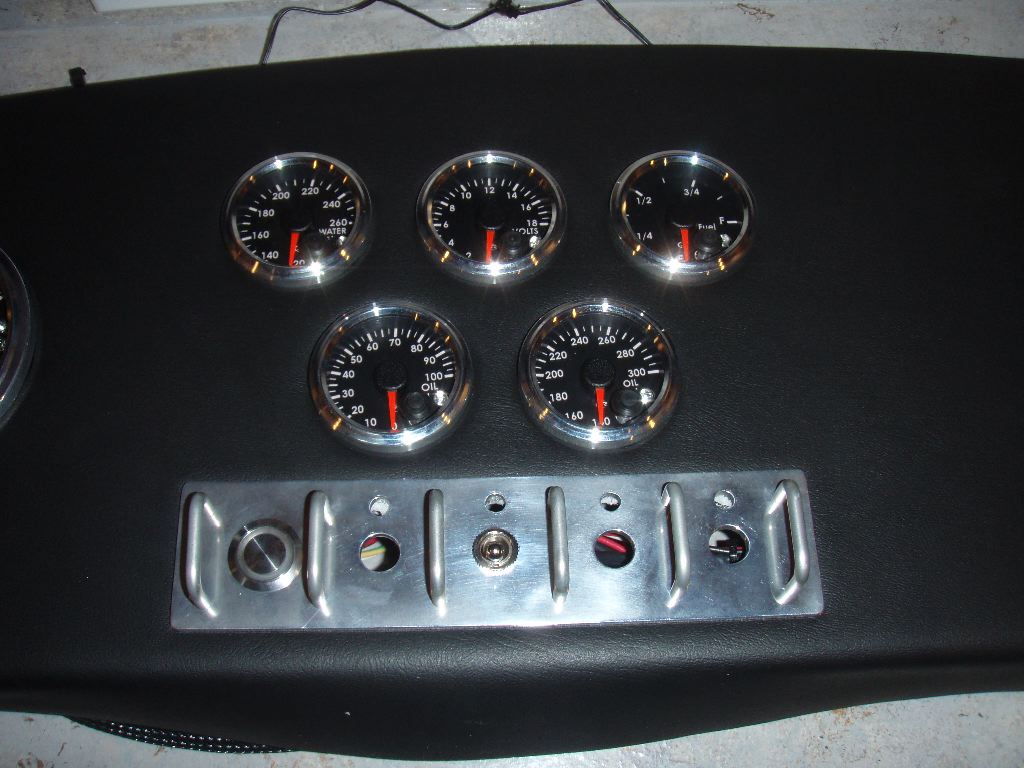
A closeup view of the switch panel and the smaller gauges.
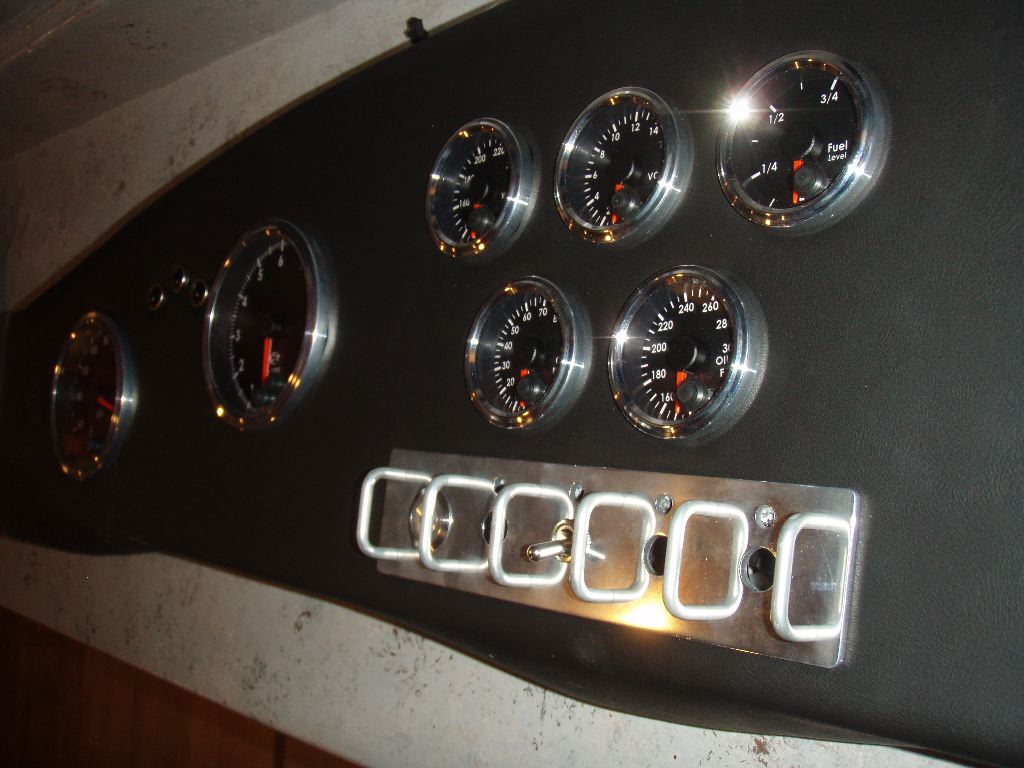
A view from the side showing the switch panel and gauges.
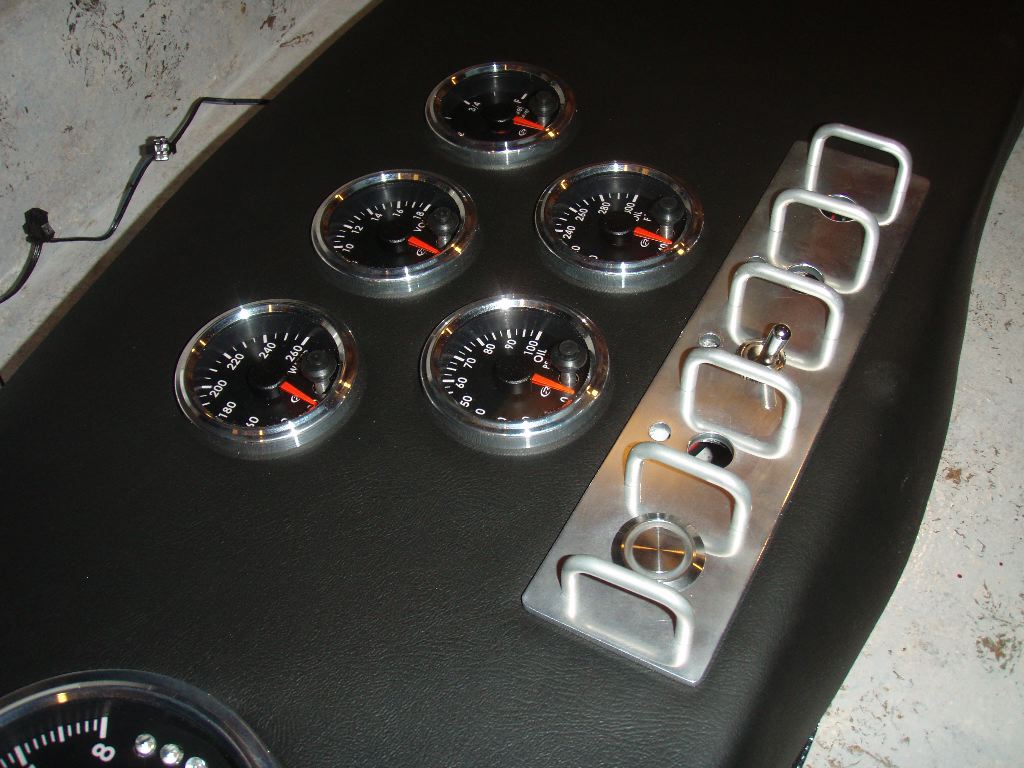
Another view.
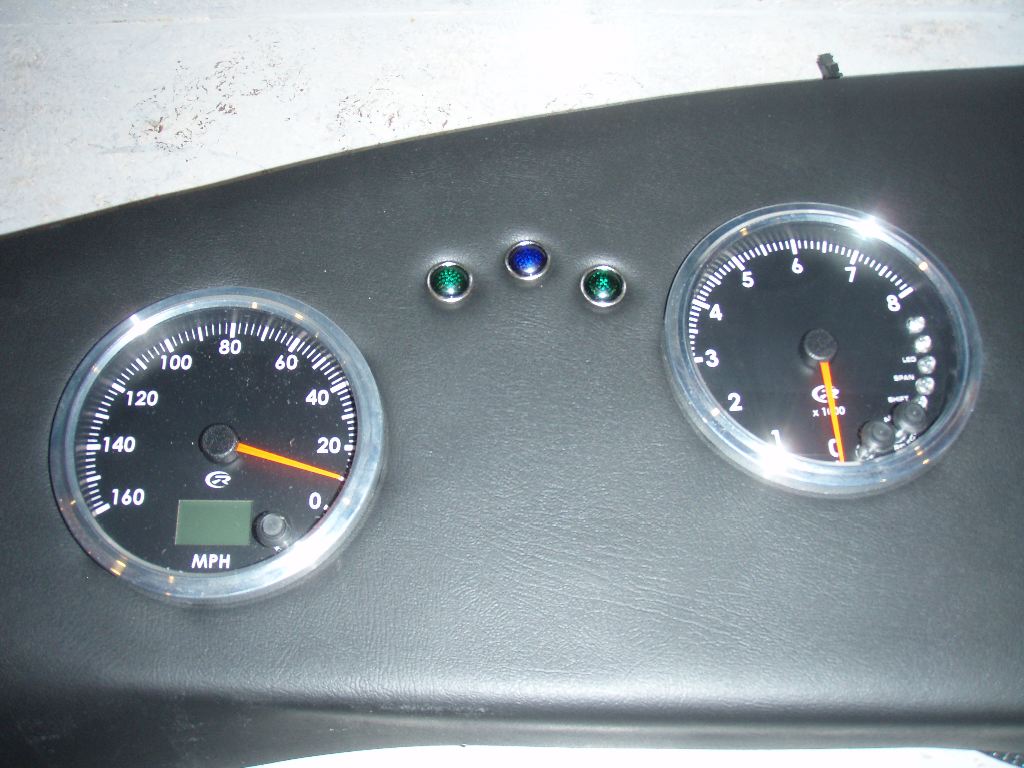
The speedometer and tachometer, along with the turn signal and high beam lights. These don’t have threaded bodies and are just friction fit in the dash. I have to figure out a good way to support them so they don’t work out, although a little zip-tie may be enough.
The vinyl is not glued around the edges, which is why it is peeling up a bit in the photos. I have to dig out my 3M trim adhesive today and get those glued down.
Earlier this week I also got the ECU and relay support mounted. I actually did this a week ago and never posted any updates, but I needed to get some nicer stainless hardware to mount them, so the screws looked okay in the firewall.
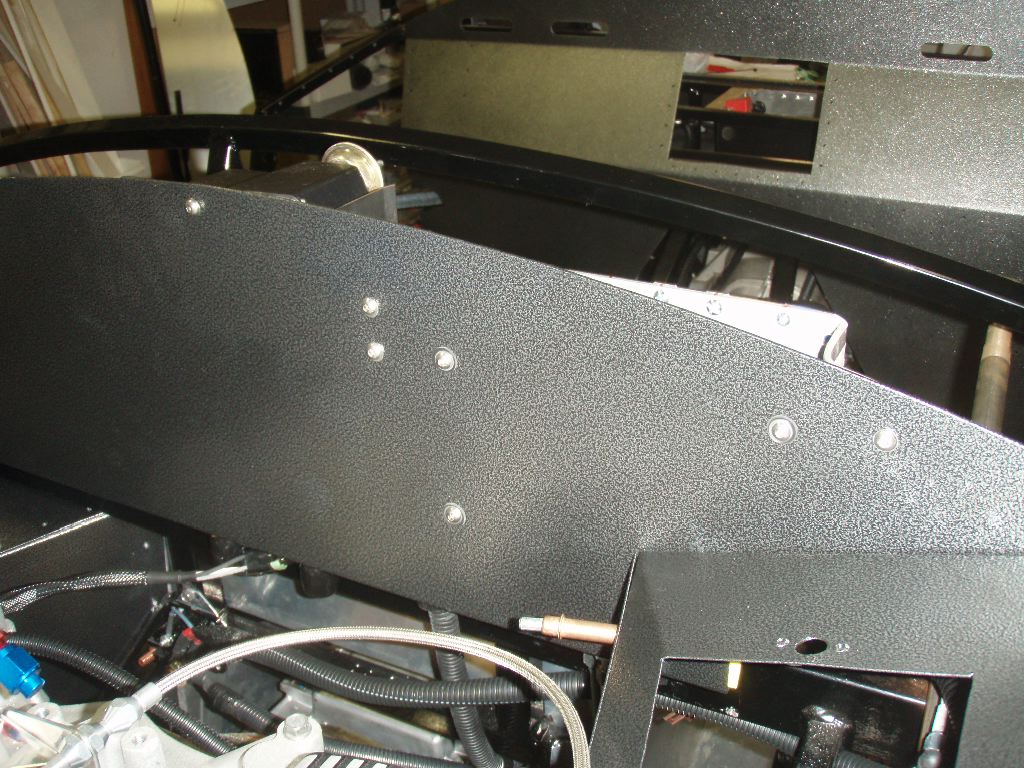
The screws show through the firewall. The ECU mounts using some rubber washers on either side of the firewall to cut back on vibration. The relay board and heater are directly mounted.
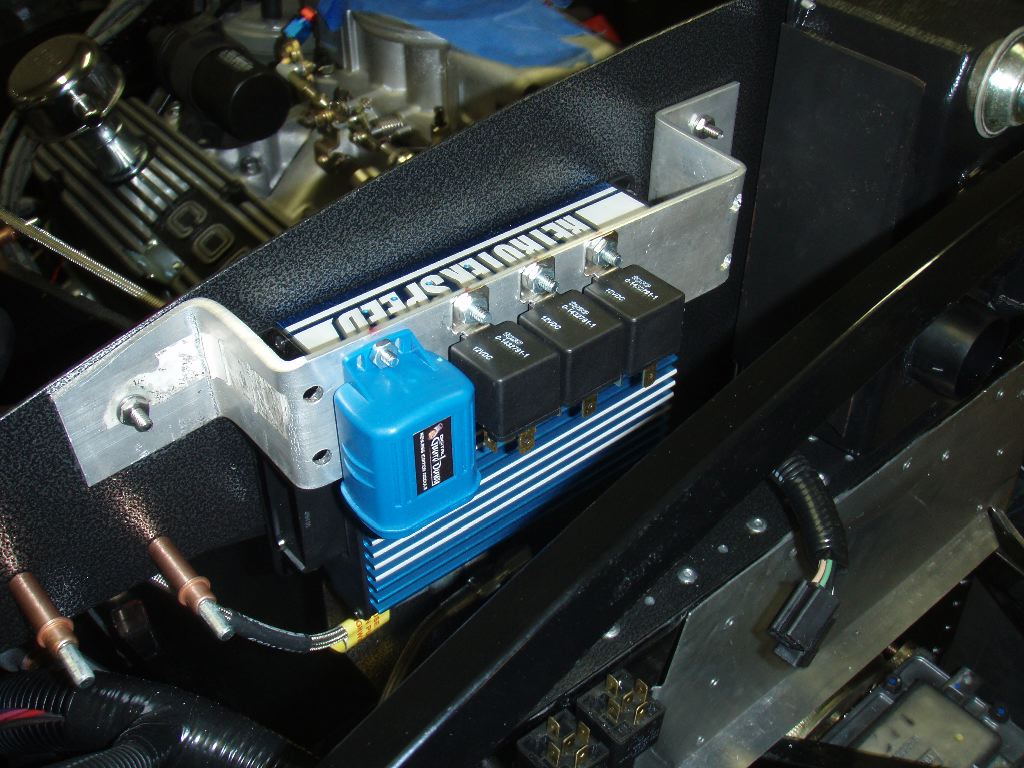
Thanks to the narrow electronic gauges and FFMetal firewall, there’s a lot of space behind the dash. The ECU mounts directly to the firewall, the relays and the starter module for the Digital Guard Dawg system mount to an aluminum bracket. The bracket was originally made to hold the brake fluid reservoirs, but I ended up side mounting them in the engine bay. Coincidentally it fit perfectly over the ECU and gave me a good and easy way to use more of the depth behind the dash.
Finally, after a bit of flailing, I got the replacement headers from Factory Five. These fit better, although I think I may need to do some customization of the transmission mount to swing the tail of the transmission sideways a half inch or so to get them to align better. The passenger side is still almost two inches forward of the drivers side, although they definitely fit “better”.
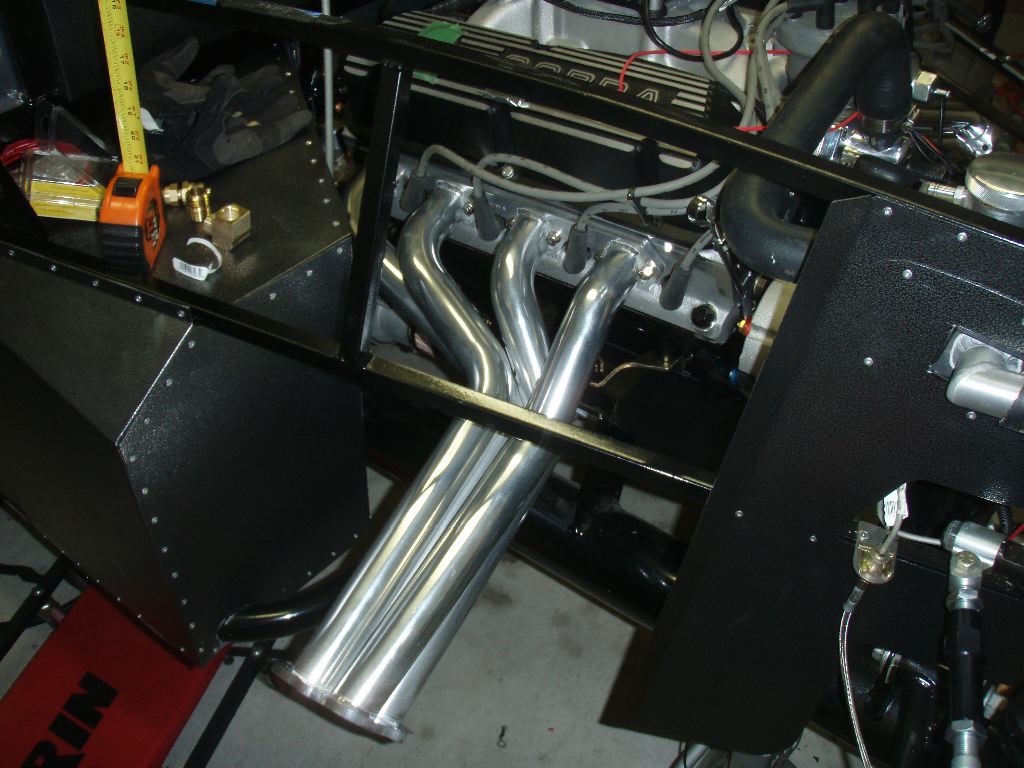
The passenger side header.
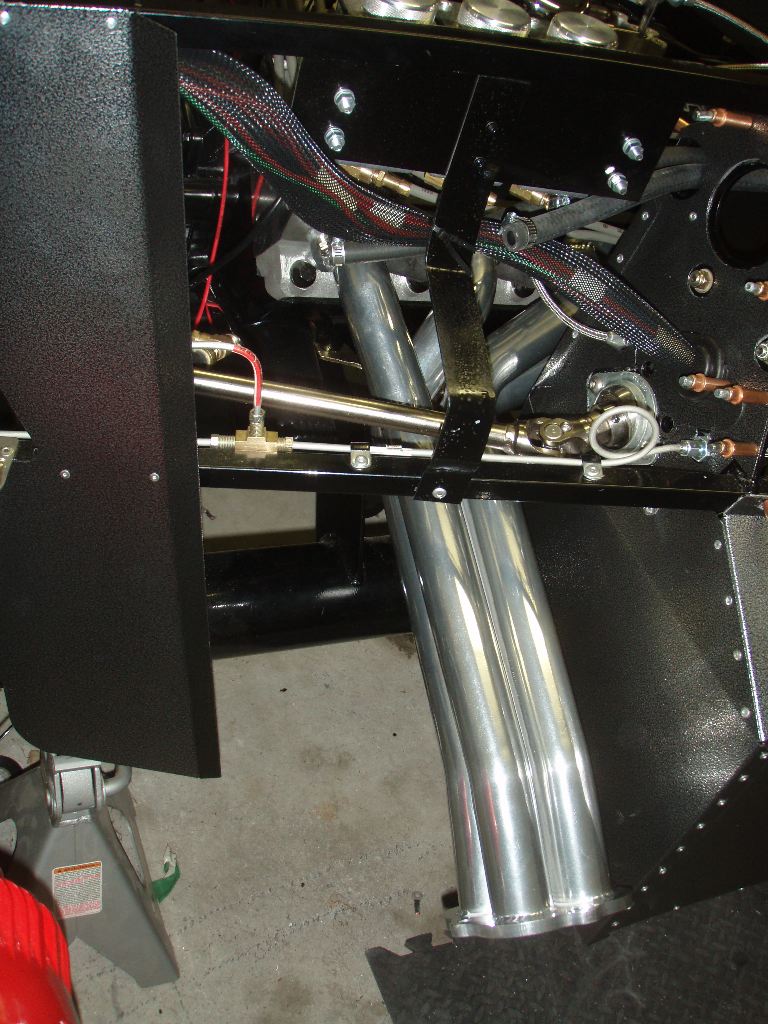
Driver’s side header.
Finally, I’m still flailing a bit with the heater plumbing. I’ve bought a couple different sets of parts to get the coolant out of the engine and to the heater core, and leaving a spot for the engine coolant temperature sensor. Breeze’s kit didn’t fit because of the specific intake manifold I’ve got — it hit the intake runner. I found a 90 degree fitting at an ACE Hardware store yesterday, and using the grinder I ground down the corners enough to be able to thread it into the block. Hopefully getting the line clear of the intake runner will allow me to fabricate the rest of the lines without interference.

The brass fitting, showing the ground down corners.
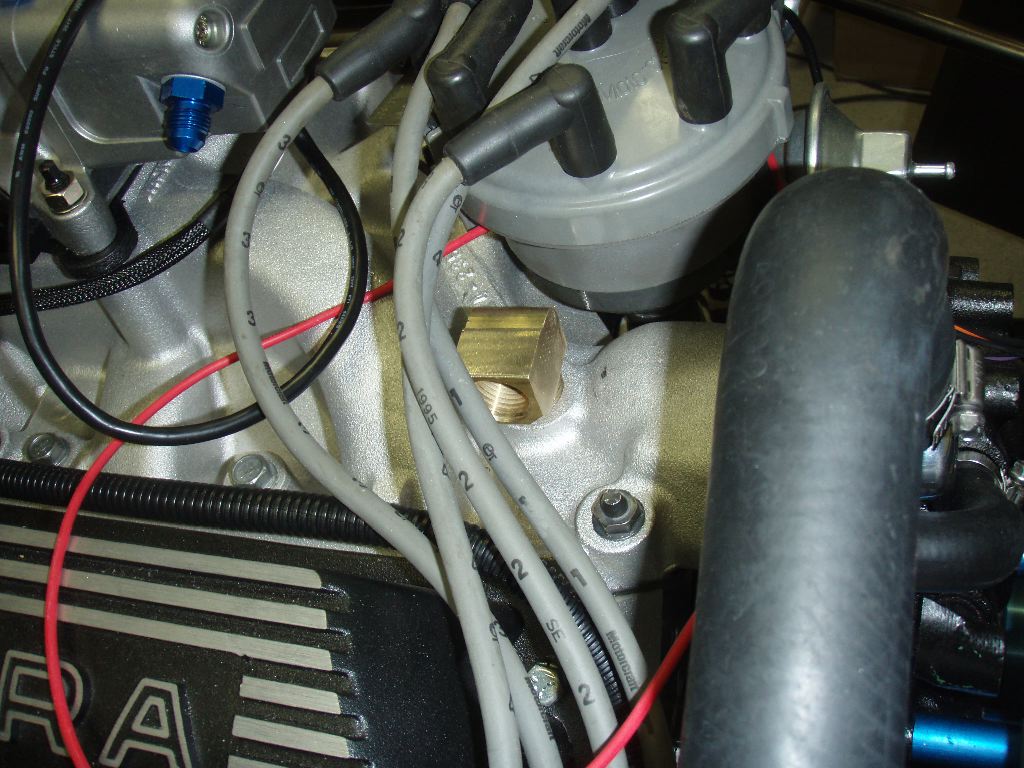
Installed in the intake.
I’ll be doing some more work today, and will hopefully get another update posted this weekend.