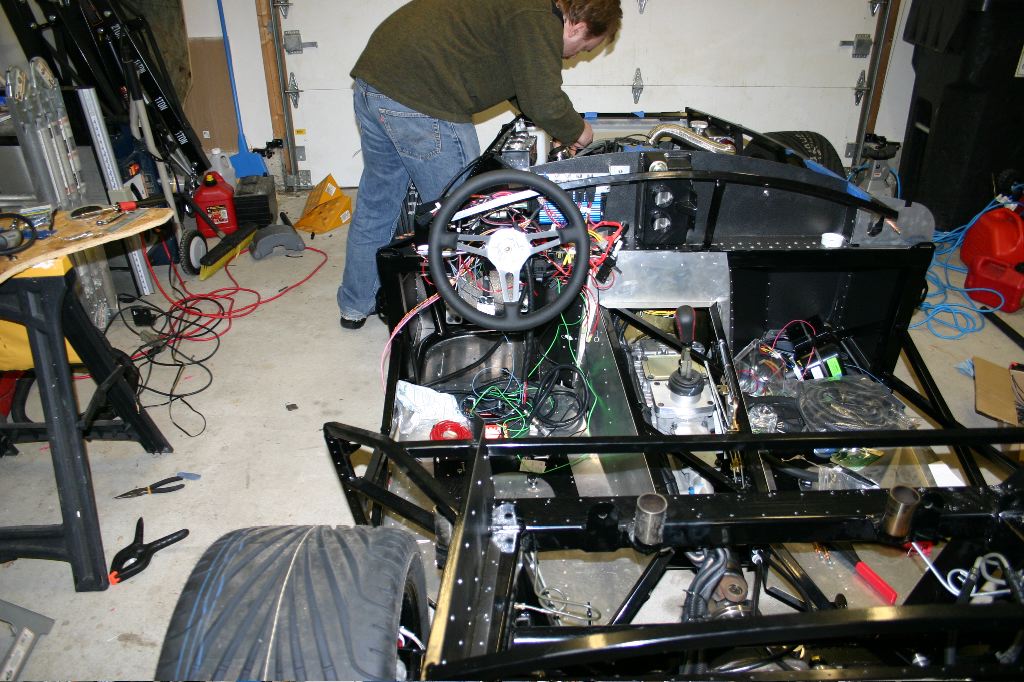
The plan yesterday had been to spend time focusing on wiring and getting more sheetmetal installed on the car. I ended up spending the entire day getting the suspension and steering adjusted. As I started the process I was hoping I could get the car aligned yesterday, but everything took longer than I was expecting.
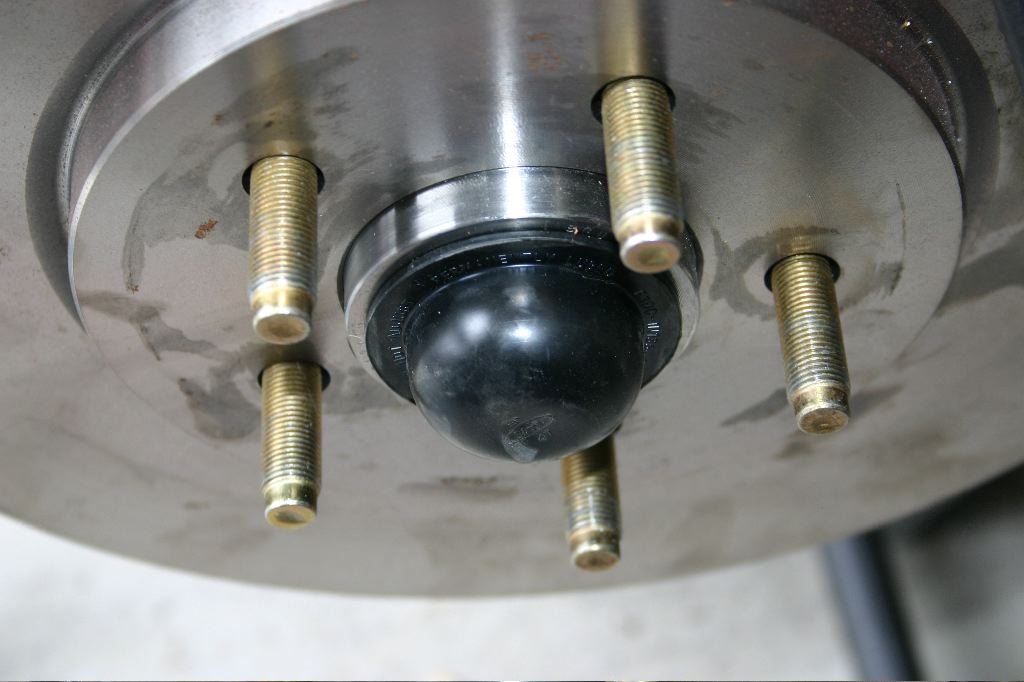
The first thing I did was put the dust shields over the front bearings. These just tapped in. My understanding is that at some point in the past these held grease under them to keep the bearings lubricated, but the bearings are sealed now and strictly speaking it may not have been necessary to install them, but I had the parts so on they went! There is no corresponding part for the rear end.
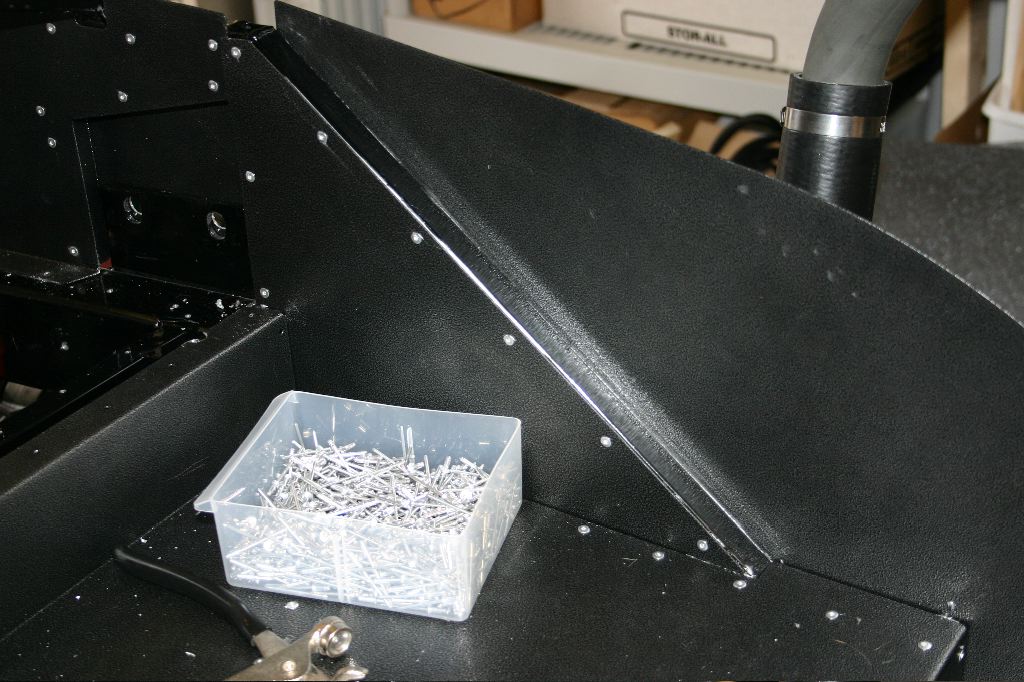
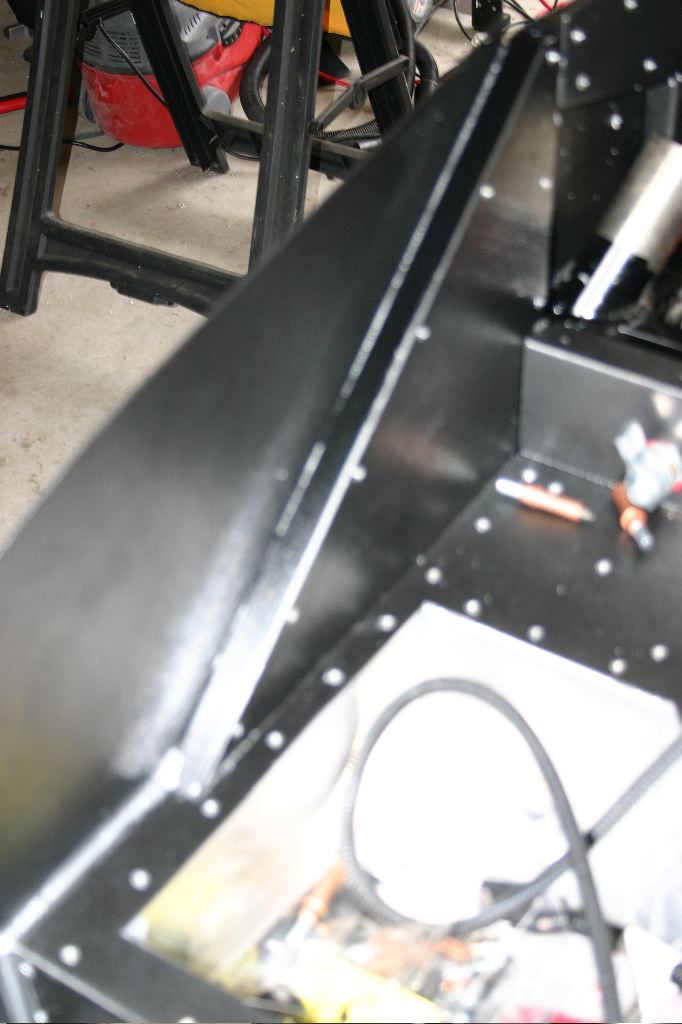
These are the two triangular panels in the trunk that caused me so much grief earlier in the week. For anyone reading this who is building one of these cars — put these panels on first.
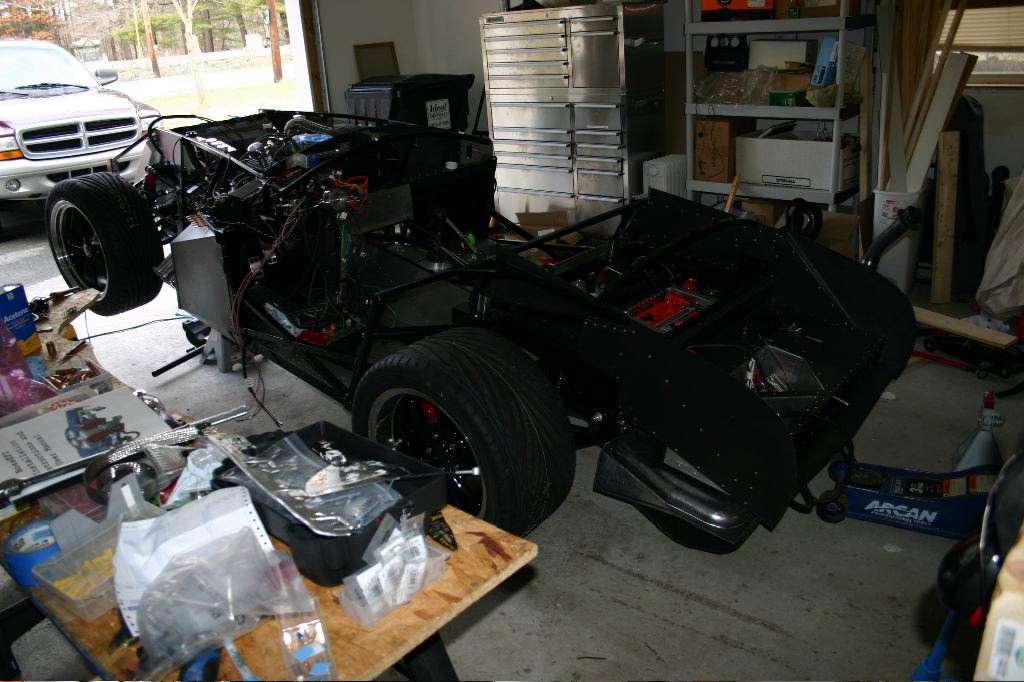
Once I had the dust shields installed, I got the wheels mounted back on the car and started to take the car off the jack stands. It dawned on me as I was doing this that I hadn’t taken the car off the jack stands in more than a year and not since I swapped the Bilstein suspension for the Koni one.
I discovered the hard way that the Koni coilovers were not adjusted correctly for the ride height as I let the front and down and discovered the front end of the car was lower than the jack was, so I couldn’t get the jack out. I also managed to get it stuck in the rear of the car as well, and had to use a smaller jack to lift enough weight off the rear end to get the jack out from under the car.
When I measured the ride height, the rear was near perfect at 4.5″ at the back of the 4″ tubes on the frame. The front, however, was far too low at barely 3″. It took a bunch of gyrations to figure out a way to get a jack back under the front end and get the front coilovers adjusted. (For those not familiar with suspension systems, the “shocks” on the front of the car have a threaded collar on them and by turning the platform the spring rests on, you can raise and lower the height of the car…)
I also discovered that, with more weight on the car, should’ve done it in two passes — lower the rear to the lowest setting on the jack stands, then lower the front to the lowest point on the jack stands, then take the rear off and then the front off. I had the car at a bit of an angle, which is really why I had problems with the jack in the rear of the car. The plastic shield under the gas tank was nearly on the ground.
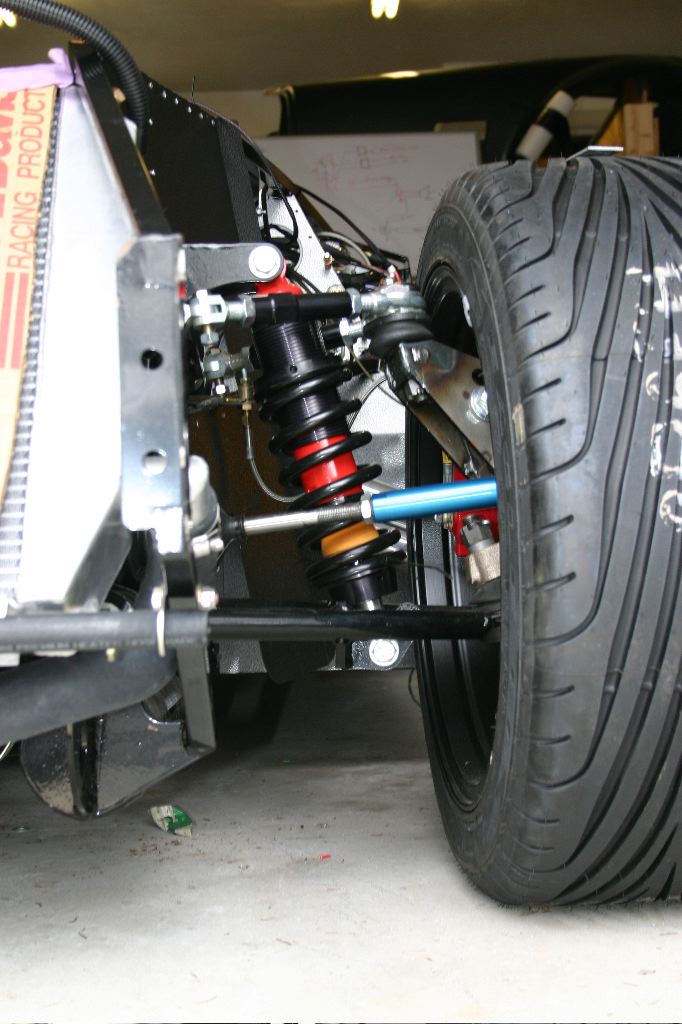
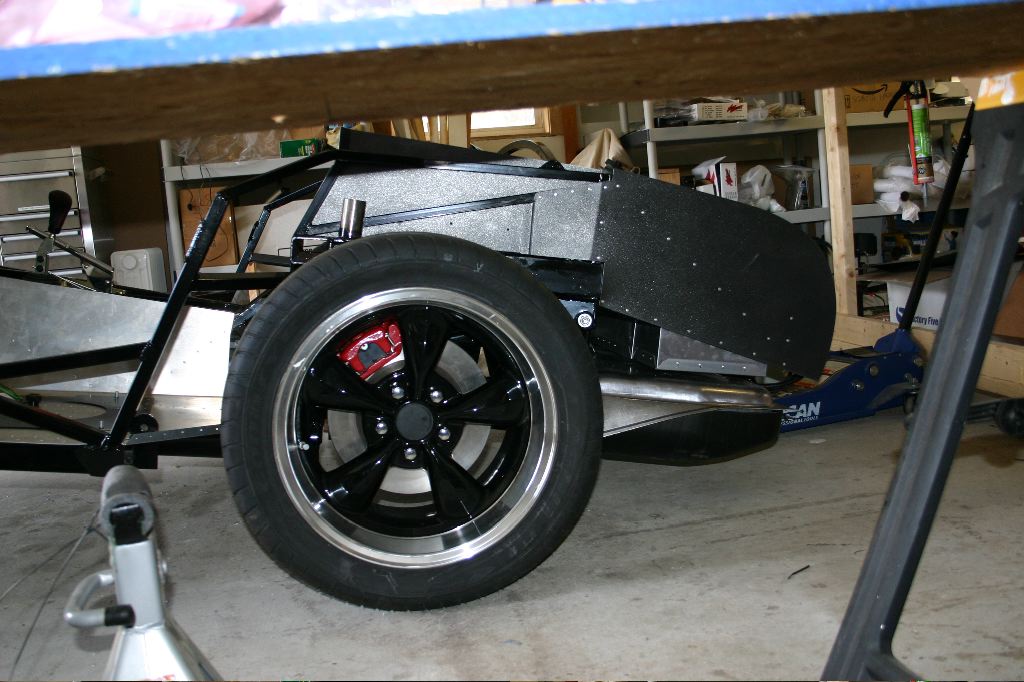
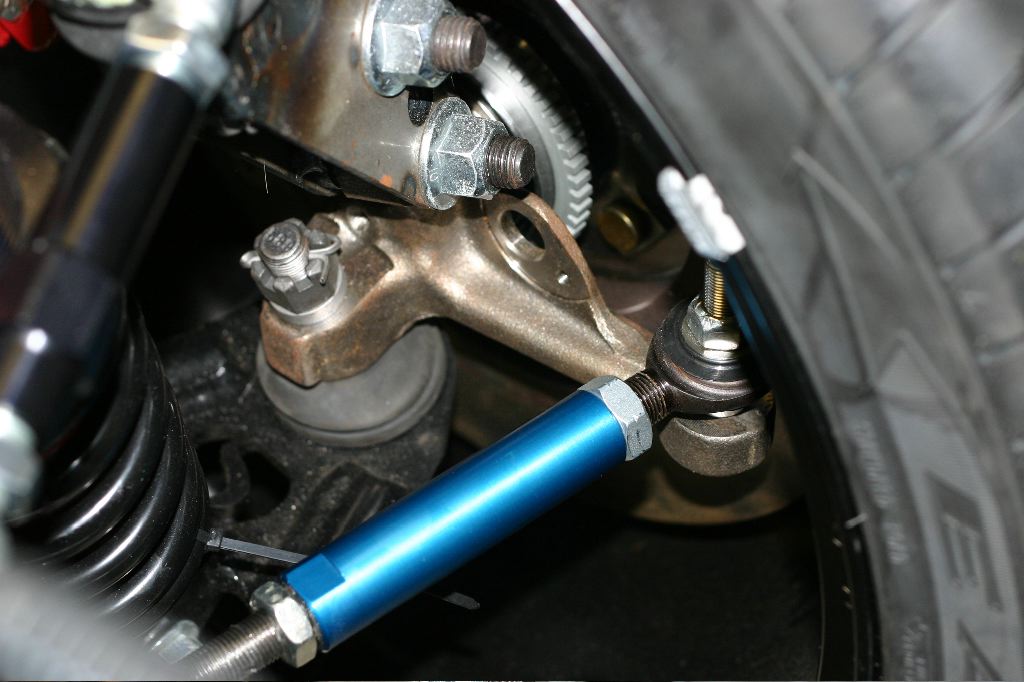
With the suspension adjusted, the lower control arms are basically level — exactly how you’d want them. Notice the tie rods on the steering rack in the photo above are not (the rod with the blue aluminum fitting on it). These should be as close to level as possible to avoid “bump steer” — the tendency for the car to pull one direction or another as it hits bumps in the road.
I realized I had not tightened any of the steering bolts. The steering rack was one of the first things I installed in the car two years ago, and I hadn’t tightened down the bolts on it. I decided rather than worrying about the wiring, I’d just get that all buttoned up.
That sounds a lot easier than it ended up being…
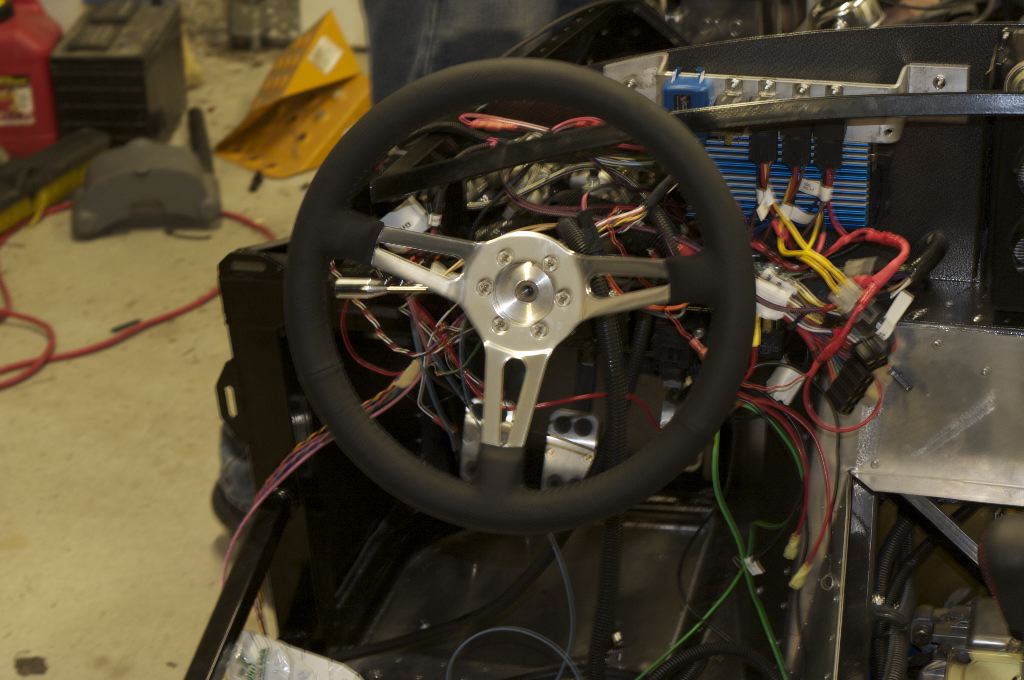
The first thing I had to do was mount the steering wheel. Without it on the car, I couldn’t turn the rack easily enough to find the center of it. Centering the rack means, basically, turning the steering wheel as far as it will go one direction, then counting the turns to go as far as it will go the other direction. You divide that in half and turn it back that amount so in theory you have the rack centered. Then you can adjust your steering wheel to be straight up at that point, and align everything from there.
That also was easier said than done. The steering column largely doesn’t have any opportunities to adjust it. Most steering columns have a splined fitting where the steering wheel installs, and this one doesn’t. I spent several hours adjusting the offset bushings on the rack to get the rack positioned correctly, and screwing around with the steering column to try to get the wheel oriented correctly. At one point I’d disassembled it entirely hoping I could reassemble it in a better orientation.
As it turned out, I couldn’t, so it was a matter of centering the rack and then picking “center” as the point where the wheel was straight up closest to the point the rack was really centered. In theory this means I can turn the wheel farther one direction than the other, but in practice I think the tires will rub before I can turn it all the way anyway, so I doubt it’ll be noticeable.
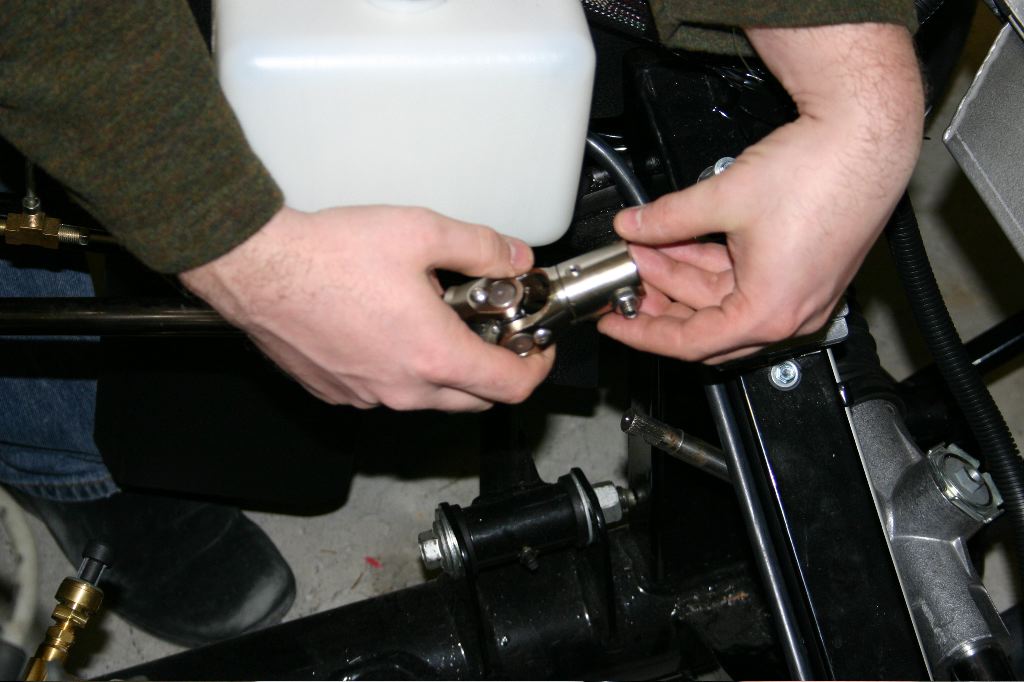
I also realized after doing all of that adjustment that I really needed to center the rack with the tie rods disconnected. In hind sight this is obvious to me, but without them disconnected, its entirely possible the two and a half turns I had out of the wheel wasn’t the full range… which it wasn’t. So I had to do all of the adjustments again.
I did eventually get everything buttoned up, but at that point I’d already spent five hours on it. I ended up mounting the steering rack as high as I possibly could, and mounted the tie rods from above. Normally on a Mustang they’re mounted from below, but this gave me the best geometry to work with.
I spent a while online trying to figure out how to best do the alignment on the car. I’d done one on my 911 before, but in that case it was easier because I had the rear wheels to align the front against. The rear suspension (at least the toe-in) in most cars isn’t adjustable — the factory designed and installed it aligned correctly already. That means you can measure a parallel line off the rear wheels and align the fronts to that line.
Unfortunately the rear end is what I have to adjust. There are ways to do it — establishing a frame off the rear and front of the car with strings a fixed distance from the center line of the car, then aligning all four wheels to that string, but they are time consuming. I may attempt to do it that way today.
Adjusting camber is more complicated. Camber is the angle that the wheels tilt inwards or outwards from the car along the vertical axis. Generally a DIY alignment is done using a tool like the Fastrax, which is basically a frame that mounts to the wheel with a long bubble level coming straight out from the wheel so you can measure the tilt of the wheel. I don’t have a Fastrax, but I did have an idea how to build a tool that would work.
During the last bit of time I worked on the car yesterday I decided to fabricate an alignment tool.
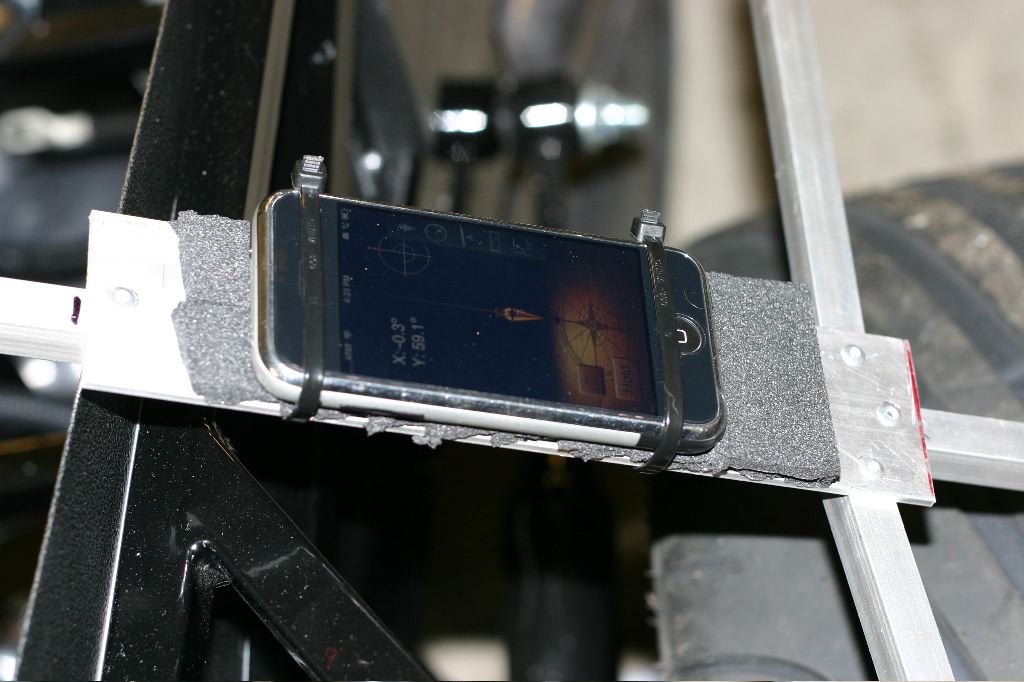
My cell phone is an Apple iPhone — which among all the things it can do happens to have a set of very precise three-axis accelerometers in it. Some clever people have used them to do things like write software to measure the acceleration of a car to calculate horsepower and 0-60 times and the like.

Another interesting use of them is as a level. There are a few free iPhone applications that put a nice bubble level on your screen and you can use the phone to measure level. Of course the phone actually has a three-axis accelerometer so it can measure orientation in any direction, not just acceleration in general.
One app, Carpenter, provides not just a level, but a surface level and a plumb bob. The plumb bob can measure the tilt of the phone accurately to a tenth of a degree as if a plumb bob was hanging from the top of the phone. I bought the application for $1.99. I figured if I made a frame to reliably align the phone to the face of the wheel the app could tell me not just the camber of the wheels but the caster in the front-end.
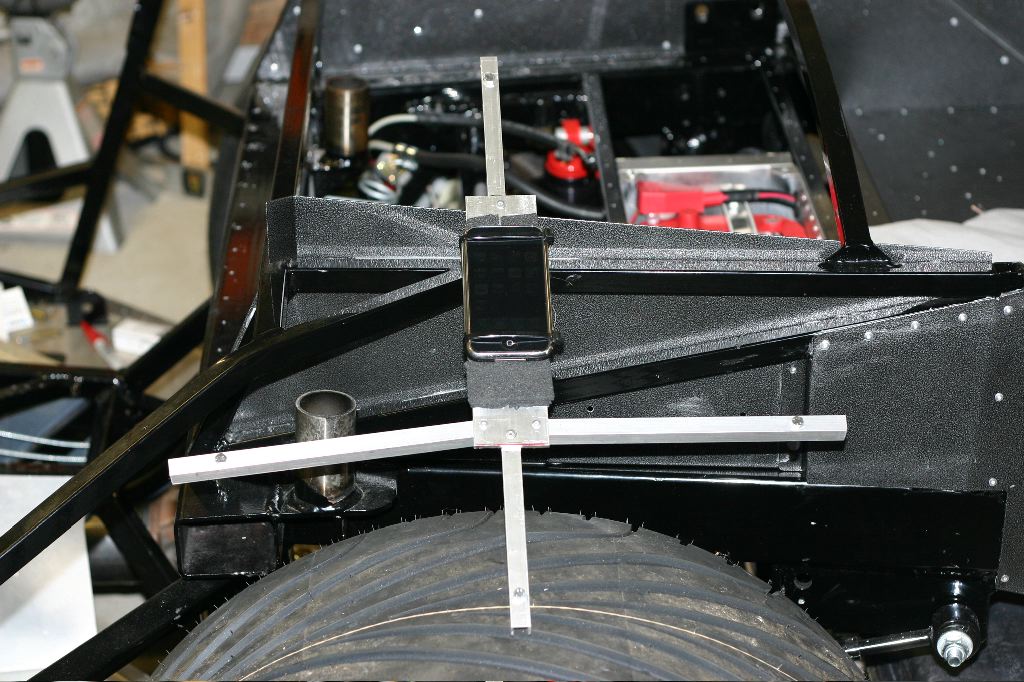
To make a mount for the phone, I took some lengths of aluminum U-shaped stock. A vertical axis was cut to be about 19″ long, and I drilled and tapped holes at either end to put a small bolt through. The bolt has a rubber nub on it to keep from scratching. I took some scrap aluminum stock from the “oops” pieces I made the switch panel from, and I riveted it to the center of the vertical stock. Some closed-cell foam tape keeps it from scratching the phone.
Two zip ties hold the phone secure, and a second layer of foam tape keeps it from slipping out. I then made two side arms to steady the frame on the wheel. The rivet holding it isn’t as secure as I’d like, so I will get a couple angle brackets to hold them more securely today.
In some quick testing, it accurately measured the camber of the wheels on the car over multiple repeatable tests. The Fastrax has clips on it to hold it to the wheel — I’m going to try to just use a few small bungie cords to do it.
Based on its readings the rear wheels are about 3/4 of a degree off, tilted outwards. I need to get more weight on the car and check them — 200-300lbs more weight may get them just right, in which case I just need to adjust the toe in the rear.
So that’s the plan for today — try to do an alignment on the car. If I get lost in the weeds, so to say, I’ll take a break from it and work on the dash wiring.
I also heard back about my side pipes — they unfortunately won’t be here for a week and a half.