I’m a little late posting an update — Friday and Saturday ended up being hectic days outside of working on the car, and it usually takes me a half hour or an hour to sit down and write one of these updates and go through the photos. I did want to get an update posted today about how the build week ended up. (I should also mention, speaking of going through the photos, that all the photos I take do get posted to this site but only a small portion of them end up featured in a post — the gallery link on the right side of the page will bring you into the full gallery.)
I got two more days of work done on the car, although both Friday and Saturday ended up a good bit less productive than the rest of the week. I’d been eight days on the car, so that doesn’t really bother me. I spent a bunch of time going to local stores for some parts I needed to get things wrapped up. The devil is in the details, and it turns out there was as lot of details I had to work though.
Friday was spent predominantly finish up the dashboard wiring. I still had some details in the lighting wiring to work though, as I hadn’t gotten some of the power feeds wired up so the switches looked like they worked but were toggling relays that had no power. The battery was dead in the camera on Friday so I didn’t get much in the way of photos, although there’s very little to see.
I got some help during the day with testing some of the wiring, though, and I got all the various circuits going to the lights tested. Originally I was going to get the body into the car and install the lights during the build week, but I re-prioritized things ahead of doing the body, and as such I did my tests with a multimeter. I did, however, hook up the HIDs to the ballasts and verified they were still working. (Its been a few years since I removed my HID lights from my old 911 and they’ve been sitting on a shelf since then.)

Part of getting the wiring buttoned up was getting all the ECU wiring more neatly bundled together and getting it run through the Seals-It grommet in the front of the footbox. Installing the grommet was a nightmare — definitely something I should’ve done early in the build. With everything installed in the footbox it was impossible to install from the inside, so I had to rivet it on the outside. It doesn’t look as nice, but it works well enough. A small hole is cut in it and wires squeezed through. Unfortunately the connector on the ignition harness that goes to the TFI distributor is very big so I had to cut the opening bigger than I would’ve liked.

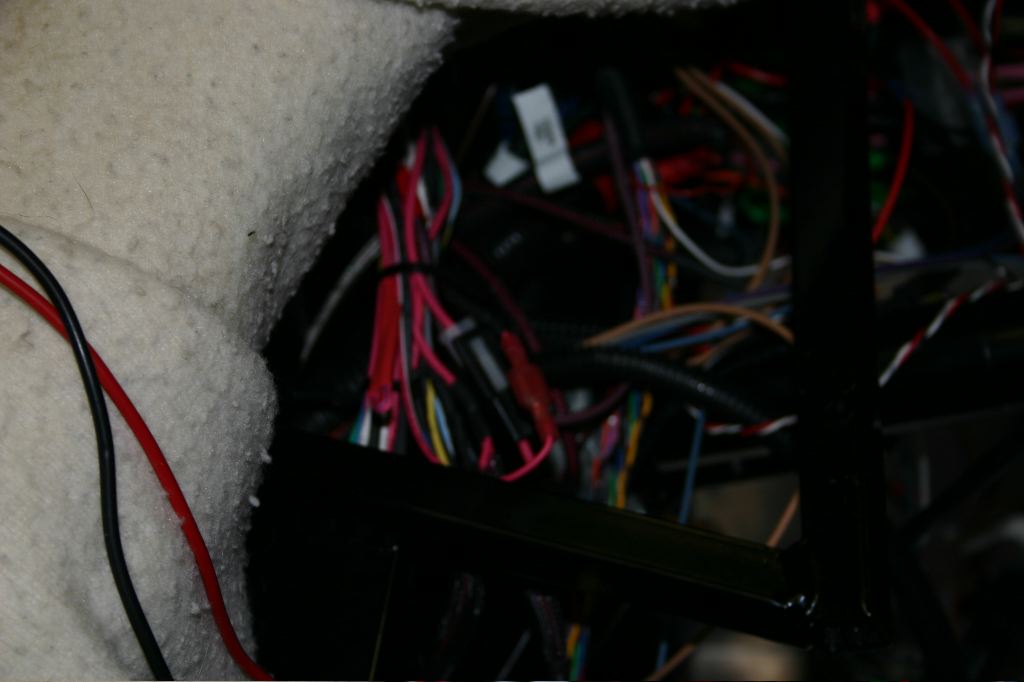
I tried to neaten up the wires around the engine, but its a LOT of wires and it is still a big mess. I may use some split loom to tidy it up, but I may just bundle things with zip-ties. Once I’ve gotten the motor started I’ll do that.
I blew almost two hours driving around looking for parts, which got me into the mid-afternoon. I had to run into Boston at 4-5, so I had limited time to do much else. I wanted to be able to plug my laptop into the Powerjection ECU to ensure that was all working, and doing so meant getting a ground strap on the engine. I figured that would be a quick and easy way to wrap up Friday.

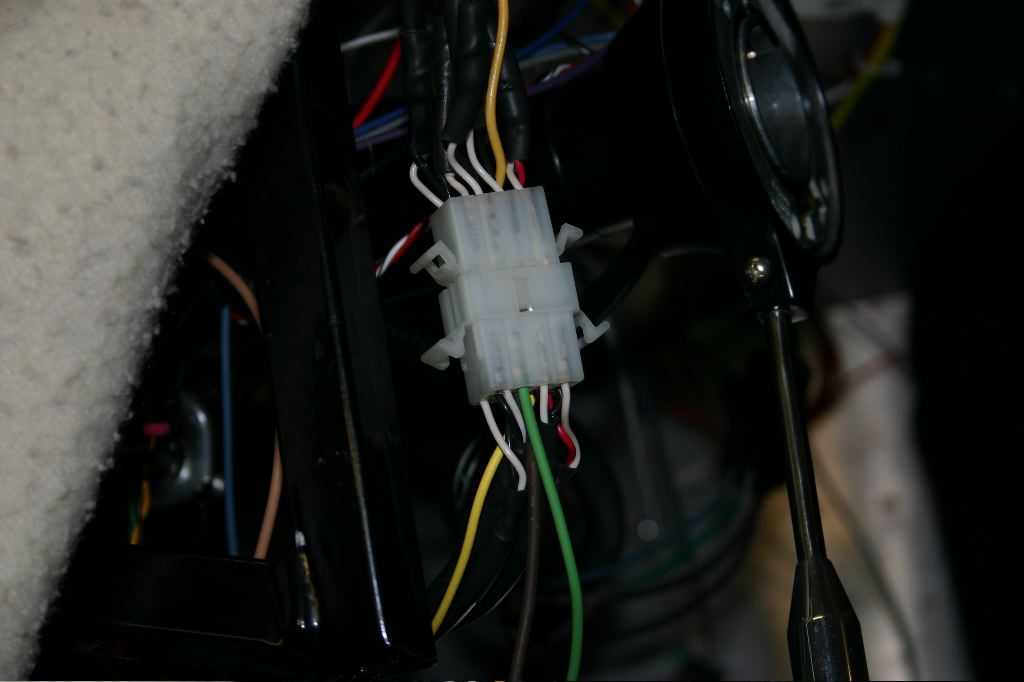
Before doing that, however, I redid the fan controller wiring in the front of the car. Originally there was a relay near the fan which was switched via the temperature controller in the de-gas tank, but I decided instead I’d use two spare wires in the front harness to wire the temperature controller to the stock Ron Francis circuits, which already had a relay in the fuse panel. It only took a few minutes to do, although I still have to add a 12v feed to the circuit to turn on the fan relay. I hot-wired it, though, and the fan did some on, so I know that circuit works as well.
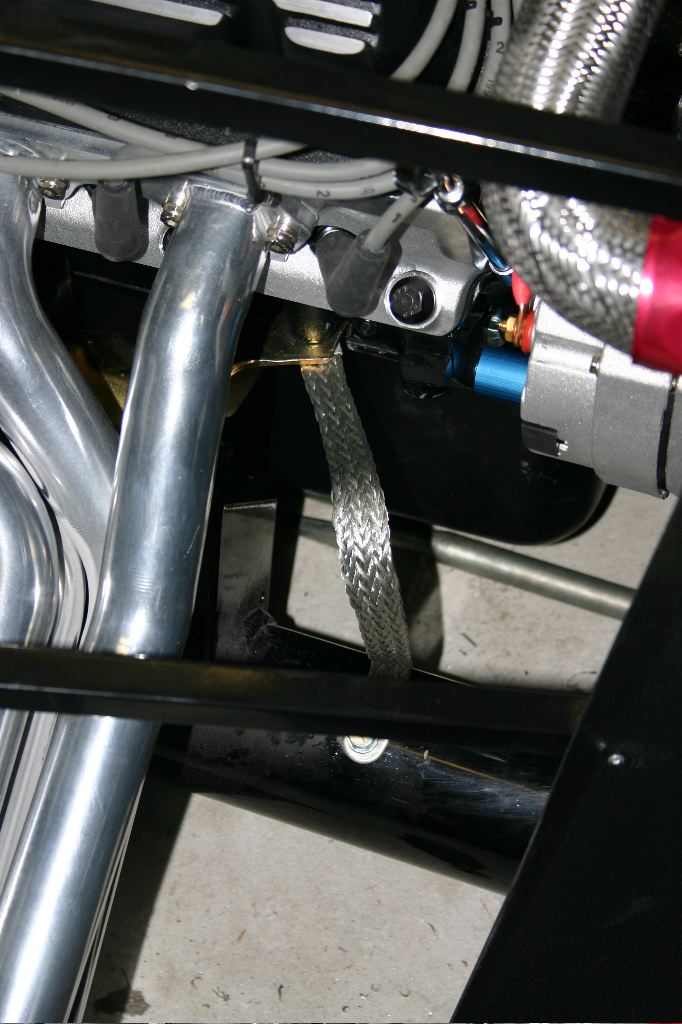
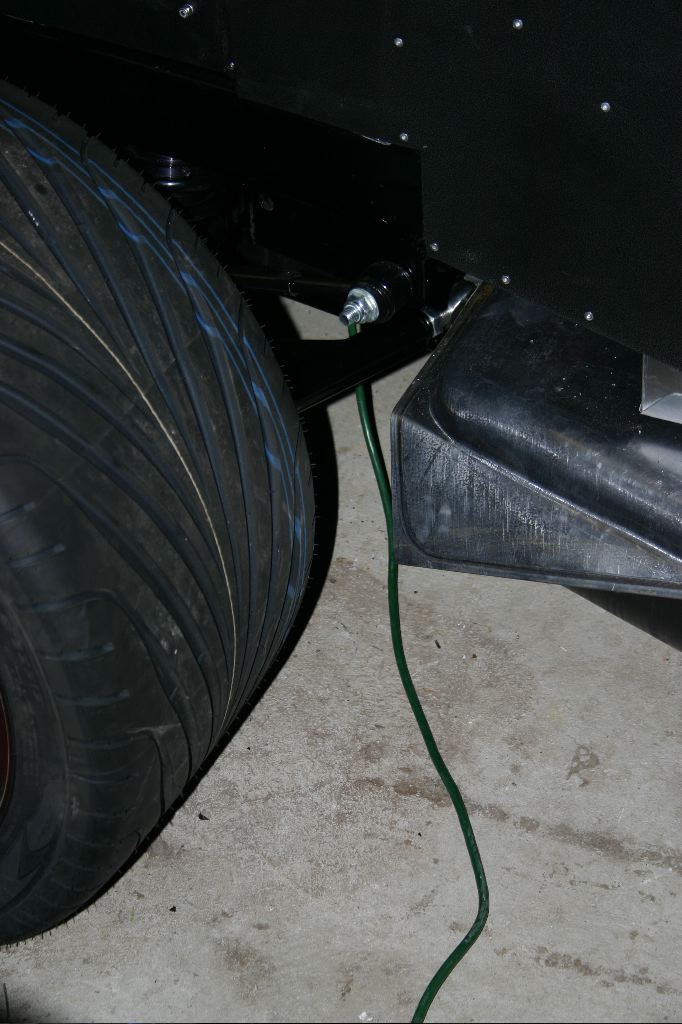
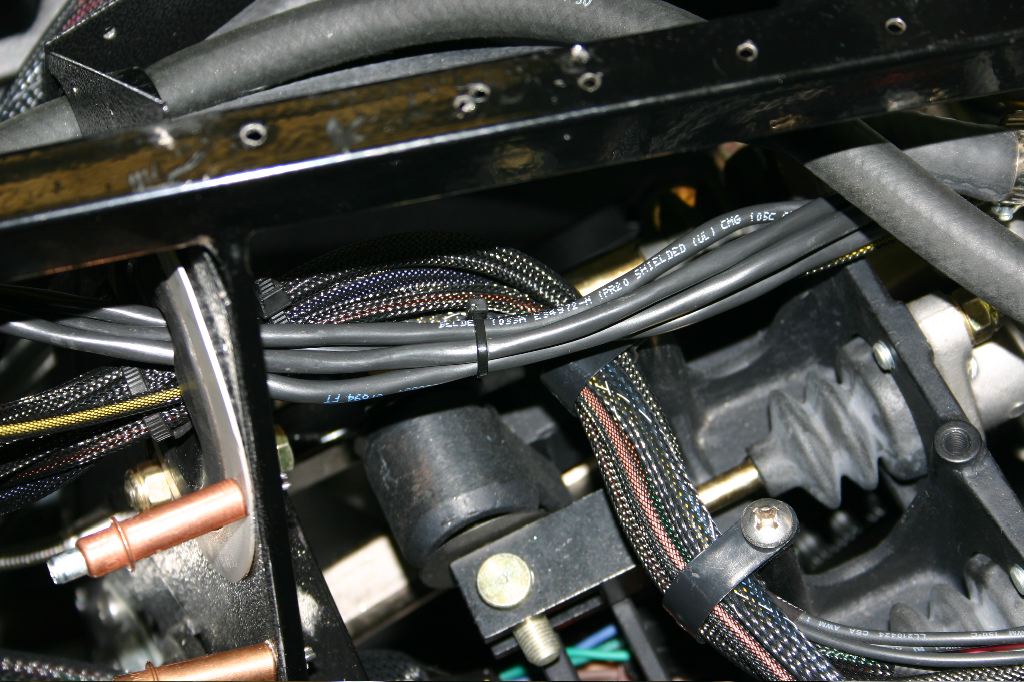
After spending some time poking around the engine block, I decided the best thing I could do was use one of the engine mount bolts to get the ground strap installed on the engine. The photo above shows the ground strap between the engine mount bolt and the chassis.
Some of you reading this may be thinking “But George, if you unbolt one of the mounts, won’t the weight of the engine cause it to shift and keep you from getting the bolt back in?” If you are, you’re smarter than I am. As soon as the bolt came out, the mount shifted slightly, maybe an eighth of an inch, and it was impossible to get the bolt back in.
This little crisis happened at around 4:00 on Friday, when I really needed to leave to head into Boston. After realizing my mistake I thought it was a bad idea to leave it that way overnight, as I didn’t know if the engine weight might actually bend the mount. I spent about a half hour struggling with it, trying to work out a solution that didn’t involve too much work. I posted a question about it online, and the consensus was that I needed to do what I was trying to avoid doing — lift the engine up with the engine hoist, and reposition the mount.
I haven’t used my hoist since I put the engine in over a year ago, and there was a lot of stuff in front of it. Thankfully it was sunny and warm outside, so I was able to get it out, open it up and position it enough to get a single chain into a bolt on the passenger side head. I didn’t need to lift the engine, I just needed to get the weight off that mount.
Once that was done, it was easy enough to loosen the bolts to the block and the bolt to the chassis and get it all positioned correctly again. It was a stupid mistake, although at least one person responded online saying they did the exact same thing with the exact same bolt for the exact same reason. Once it was all bolted back up I put the hoist away and took off for Boston. I didn’t finish bolting up the grounding strap until Saturday. Doing so involved grinding off the powdercoating, and drilling and tapping a hole for a 3/8″ bolt.
Saturday morning I started off fairly early working on the car. The first thing I did was get the ground strap taken care of. I figured at that point I’d be able to get the Powerjection Dashboard software on my laptop and see if I could connect to the ECU.
I also had to hook back up the dash. I’d taken it off on Friday when I was bundling up the wires, but now that the Digital Guard Dawg is fully hooked up, without the button on the dash I can’t turn on power to the car. I should’ve bought a second molex connector to wire up to that spare button I had been using, but I didn’t think of it until just at this very moment.
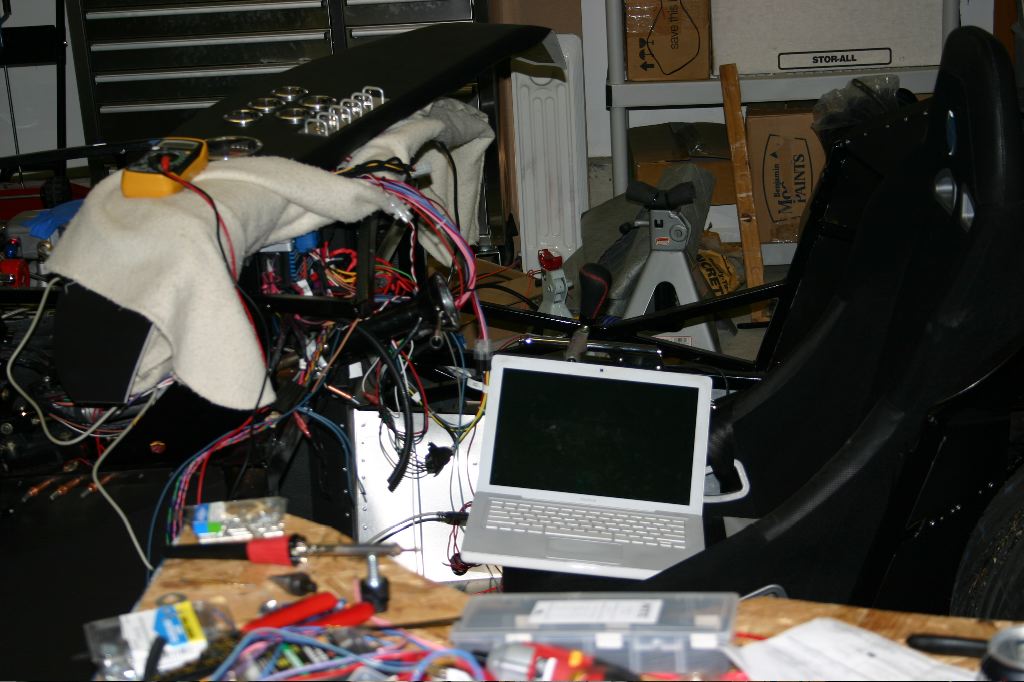
The ECU has a USB connection on it. I have a small USB extension cable which extends the port to a small panel under the dash to make it easy to access. Once I plugged the USB cable in the PC recognized the USB device, but I couldn’t get the Dashboard software to see the ECU. I spent fifteen or twenty minutes trying to diagnose the problem, and made a guess eventually that the ECU must not actually have power because when the car came on the fuel pressure on the pressure gauge in the engine bay didn’t shoot up to 45psi.
It turns out there are two 12v power sources for the ECU — +12V A, and +12V B. A is a required power source, B is only used in some limited cases. It turns out that Retrotek had mixed up the labels on the two wires and I had B hooked up. Thankfully I had a one-gang Delphi connector on the power feed to the ECU so I just had to add another one to the “B” connection (which was really A) and plug it in.
Once the ECU had power, the Dashboard saw it and came right up. Most of the sensors aren’t doing anything, but the first thing I noticed was the coolant temperature was at 110 degrees. That was strange since the garage was 60 degrees. It turned out I had the connector wired up to the sensor for the dash gauge, and the two are not compatible with each other. When I swapped the cables, it said 58 degrees. The ECU also immediately brought the fuel pressure up and then shut the fuel pump off. Its pressure sensor says I’ve got 42psi, so the mechanical gauge may be a little off — I’ll adjust it next week to get pressure up to 45psi as far as the ECU is concerned.
I finally dug out an extension cord and plugged the battery tender in. The electrical work I was doing wasn’t drawing a lot of power, but I wanted to ensure the battery stayed healthy.
After I got the ECU running, I ran out to pick up some more parts. I wanted to get a different foot switch for the headlight dimmer, and I needed to get some vacuum hose for the MAP sensor as well as exchange the 1/4″ oil priming tool I borrowed from Autozone for the correct 5/16th inch one.
After lunch I decided to get the dash sensors all wired up. This was more about figuring out where I needed to run wires than anything else — the actual wiring up to the connector took maybe a half hour. I wanted to get the distributor switched out, and if I was going to do that I wanted to prime the oil again (since it had been sitting a year and a half), and I was going to do that I needed to have the oil pressure gauge working so I could see what the pressure was at.
The dash sensor harness was bundled up and run in the footbox. I couldn’t wrap it to the ide of the Wilwood frame the way I did with the ECU wiring because a couple of the wires were too short. I’ll zip-tie them between the two brake ones which will keep them out of the way. This wrapped up the footbox work, so I’ll probably get those panels riveted on fairly soon.
I didn’t get any photos of the process, but I removed the Mastercraft distributor after noting where the rotor was pointing and the position of the spark plugs. Using the oil priming tool, I spun the oil pump with the car powered up. The oil pressure immediately came up to 60-70psi on the gauge, which suggested I didn’t really need to prime it.
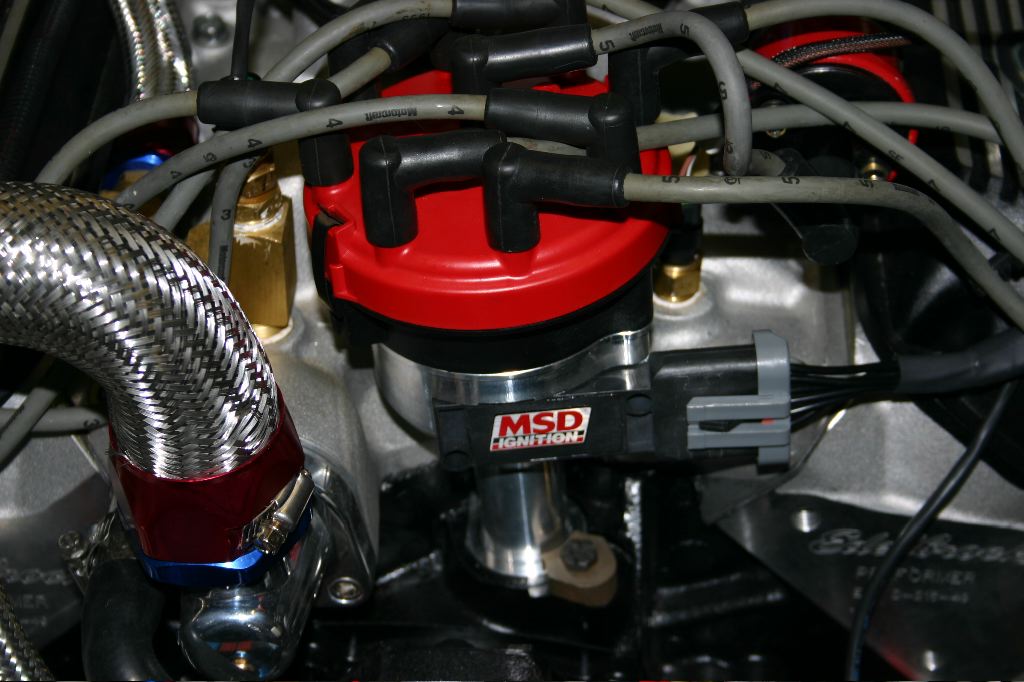
The new distributor both looks nicer than the old one, and is fully digital. It plugs directly into the ECU and allows the ECU to control timing on the engine.
That wrapped up the build week. Around 2 I decided I wanted to just work on getting the garage cleaned up, something I still have an hour or two work doing. It’d become a disaster during the week and before the side pipes show up this week, I wanted to get tools put away and the floor swept up.
The plan for this week is pretty simple: I want to start the motor on Saturday. That means a focus on the side pipes, the O2 sensor wiring and getting the coil and tach wired up. I may take a stab at the high beam wiring as well, but #1 priority is getting ready for first start. Once the engine is running, I’ll put the body on the car and press forward to being ready to register.