After the disappointment of last weekend, with discovering I had the wrong splash panel and the windshield was cracked, I really wanted to try to make more progress this weekend. Its getting close to September, and it won’t take many more wasted weekends before I can’t get the car on the road this summer/fall.
I had talked to Factory Five this week about the windshield and the splash panel, and they were going to ship me both. Knowing the condition packages from them have gotten here in before (drop kicked was the way I described it to them), I decided I’d rather take part of a day this weekend and drive down there. Its about 90 miles each way, but its worth the time to avoid getting another broken windshield and losing more time.
The drive down was uneventful. They had asked me to bring the glass back from my current windshield, so they could file a claim on it, and I was hoping they were just going to swap the windshield for me. It turns out they just gave me the new glass (which, surprisingly I discovered was a lot lighter than the old glass, so hopefully I won’t have more breaking problems with it…)
I also picked up the new splash panel while I was there.
Today the goal was simple — swap the glass, and install the windshield. I had no idea what was involved in replacing the glass in the windshield, but I figured I could figure it out.
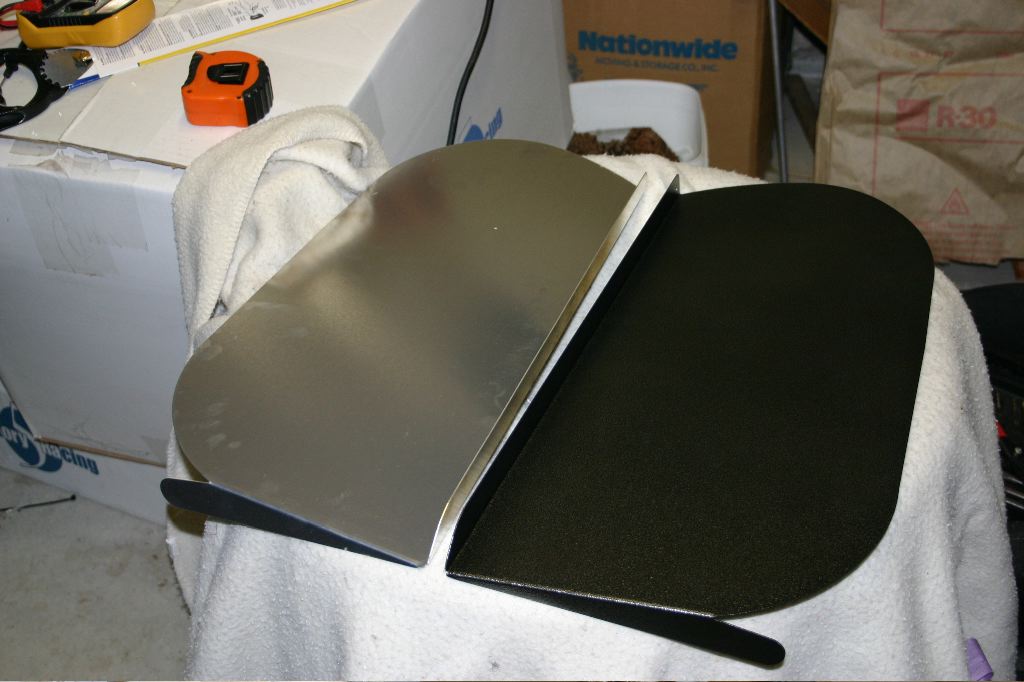
First off, though, a side by side shot of the splash panels. The new one on the left is a mirror image of the one I had. This week I’ll try to get it powdercoated, but its not a huge rush — I can install it much later.
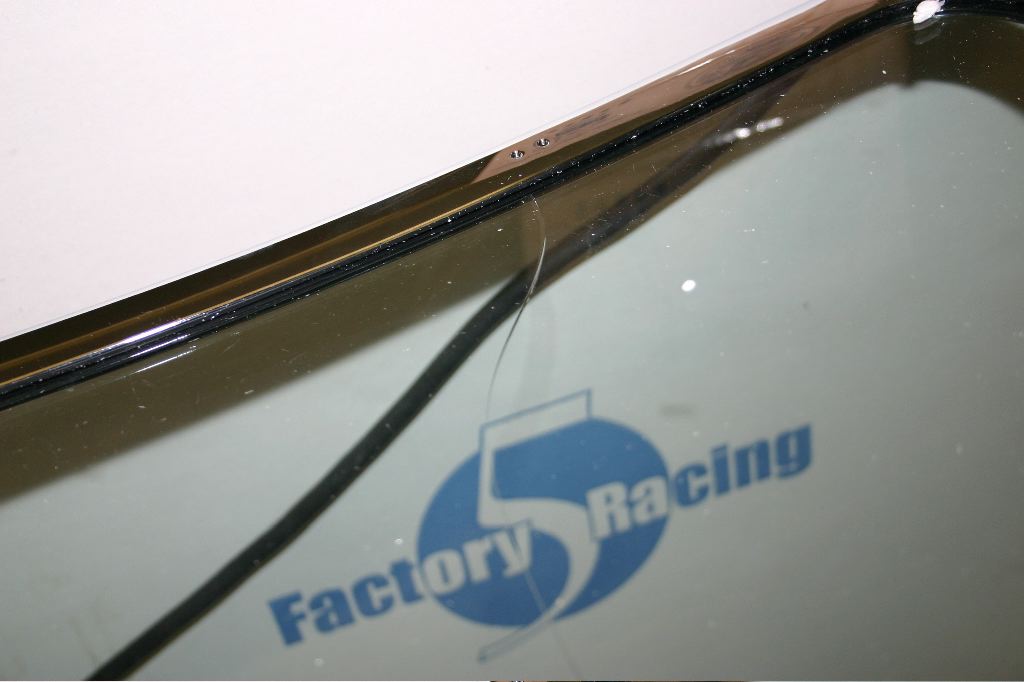
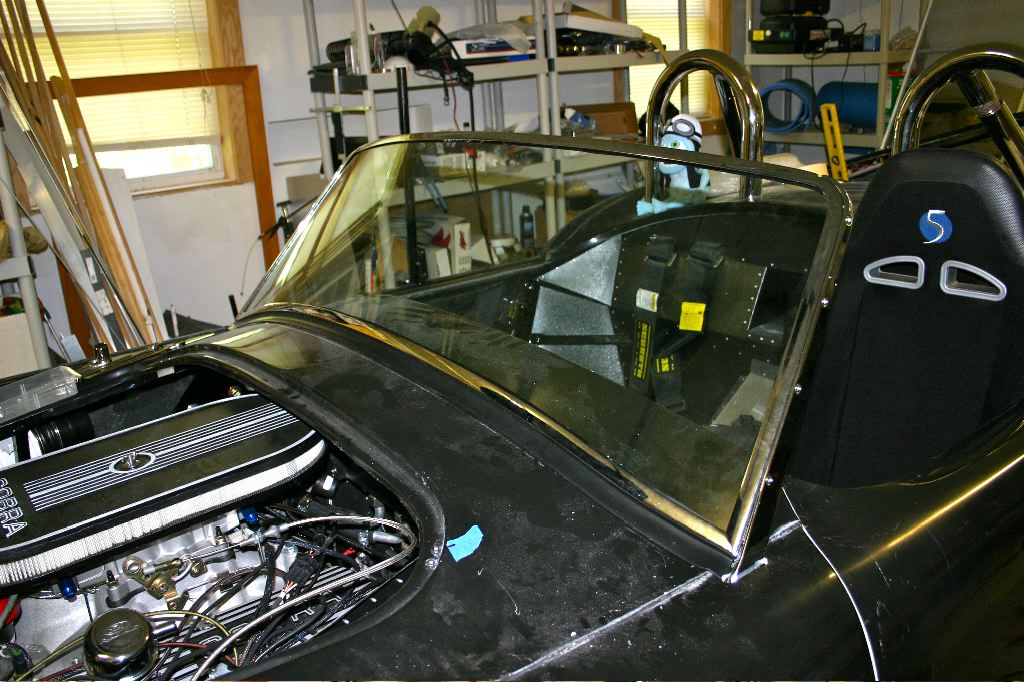
The crack is visible in this shot of the old windshield. I decided to use the old glass while getting the windshield mounted first, so if anything bad happened, it happened to the one already broken rather than the new one. FFR probably would be pissed, but at least I wouldn’t lose more time. It turned out it didn’t matter anyway, everything went in fine.
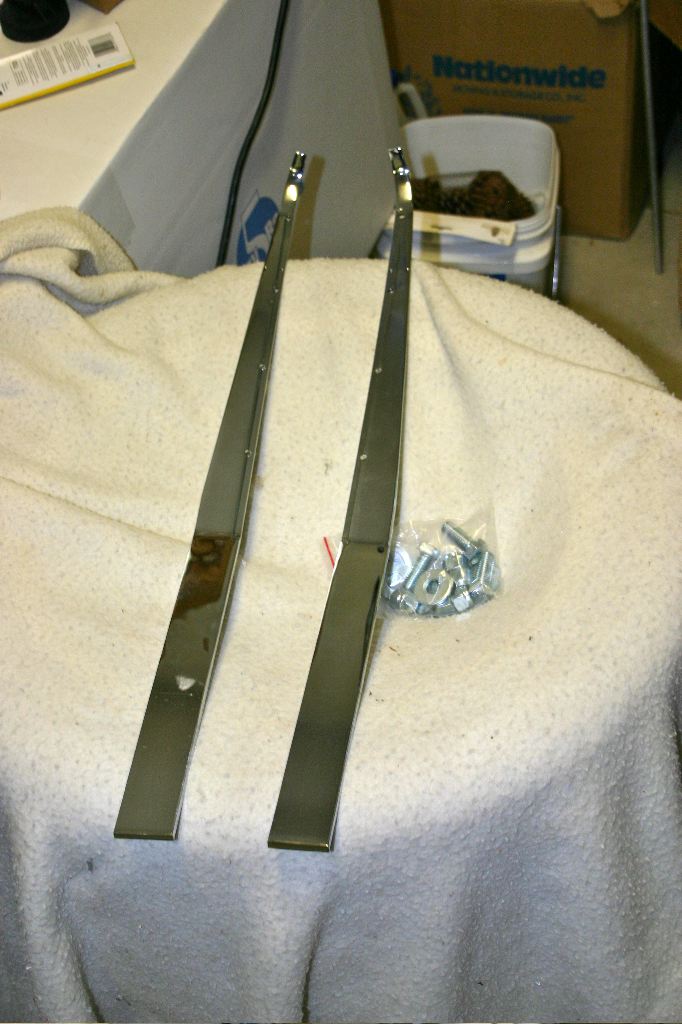
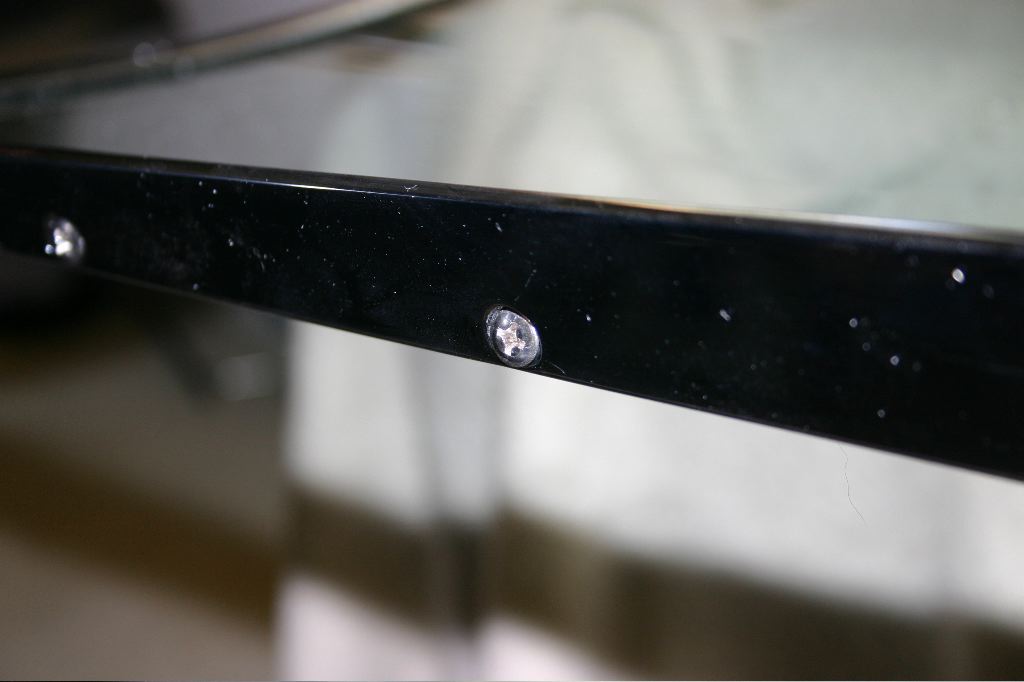
The windshield mounts with two chrome arms that bolt to the chassis, and are held to the windshield frame with four screws.
The four screws hold the arms to the window. Once mounted, the windshield is basically just positioned in the car so the arms can be marked and drilled to bolt to the car.
The arms screw along the edge, which gives a bit of a lip to the inside of the windshield, which probably helps keep air moving past it. Once the arms were installed, with the help of my girlfriend, I got the windshield positioned on the car.
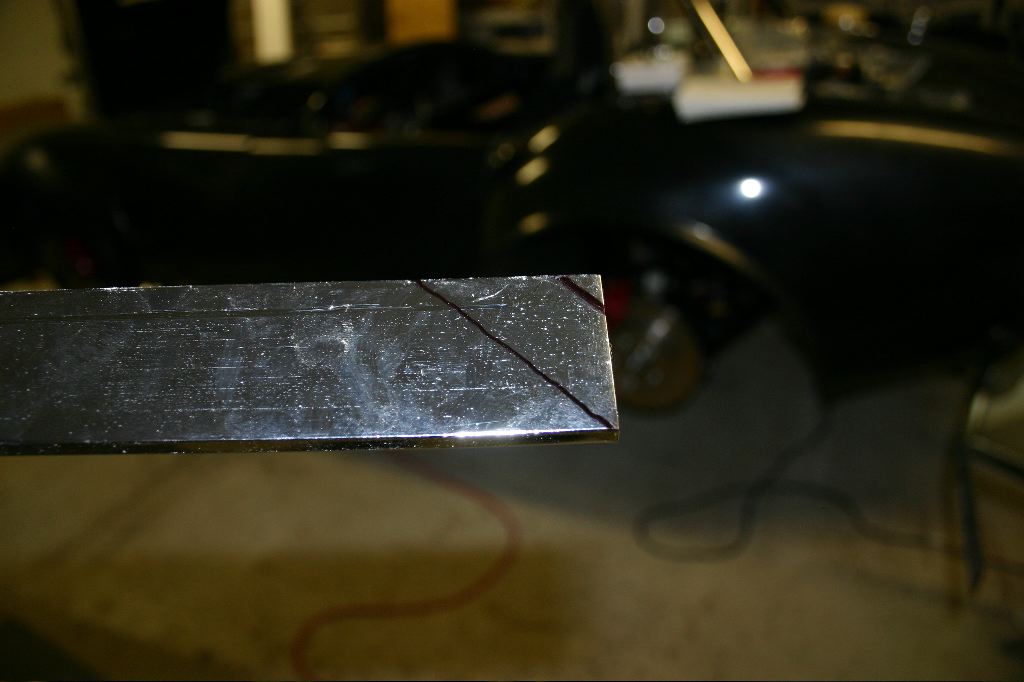
It turned out the arm was too long on the passenger side. I’m not sure if they always have to be trimmed or if that’s a result of using the FFMetal passenger footbox, but in either case, I had to cut about an inch and a half off the arm. It took two passes of cuts, with a cut-off wheel on my grinder, to get it the right length, but then the windshield sat correctly.
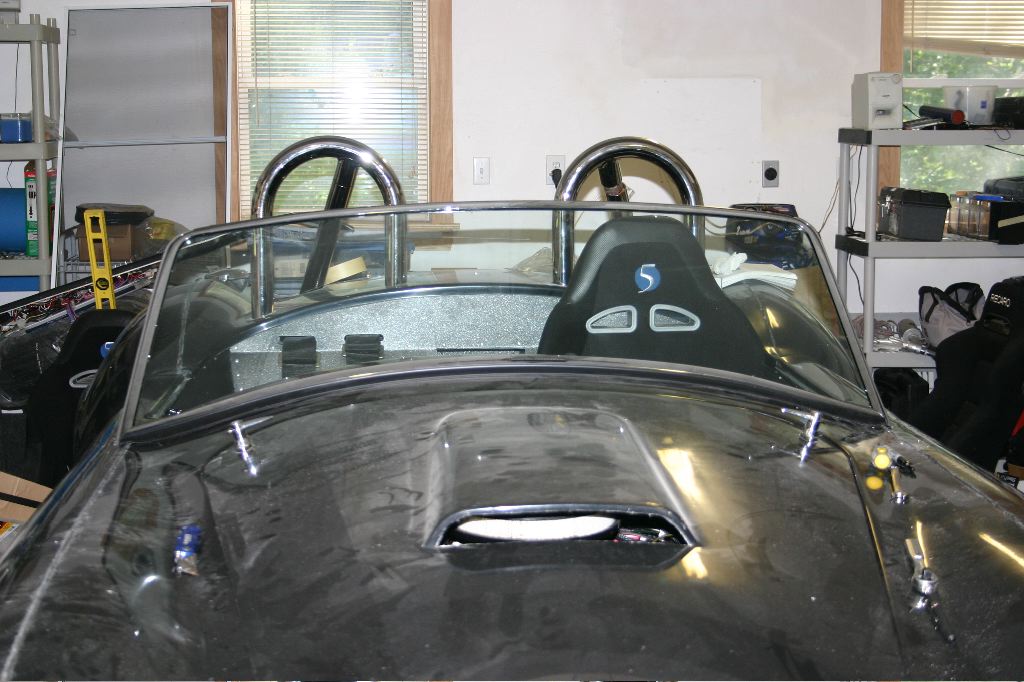
Every step now makes the car look more and more like a finished car. Once in the car, I used a Sharpie to mark where the arms met the mounting plates in the car. We then removed the windshield, and then unscrewed the side arms. I used a half inch drill bit on the drill press to drill the holes. Once that was done I bought the windshield inside to figure out how to take apart.
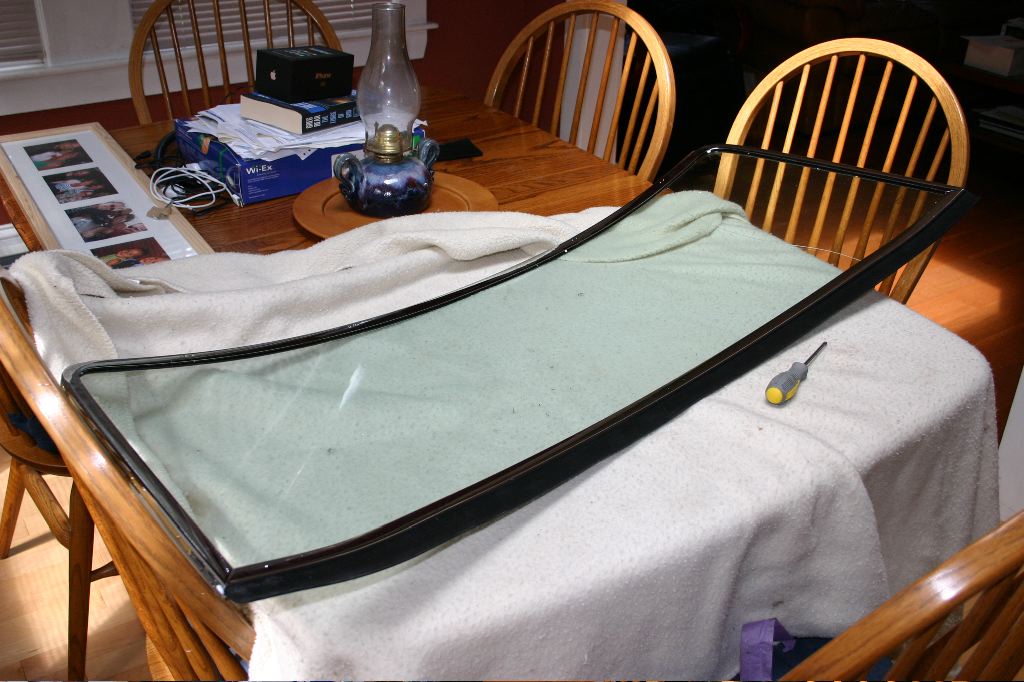
After laying the windshield down on a fleece blanket, and then unwisely not getting goggles or gloves, I started to figure out how to take it apart. I figured it wasn’t actually unsafe to do it bare handed because its tempered glass.
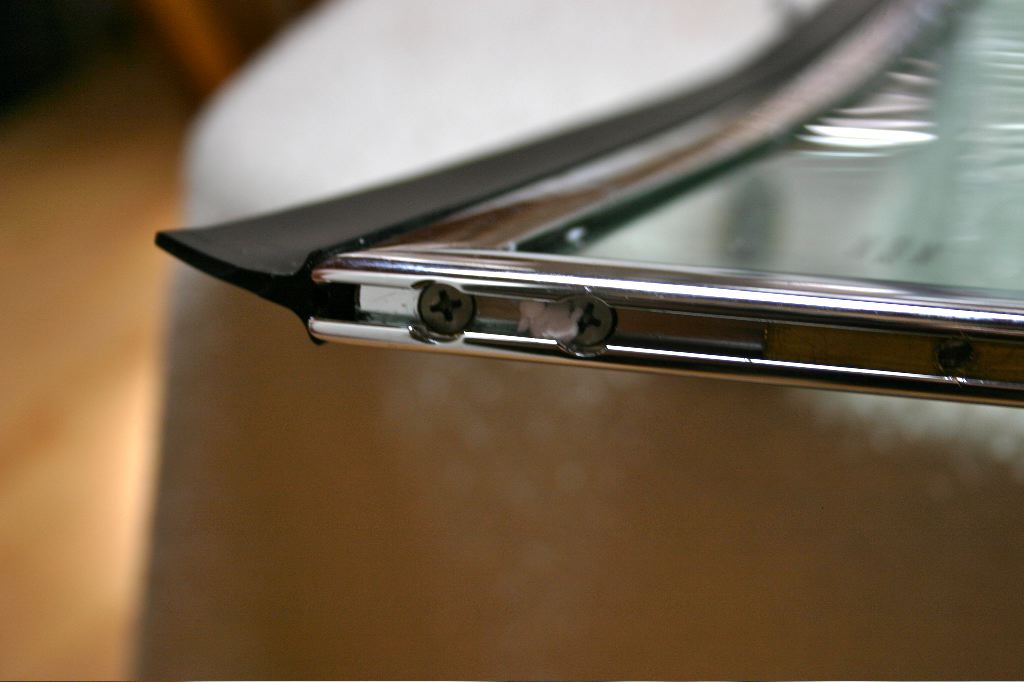
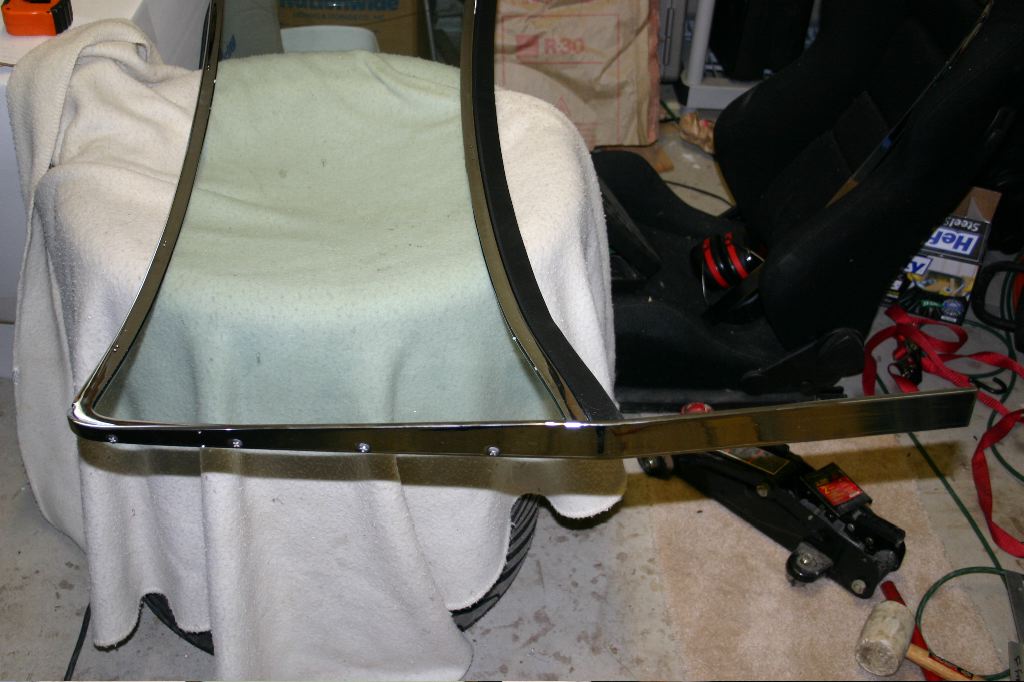
The windshield frame is in two pieces — a U-shaped hoop over the top of the window, and a straight(ish) piece along the bottom edge. There were four visible screws, two on each side, that seemed like a good place to start.

After a bunch of careful tugging, I got the frame off the glass, and removed the rubber gasket as well. It turned out there were four more screws under the rubber trim along the bottom of the window, which basically screwed into an angle bracket to hold the corners together.
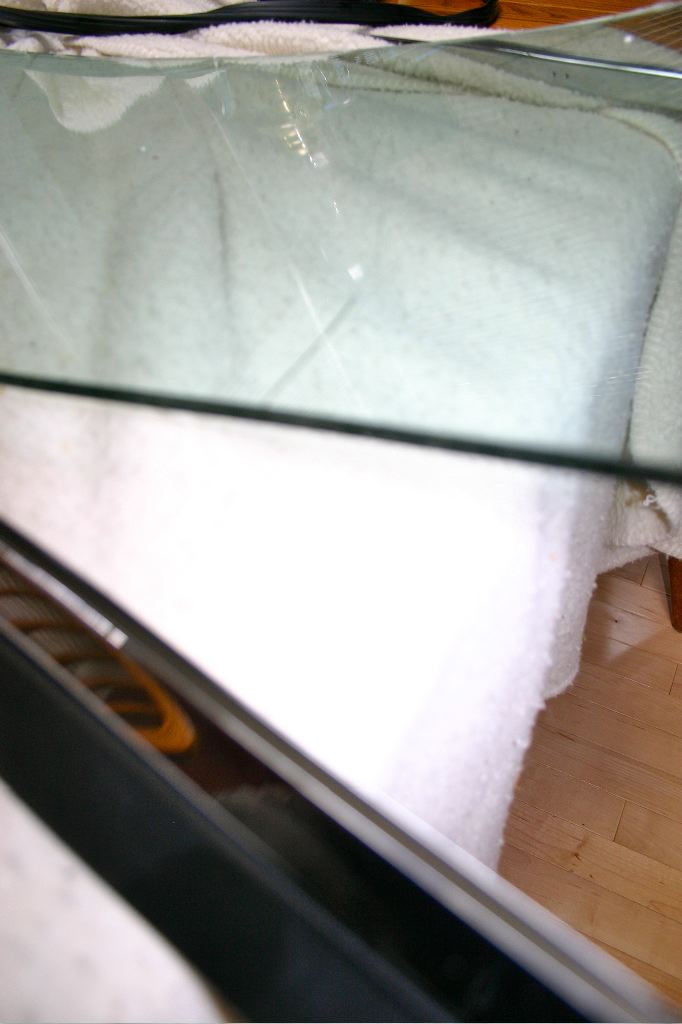
With the trim off, the crack is even more visible. This is clearly laminated glass, as the crack was not anything you could feel on either side of the glass.
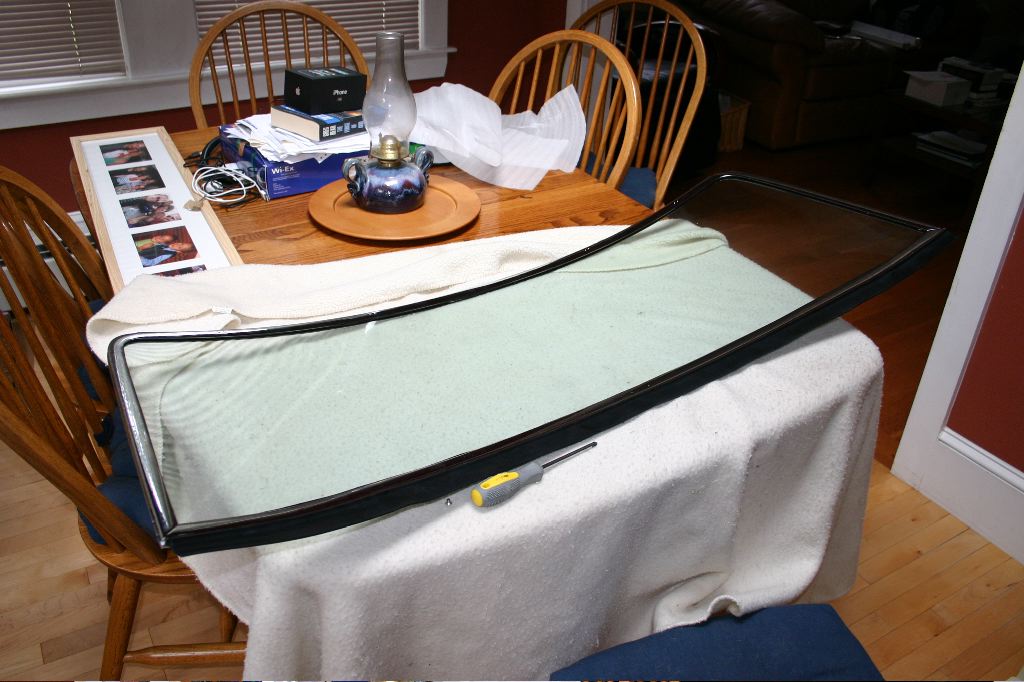
Another ten minutes of careful squeezing and tugging, and I had the windshield back together and managed to not break the new glass.
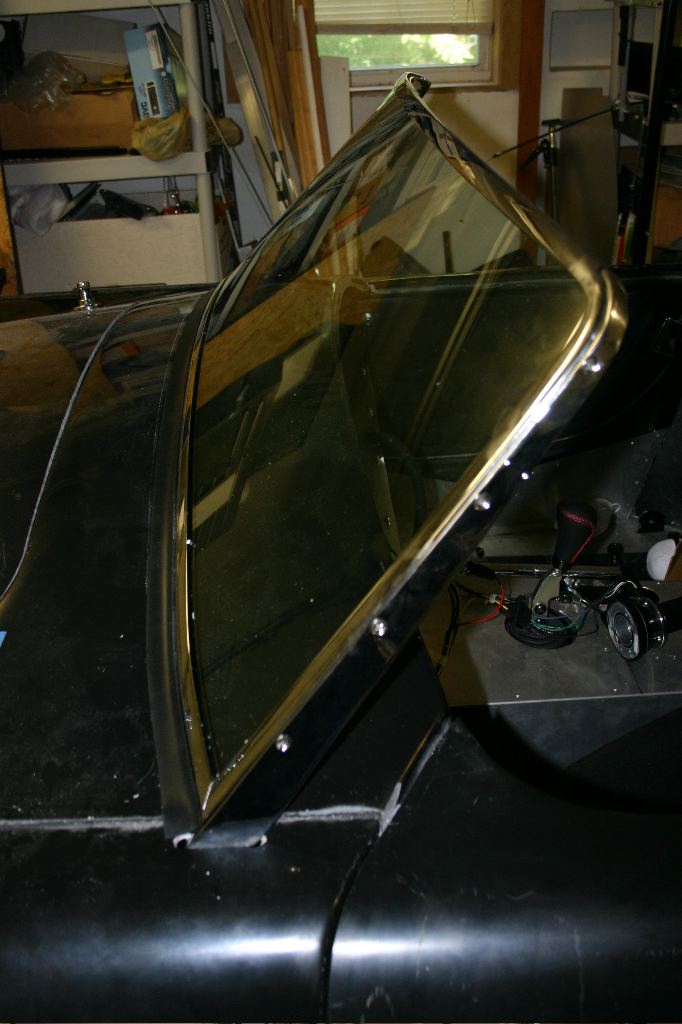
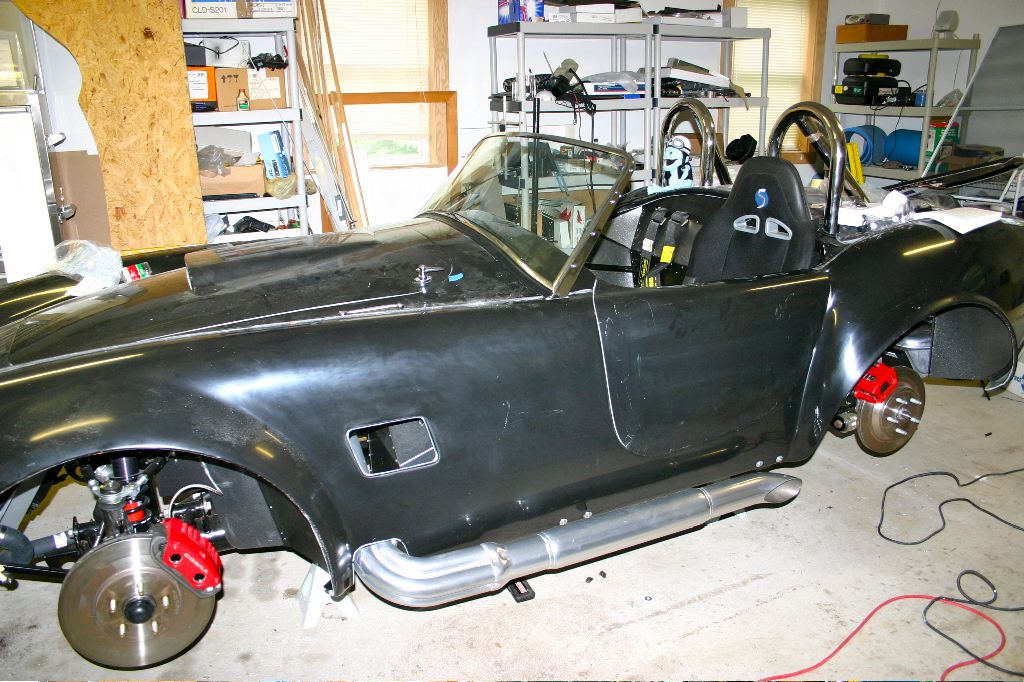
The arms went back on and a few minutes later the windshield was back in the car.
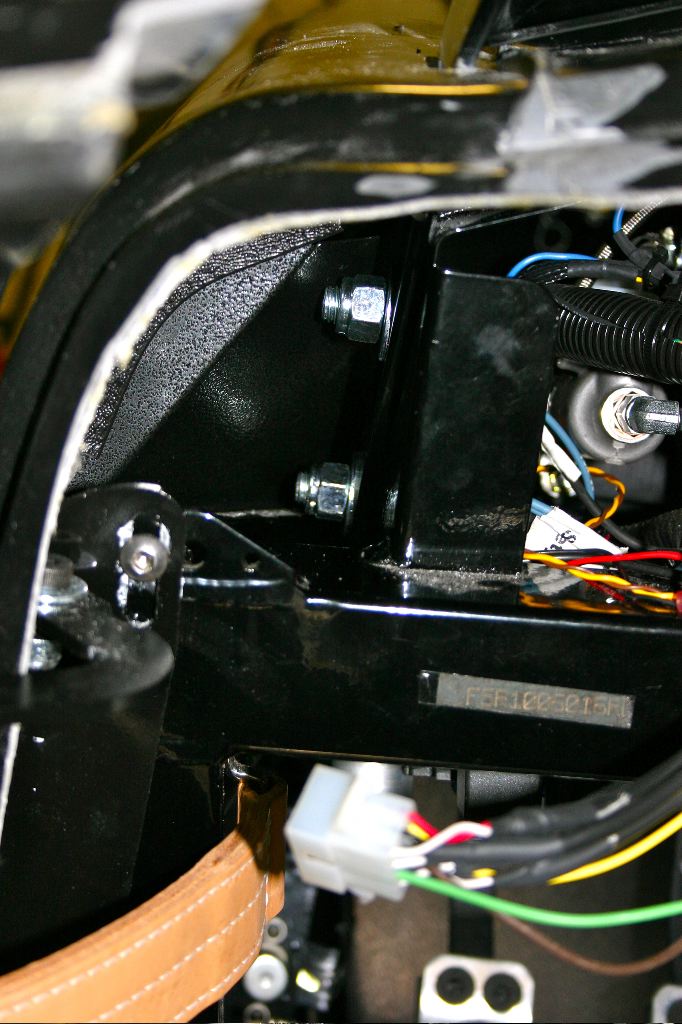
The driver’s side bolts were brutal to get in — my wire harness runs through there and they really were not easy to reach.
The passenger side bolts were easier, but the arm had a pretty good gap — maybe 1/8″ on the bottom, and close to 1/2″ at the top. Torquing the window down to the frame seemed like a good way to put the glass under compression and make it far more likely to break in the future, so I shimmed them out with half-inch washers and a couple longer bolts.
I also picked up rivets so I could get the passenger door strap installed, and 5/16″ washers to shim things out and get the door strikers installed. I’ll probably do both later tonight once it cools down a bit.
Next step: the windshield wipers. That’s the last bit of mechanical work and fabrication I need to do before getting the car inspected. After that its just a matter of fixing the hazard circuits and then installing the dash and other bits needed to make the car drivable.