Today was a busy day with the car. I decided to buckle down and start the wiring, as it was clear that was one of the next major tasks and was a pre-requisite for getting the engine started whenever the Boss-EFI system finally shows up. But thats a rant for another time.
I ended up spending a good bit of time wandering around Lowes hoping to figure out a good way to cobble together my e-brake parts into something workable. The stuff from Fortes is really just worthless. I may look at entirely different options other than Lokar handle, but for now I’m going to try to make it work.
Read more for pictures of today’s progress…
The wiring harness showed up on Thusday. This is the chassis harness that Factory Five sells that fits most of their cars. It wasn’t cheap (but $400 less than the I-Squared system), but it “fits” the car. Of course I’ve got things in all sorts of different places, so its taking some tweaking.
First things first, I mounted the fuse box. Unlike the I-Squared, this is normal analog wiring and has a fairly standard fuse panel. Its mounted above the drivers left knee, up under the Wilwood pedal cluster. (The pedals being one of the primary things that made it hard to install this harness so far…)
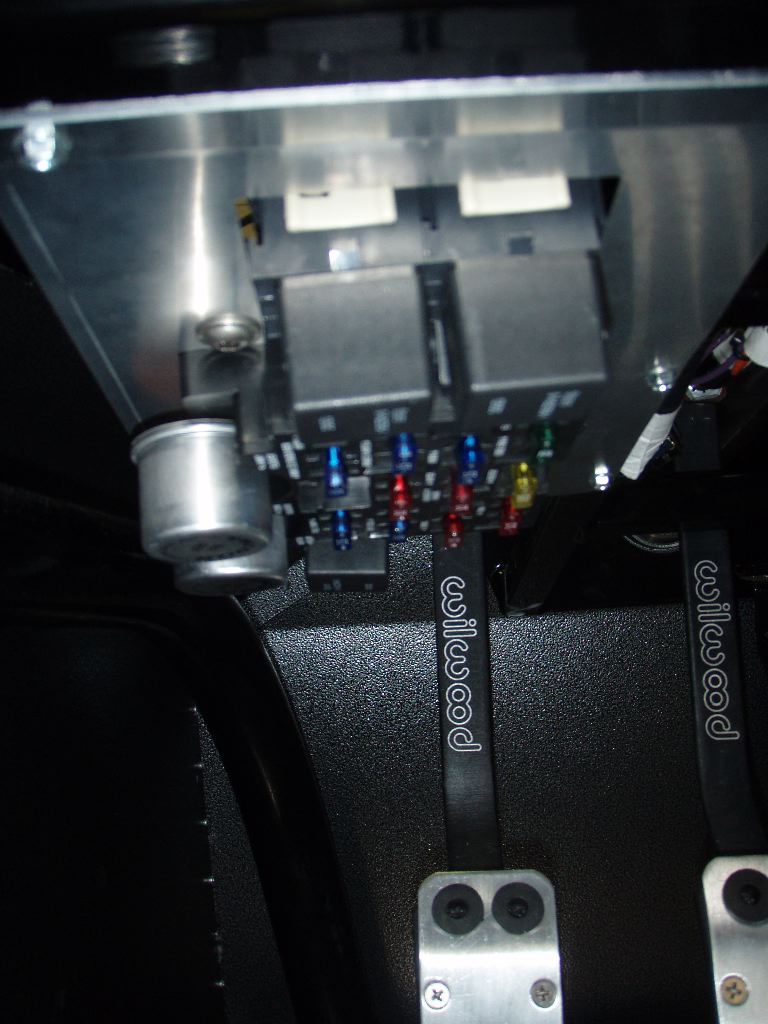
The fuel panel normally would mount from below, but snaking the wiring past all the brake bits (which normally aren’t there on donor-builds) would’ve been a pain. Instead I screwed on the sheet metal panel and then bolted the fuse panel to it from above, so I only had to get Jen to hold the pedal assembly up a few inches after I’d unbolted it. Removing it means undoing a LOT of stuff, so that was a lot easier.
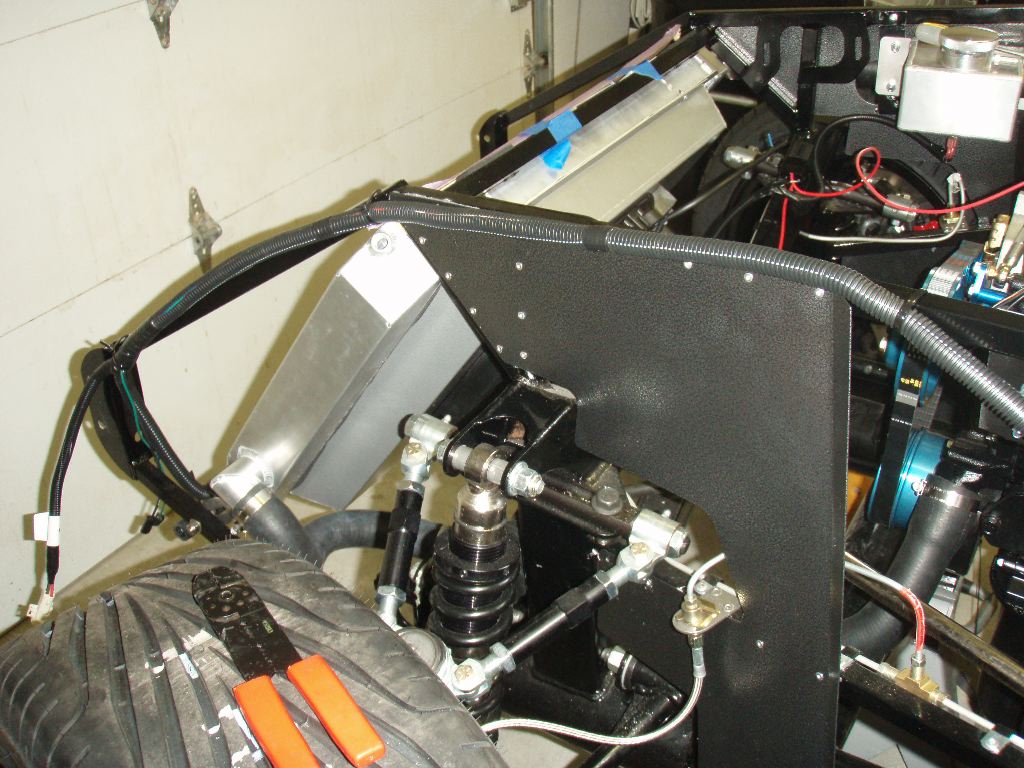
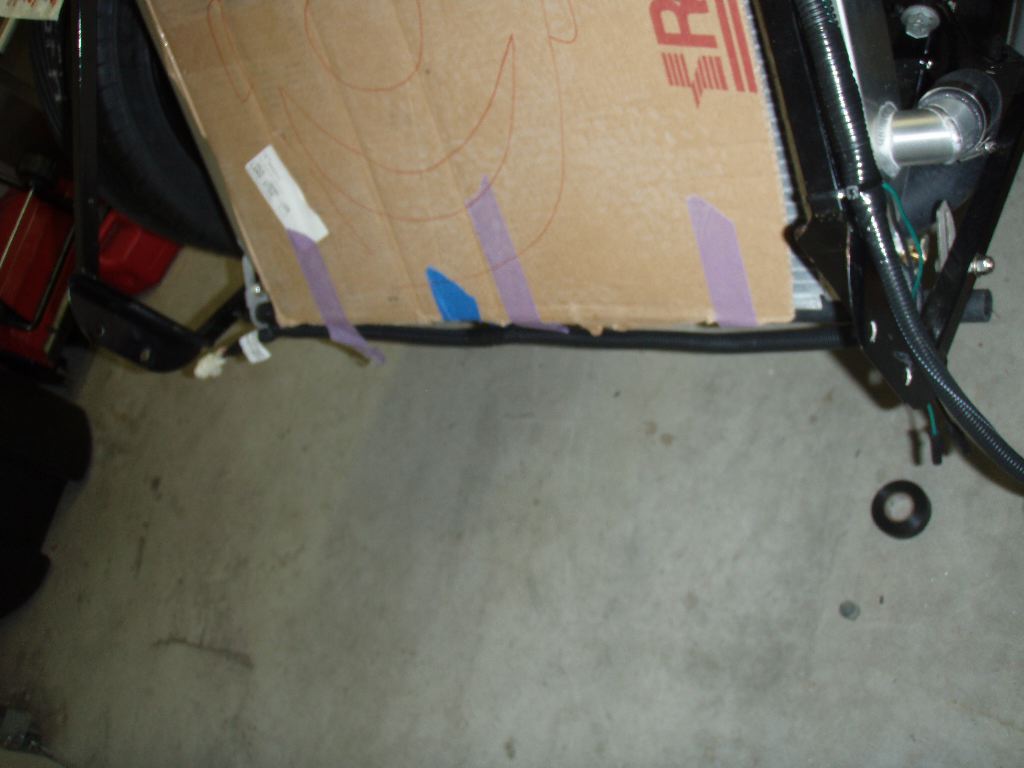
The front wiring harness leaves the front of the footbox. Normally it would’ve left the footbox in the larger of the openings, but the pedal cluster gets in the way of routing them there. The brakes normally go through the smaller opening, which I used instead for the wiring. From there the front harness runs up along the top of the engine bay, and down the radiator support. There a connector peeled off with wiring for the turn signals and lights.
The harness then continues across the face of the radiator to the passenger side where another headlight connector ends the front harness. In the middle of the radiator, two wires separate out for the radiator fan.
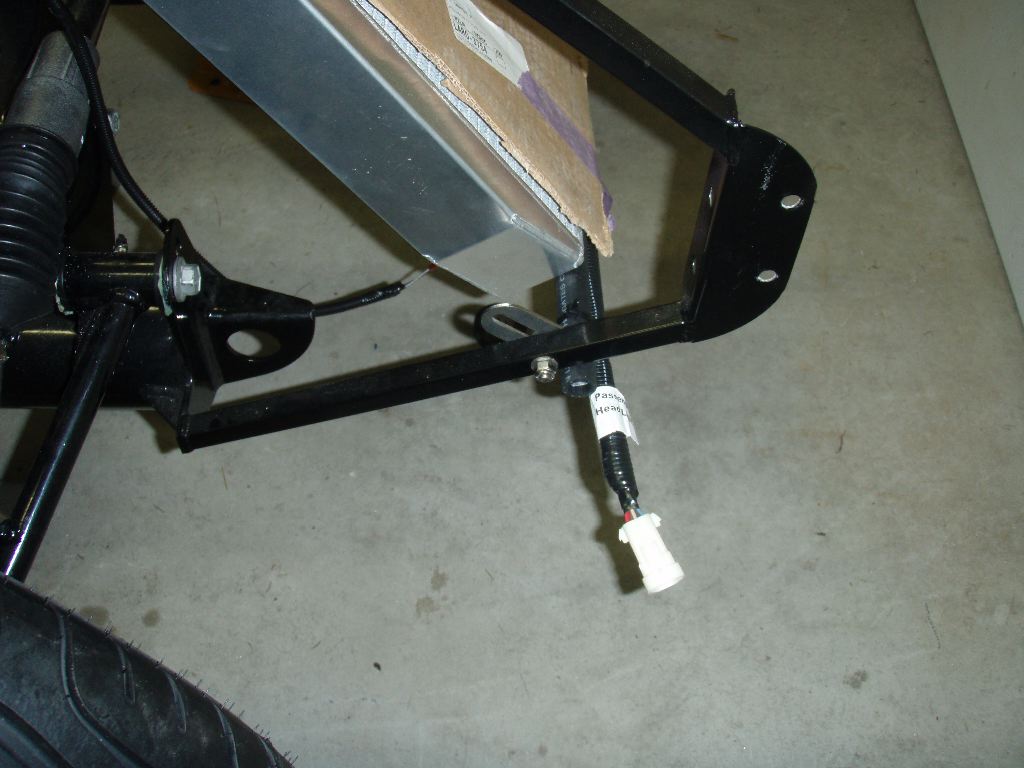
The headlight wiring I’ll probably need to alter. I need the turn signal and parking light wires at the corners there, but the other wiring needs to go to the HID ballasts, which I may or may not mount on the outside of the radiator sheetmetal. I’ll have to see what makes sense when I do the first test fitting of the body.
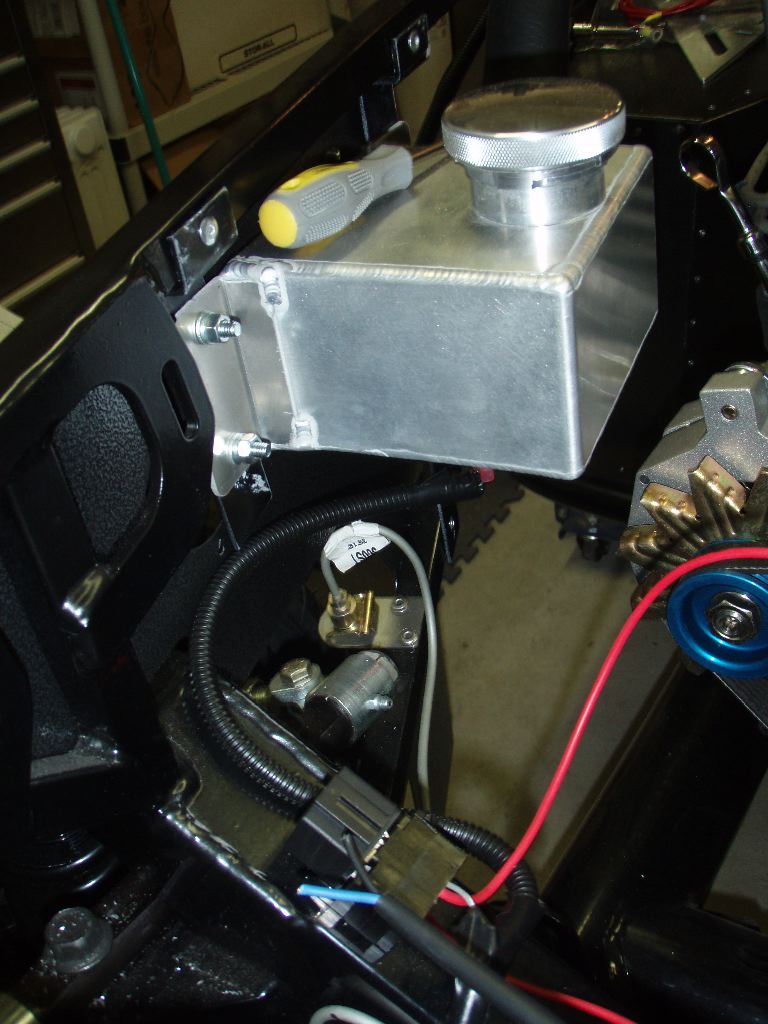
While I was wiring up in the front of the car, I also wired up most of the radiator thermostat for controlling the fan. The thermostat in the degas tank essentially breaks a ground connection from a relay, which then feeds power to the fan. I could’ve simplified this wiring as the feed from the FFR harness is big enough for 30A, but it was easier to just leave it as-is.
There’s other wiring that needs to go up front — primarily the horn wiring. I’m not sure why the FFR harness doesn’t have wiring for it, but its an easy thing to build a small harness for.
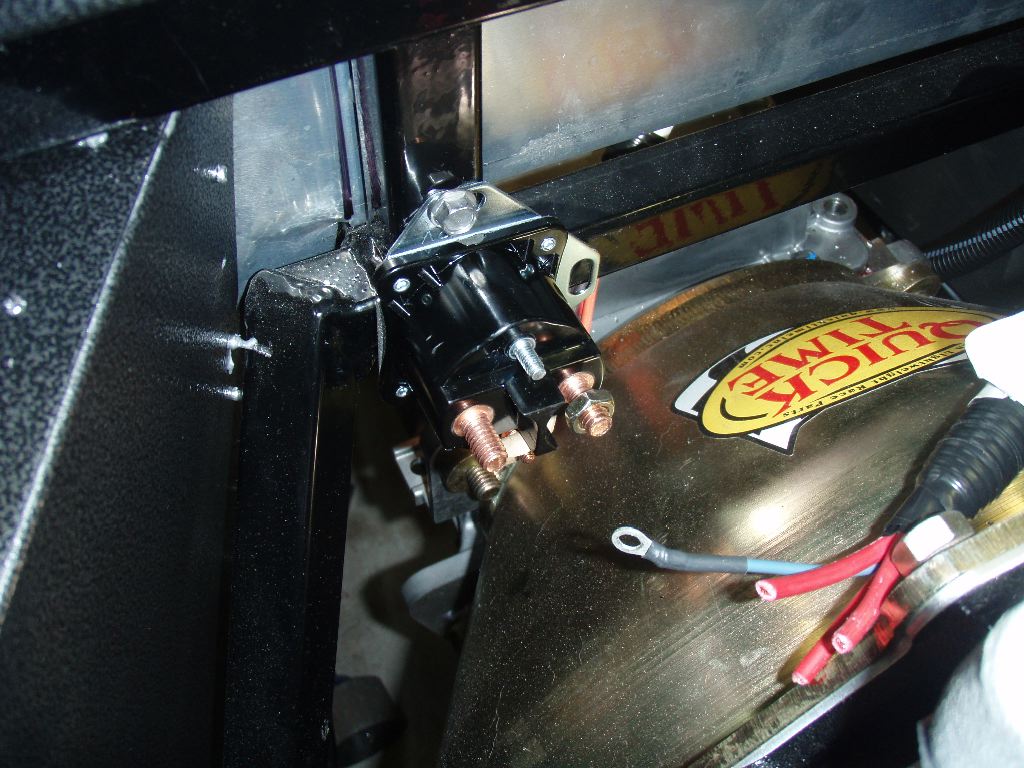
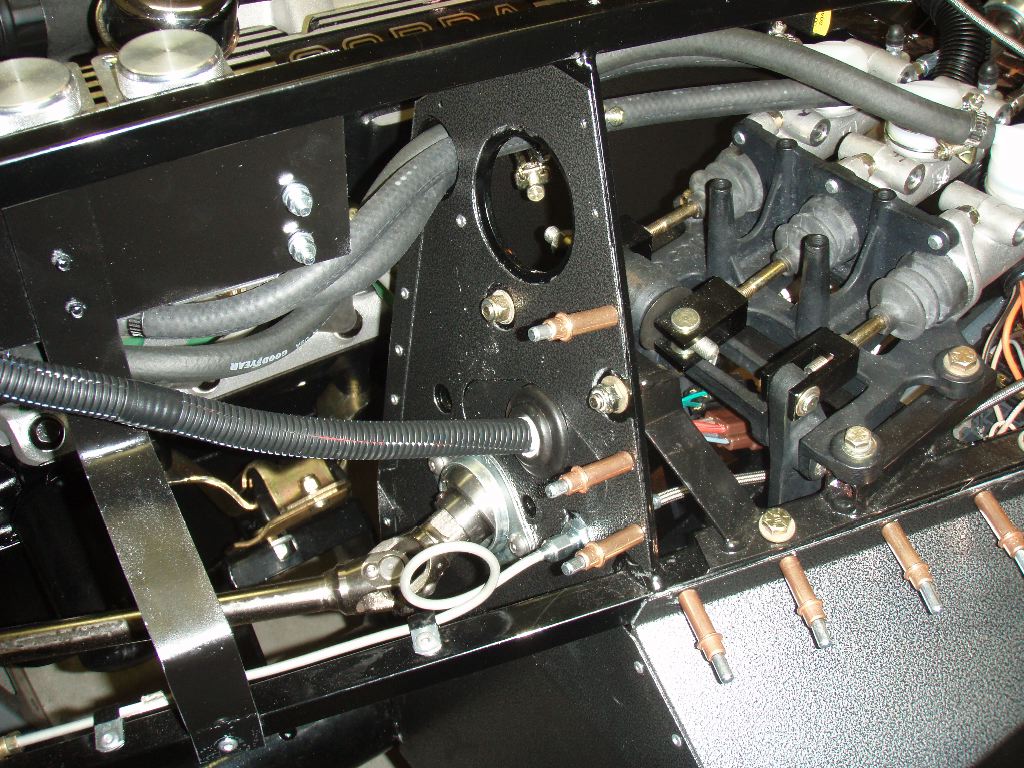
The other piece that I got installed in the front of the car was the starter solenoid/relay. The car will end up with two because of the way these new mini-starters work.
The eyes on the end of the starter harness were too small to fit onto the posts of the solenoid, so I had to cut them off. I need to find a place to buy bigger ones. I’ll probably hit Home Depot or Lowes tonight or tomorrow for them.
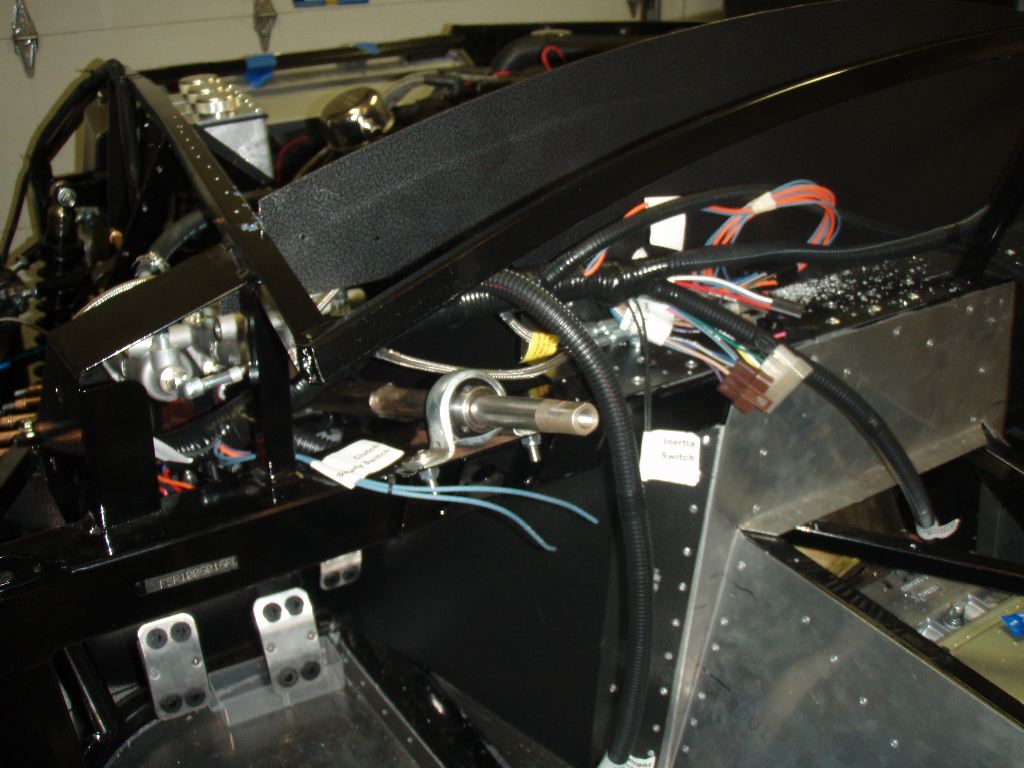
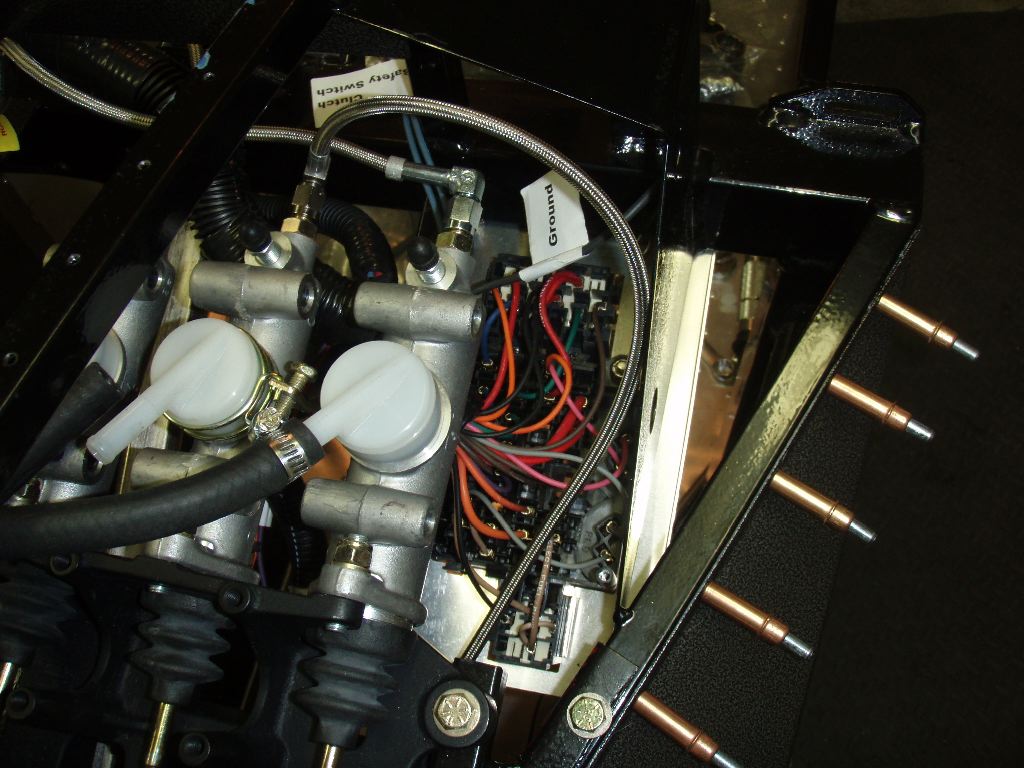
Other bits of the harness eventually attach to the dashboard and the various switches and gauges in the cockpit. The only other bits of the harness is the wiring to the engine sensors, the wiring to the rear of the car and the wiring for the alternator. Right now these are all largely sitting in a mess in the dash. The alternator and rear harnesses I’m going to feed out the bottom of the firewall the same way the clutch and rear brakes exit the cockpit. Unfortunately the drill bit I have is slightly too small to make the hole I need for the grommet/strain-relief so I need to get a bigger Unibit.
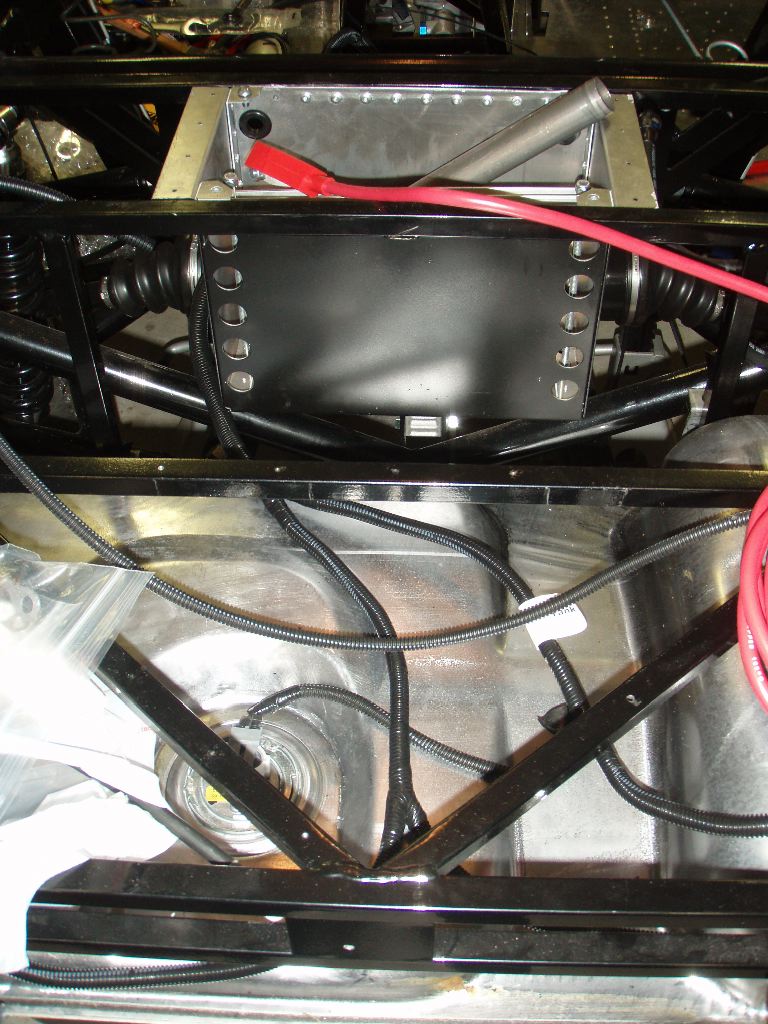
The rear harness is layed into the back, but I haven’t done much else with it. The harness splits at the fuel tank and two pigtails go to the fuel level sender and fuel pump. The other side goes to the drivers side lights, then across to the passenger lights and a long pigtail comes off there which feeds along the top of the car, along the trunk lid and to the license plate lights.
Some of this wiring will probably need adjusting. I know I have to modify the harness to move the fuel pump wiring to the ECU instead of hardwired, and I may have to run another ground line along the harness to the pump. Without that, I need to have a return fuel line, fuel pressure regulators and other hardware in the engine bay. With a ground line, the ECU will modulate the fuel pump and control fuel pressure electronically.
I also started looking at the battery wiring, which involves the battery terminals, the remote terminals (which will be exposed to the trunk for jump-starting), the main power switch and the wiring going up to the starter solenoid. I’m undecided where I want to put the power switch though (exposed in the cockpit or in the trunk are the two places I’m thinking).

The only other thing I did was screw around with e-brake hardware. Its angering me.