In my new-found race to get the car street legal before the 2009 Factory Five Open House this year (just over two months away at this point!), I’ve really put the pedal down when it comes to making progress on the car. Once again I’m planning two days of working on the car this weekend. Yesterday I spent about six hours working on the car, although admittedly it was in the mid 60’s and sunny all day, so motivation was down and time just chillin’ out outside was up.
The focus yesterday was getting the fuel system finished in the car. There’s a cascading set of things I need to do which depend on having verified that the back end of the car was “done” — such as getting the trunk actually riveted together.
The work day started off actually with nothing to do with the fuel system. Avid readers may remember last week I mentioned I had bought a braided stainless hose engine dress up kit. I’d put the braided sleeves on the heater lines last weekend. The kit came with a radiator hose as well, and I wanted to get the upper radiator hose covered. The lower hose isn’t as visible and the hose from the de-gas tank to the radiator is in the fender and not actually visible from the engine bay.

The hoses all being covered like that actually looks pretty nice. It makes the plain gray spark plug wires look pretty bland, but they’re fine for mow. The kit also came with a length of wrap for vacuum hoses, so I can cover those once I get them worked out. (And as a little gripe today, why am I having such problems finding 3/16″ vacuum hose?!?)
Once getting the radiator hose back on, which was a bit of a trick because the aluminum clamps don’t give a lot of ability to grip the edge of the hose to wiggle it on, I started to look at the fuel system. The goal was to get a few gallons of gas in the car, and pressurize the system to check for any leaks.
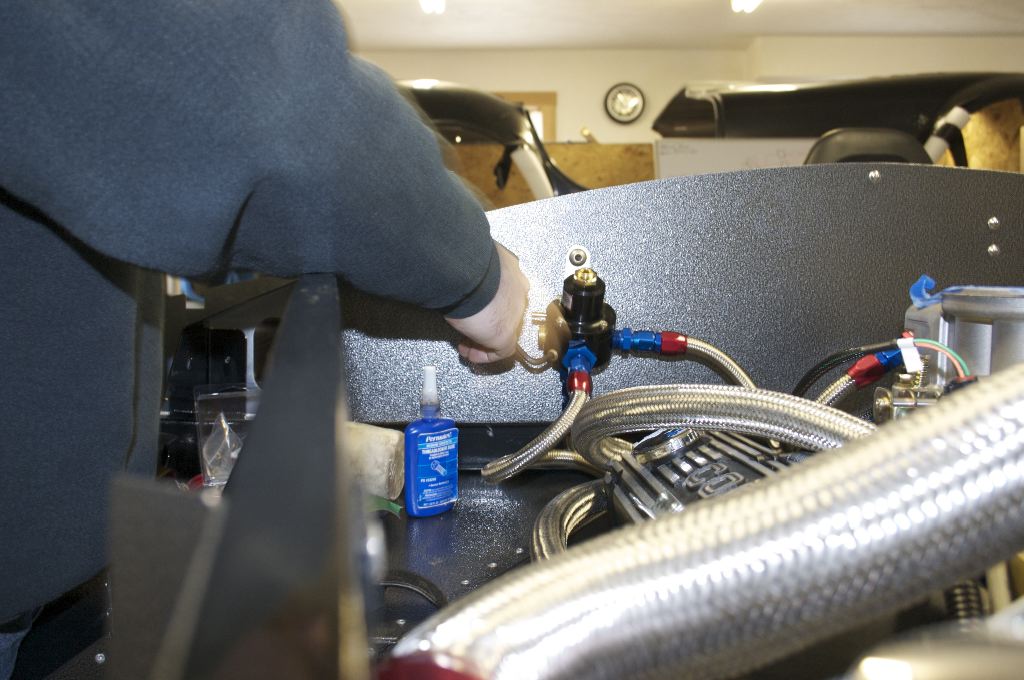
I bought an EFI mechanical fuel pressure gauge from a local store yesterday. There’s a small port on the fuel pressure regulator it threads into. Once the body on, its not going to be terribly visible, but with a mirror I’ll be able to see it. The Powerjection system has a fuel pressure sensor as well, so I could’ve used a laptop to monitor fuel pressure, but that would’ve meant having the power on to the car and having the ECU fully wired up. I’ve yet to power it up yet, so this was faster.
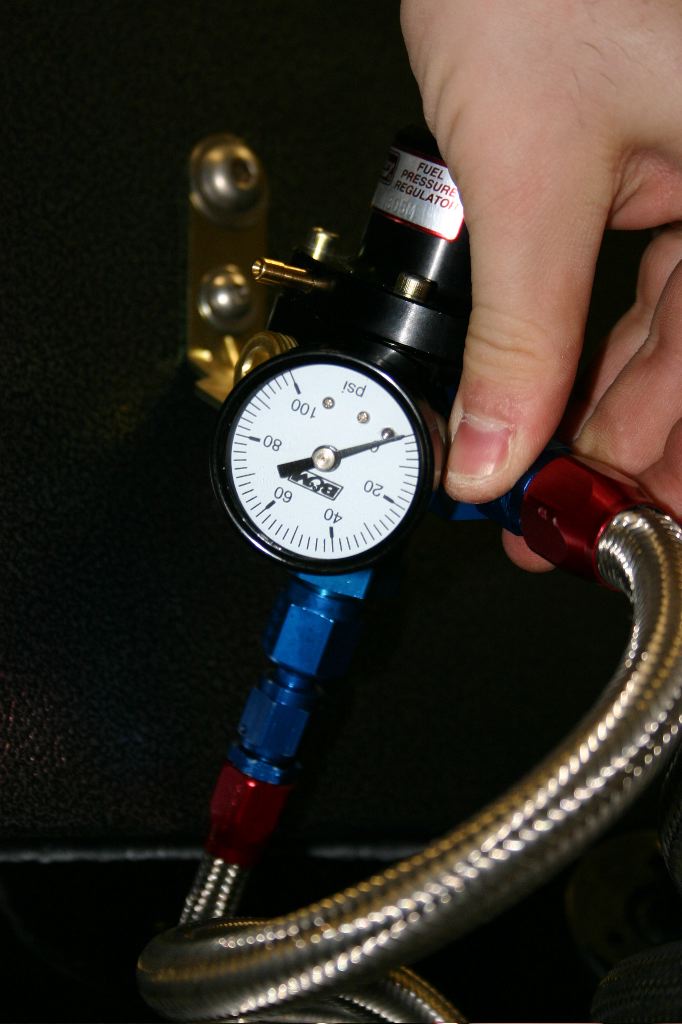
The gauge is not only facing the wrong way, but its upside down. Again, it was going to work for what I needed it for.
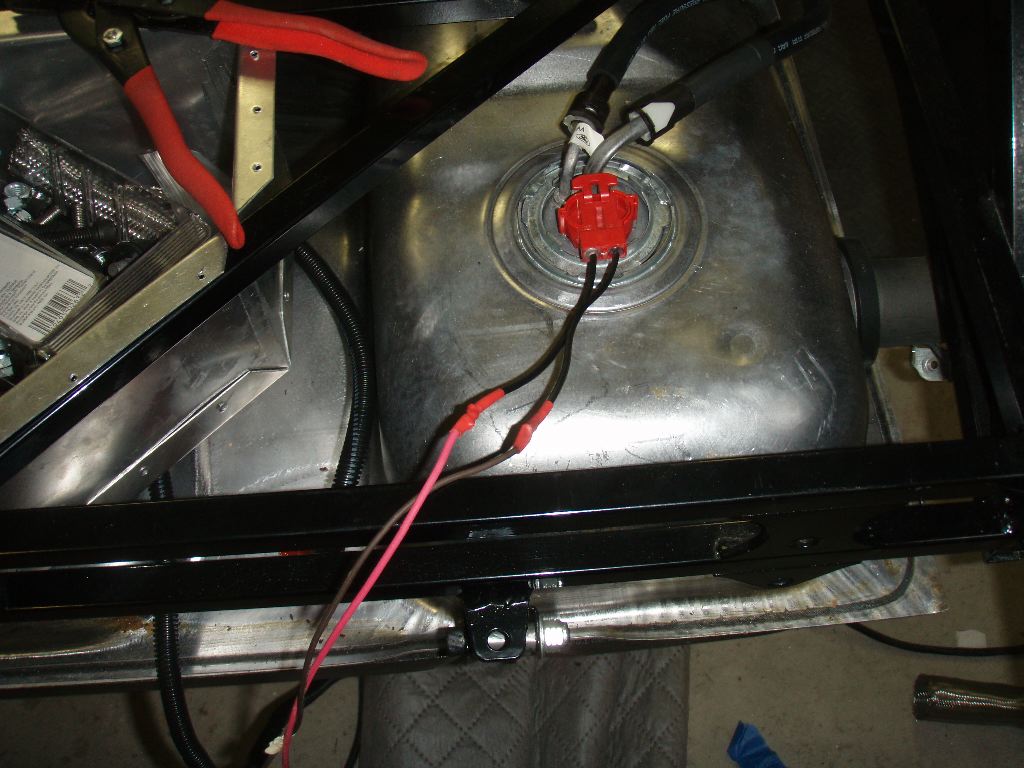
To run the fuel pump, I used a spare connector for the in-tank pump and just wired a few long leads onto it. I wanted to be able to run the pump with no power at all to the car itself. In case of any leaks, there would be less of a chance of a fire.
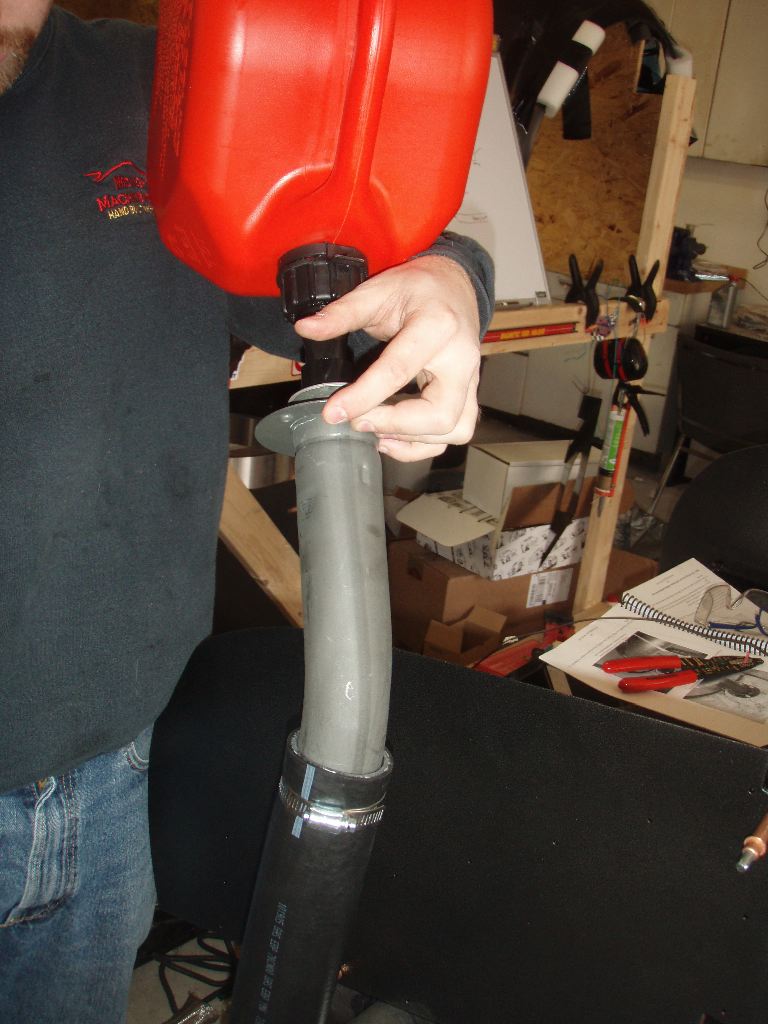
After pulling down the fire extinguisher, I poured about two and a half gallons into the tank. Well, first I poured about a pint onto the floor. It turns out the clamps on the extension hose on the fuel neck weren’t tight enough. After tightening them down quite a bit more, the rest of the gas went in without any incident.
Now, the drama of the next hour would’ve been more exciting on here had I had a video camera going when I first powered up the pump. There was quite the outpouring of gas all over the place. The moral of the story? Don’t assume all the fittings you thought you tightened were tightened, and most importantly, you really do have to use a thread seal on normal threaded fittings.
The problem with a pressurized fuel system is that once the lines are pressurized, well… shutting the pump off won’t magically stop the pressure. Gas will keep on spurting until there is no pressure, and you have to empty the lines to be able to remove fittings to do things like get some Loctite sealant on them.
It took a good while, but I eventually got all the fittings on the fuel pressure regulator sealed — it turned out thats where all the leaks were, and a very tiny leak in the trunk where the hardline was clamped to the rubber line from the fuel filter.
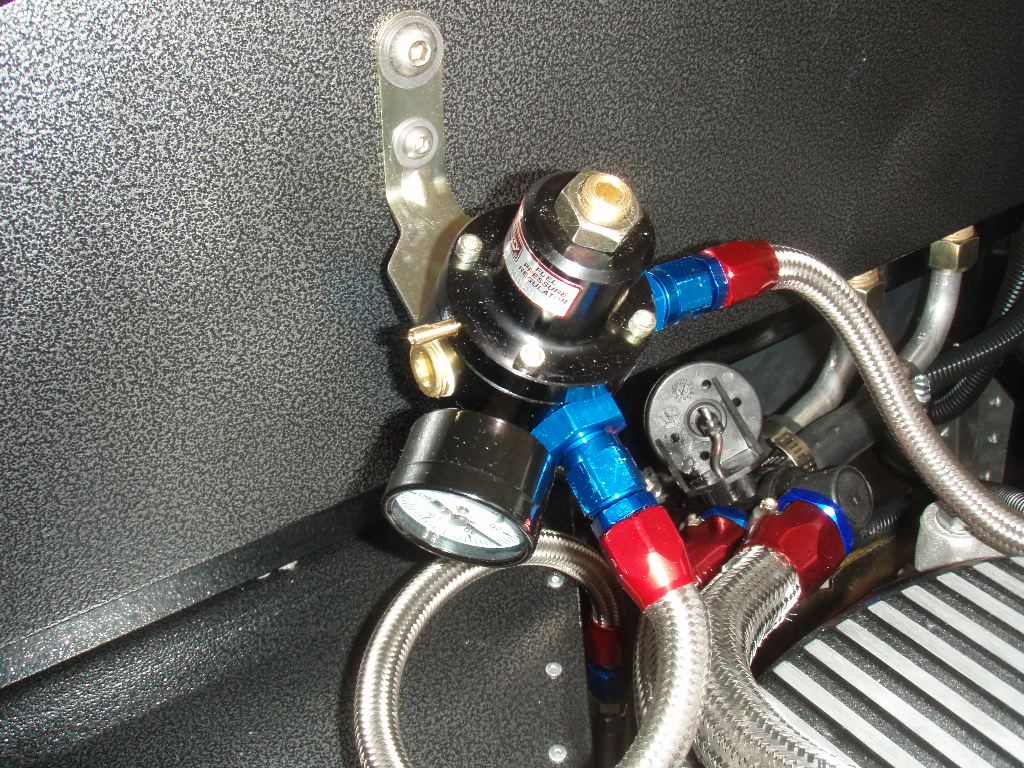
The fuel pressure regulator was a lot less like a roman fountain once the fittings were all sealed. The Locktite can be seen oozing out of a couple of them above.
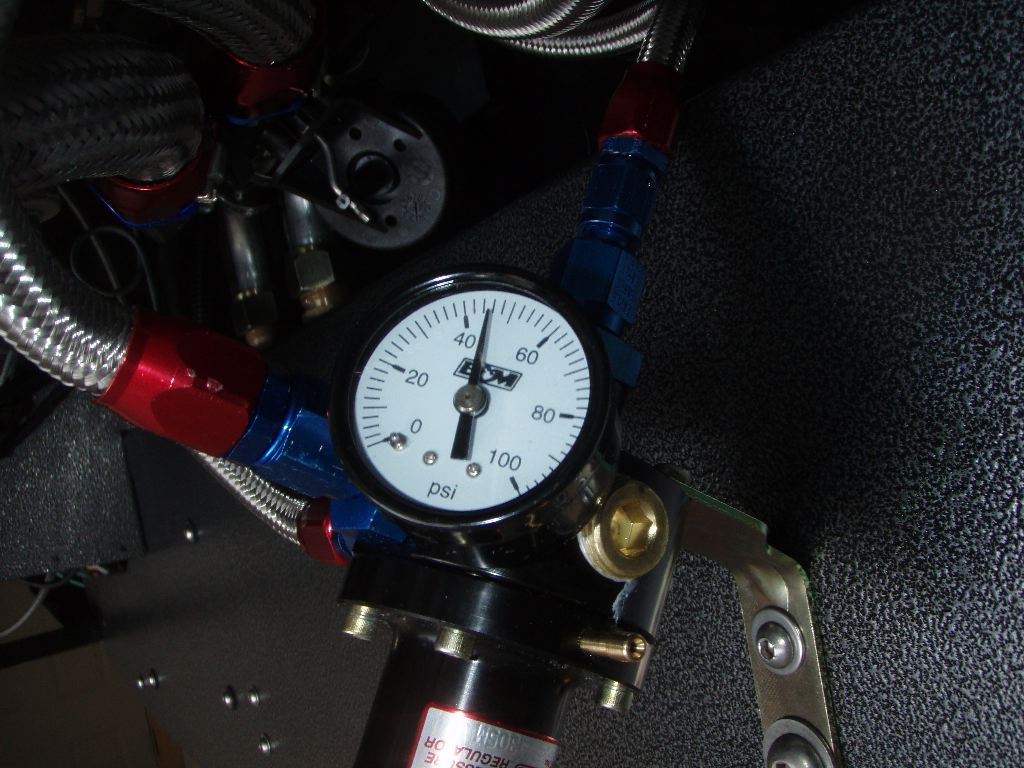
With all the fittings sealed, the pump was powered up and I adjusted the regulator to get the pressure up to 45psi, which it held fairly well. 24 hours later the pressure was still at 6psi in the system. I’m assuming that’s normal, and not an indication there’s another leak somewhere, but I’m going to look into that.
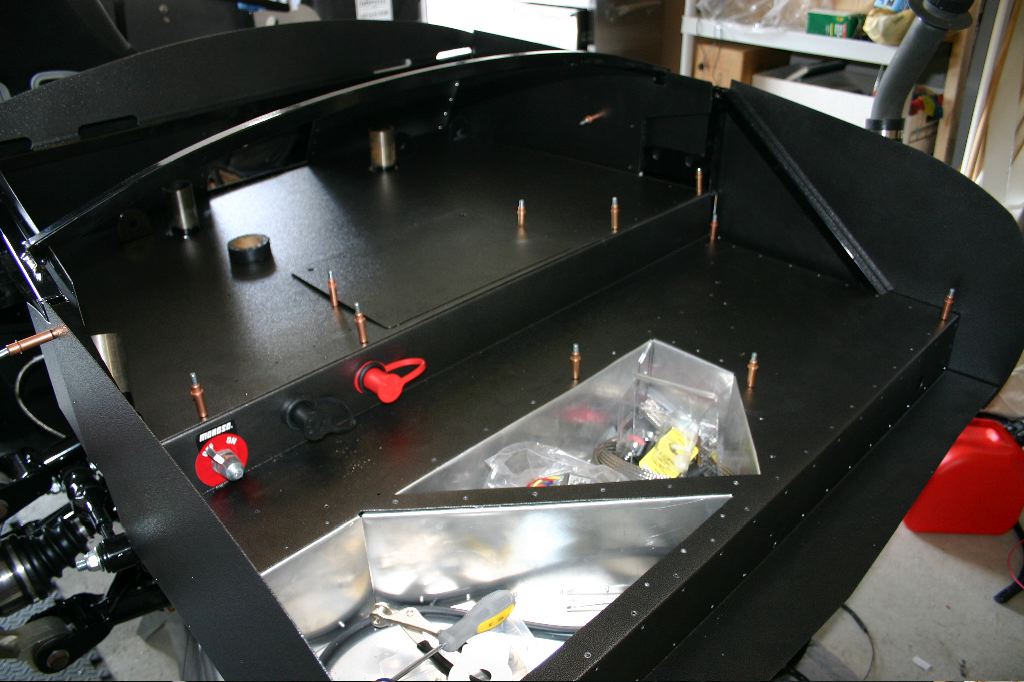
With the fuel lines all buttoned up and not leaking, I tucked up some of the wiring harness and mounted it to the chassis with some plastic clips. I then got some clekos out and fitted the trunk floors and ensured the trunk boxes were positioned correctly. Strictly speaking I can rivet them in at this point, but I think it may be slightly easier to do the IRS alignment if I can reach the upper control arms from above, so I think I’ll have them just mounted this way until I do that.
That was about it for Saturday. It was such a gorgeous day, I was awfully distracted by lunch on the deck and just enjoying the weather.
I got a lot more done today, as well, but that’ll be in a follow up post to this one.