An quick midweek update: I’m getting very short on tasks left before getting the car inspected. At this point, its largely wrapping up some of the electrical work before putting the dash on, but there were a couple things I decided I wanted to take care of tonight.
The door latches weren’t installed completely — the latch on the door was, but the catch on the chassis wasn’t. I wanted to get the doors wrapped up.
I also bought a replacement heater bypass valve last week because I decided I wanted to have a variable electronic one, rather than a simple on/off vacuum actuated one. I also wanted to swap that out today.
I started off, after work, with draining the radiator and engine of coolant so I could disconnected the heater plumbing and the old valve. While it was slowly draining, I went to work on the driver’s door latch.
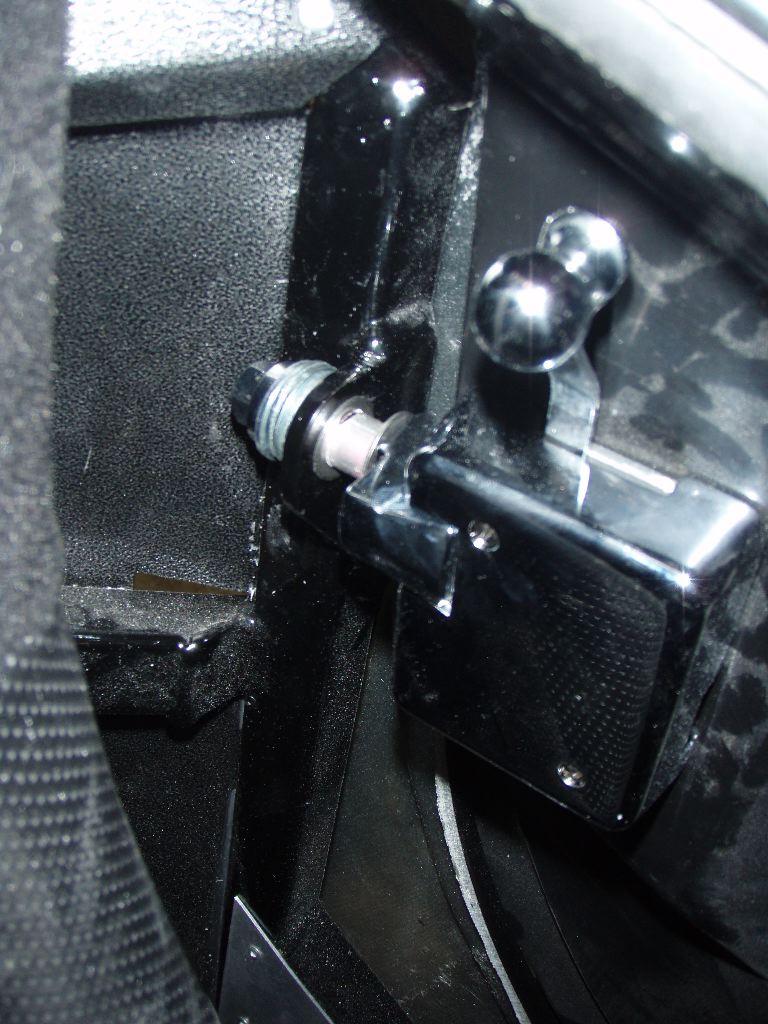
I needed to space it out, and the setup didn’t have enough washers for it. I decided to cut a spacer out of aluminum, which allowed me to sand it down at a slight angle to position the catch better. Once tightened down, it takes a bit of a whack to get the door to catch completely, but it does catch. I had to adjust the hinges a bit, too. The door will fit vastly better once its trimmed down to fit the door opening when I get the car painted.

The passenger side gave me a bit of grief. The sheet metal bracket that is inside the fiberglass door was slightly mispositioned, and the catch couldn’t clear the metal.

Using a cut off wheel on my Dremel, I just opened up the metal a bit.
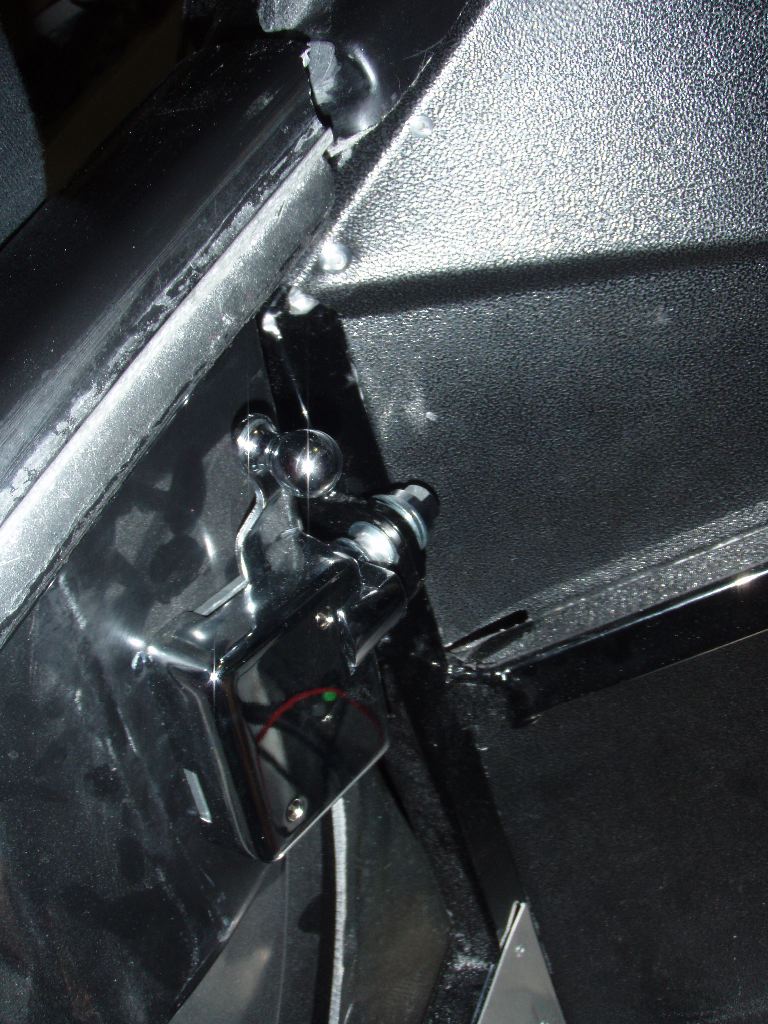
Once that was done, I made another spacer and installed the passenger side catch.
Once the doors were taken care of, the water had drained out of the engine and I could disconnect the hoses and remove the valve. It took a little bit of elbow grease and swearing to get the old valve out — this is why its good to think about how you’re going to reach clamps once the body is on the car when mounting things on the car without the body. The two clamps on the heater core side of the valve were very hard to reach with the body on. I did eventually get it off, though.
There was still water in the heater core, which promptly made a mess of the garage floor. Thankfully I didn’t have any coolant in there, so it was just a bit of grimy water.
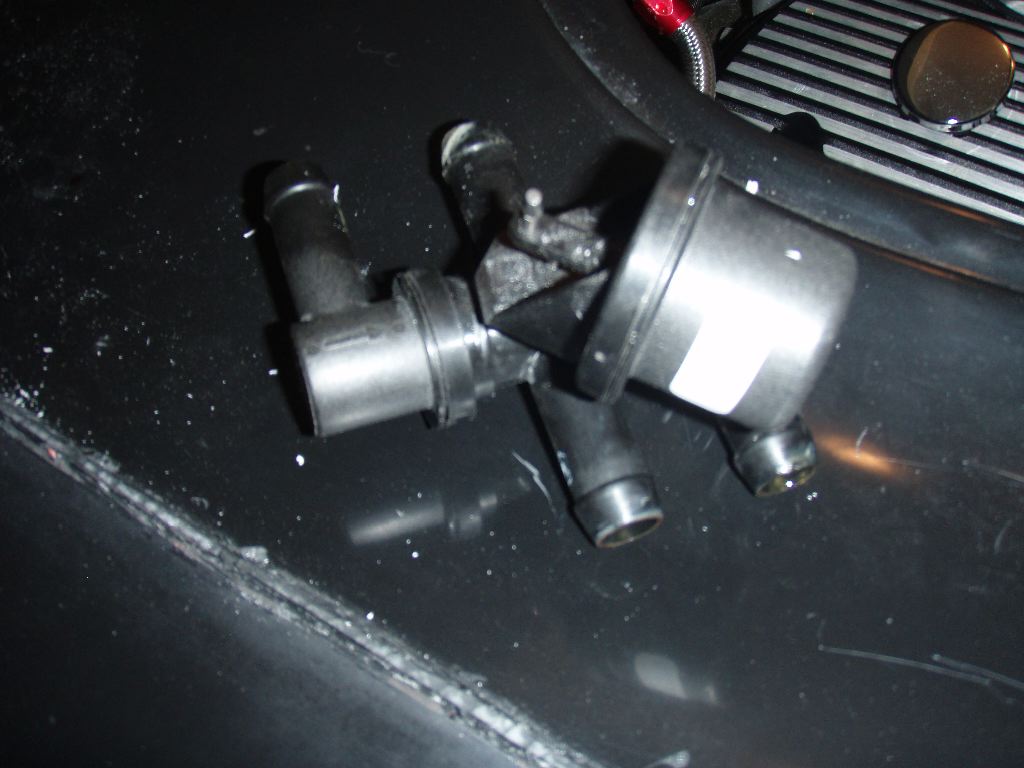
The old valve was pretty simple — two inlets, two outlets. When the vacuum actuates the valve, it opens and coolant goes into the heater core.
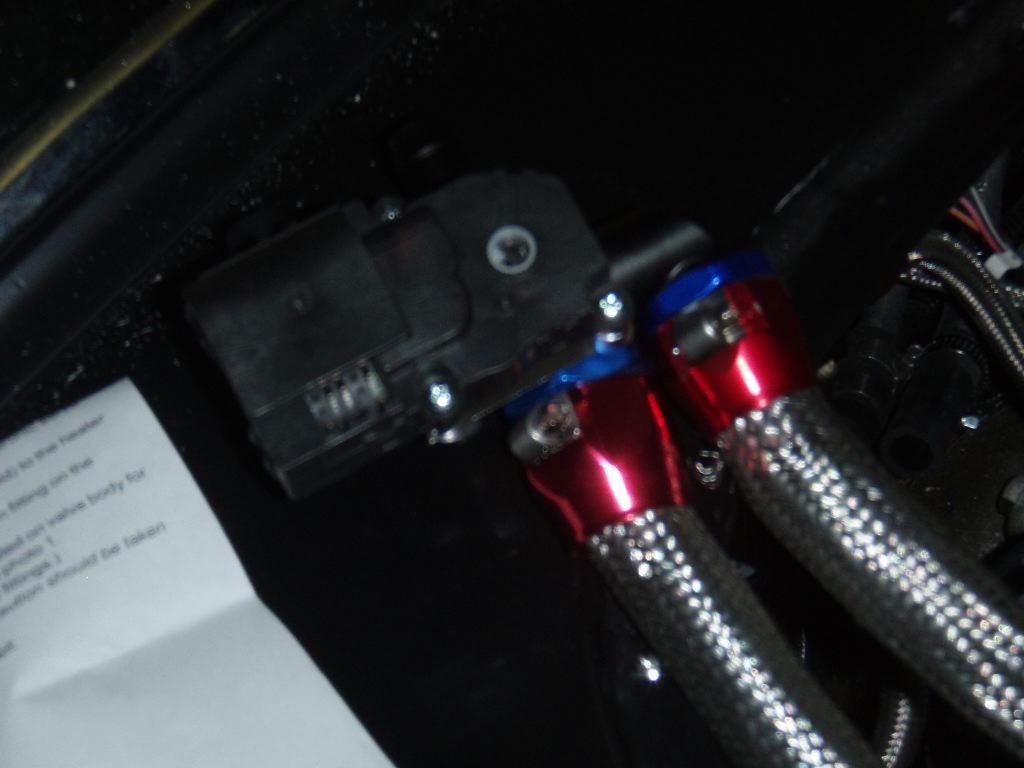
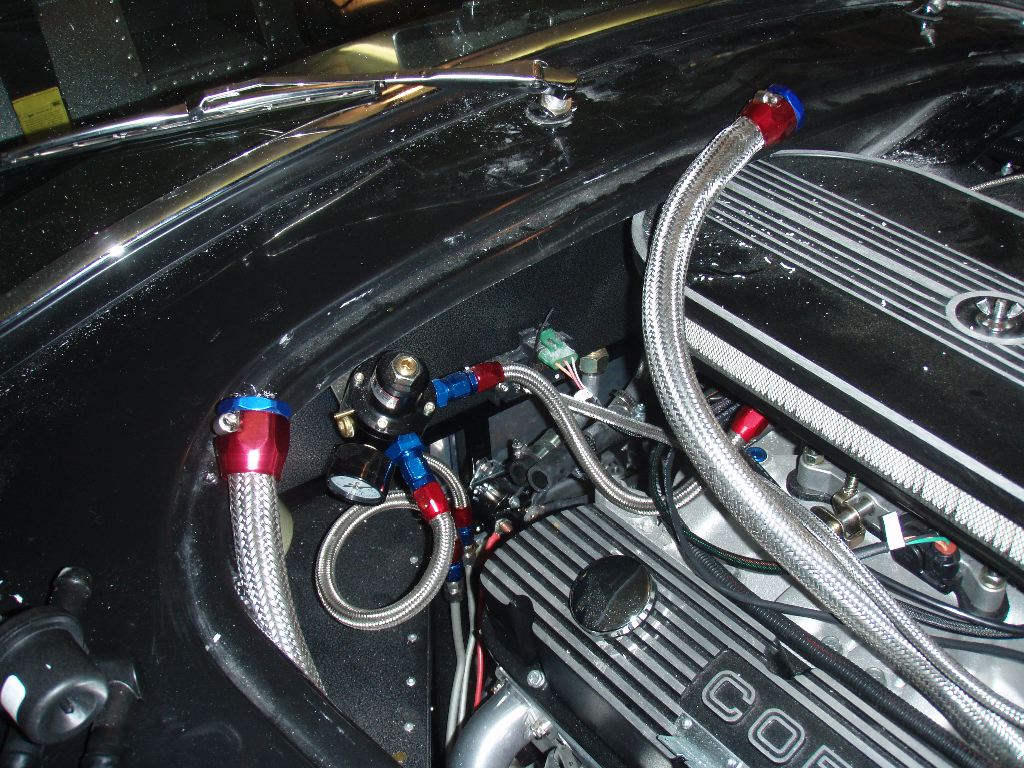
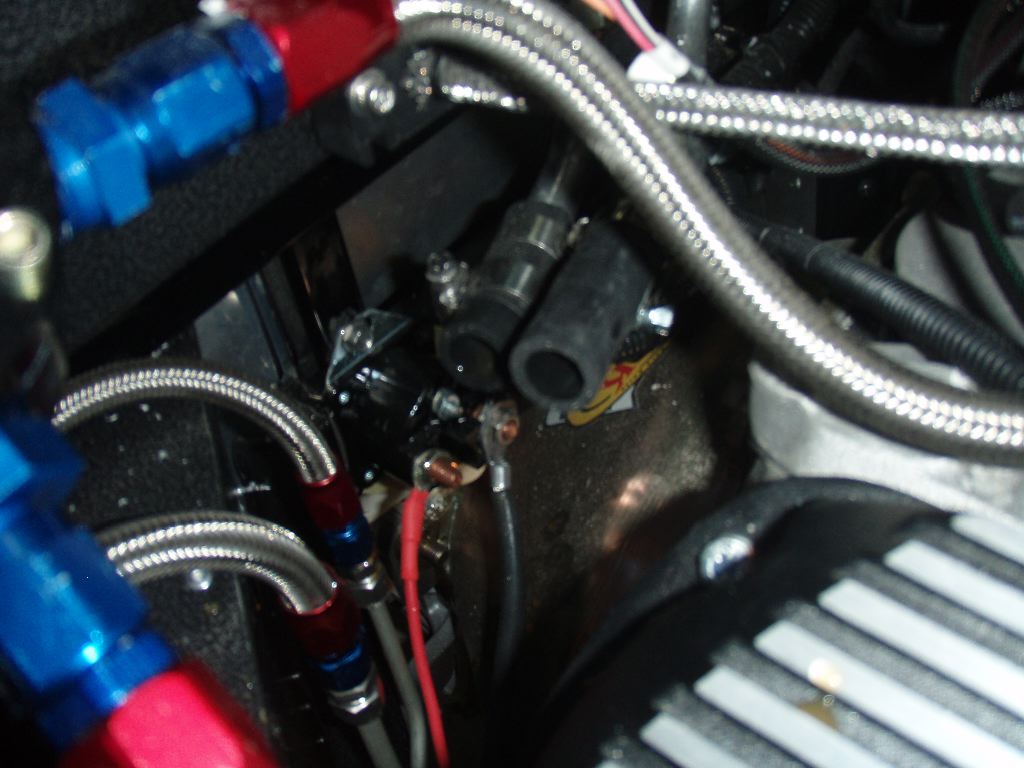
The new valve is electronically controlled using a switch and controller, and a servo actuator on the valve itself. Once I re-attached the feed lines from the engine, I tucked the valve back into the back of the engine bay.
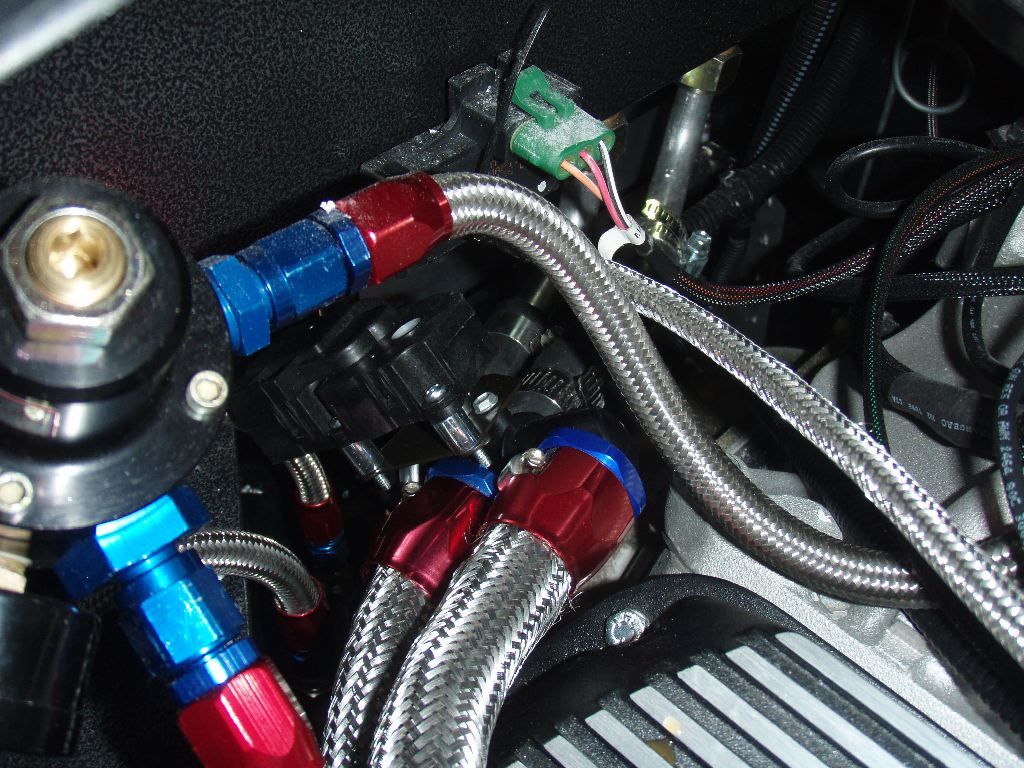
The clamps now are reversed and I can much more easily get the valve in and out in the future.
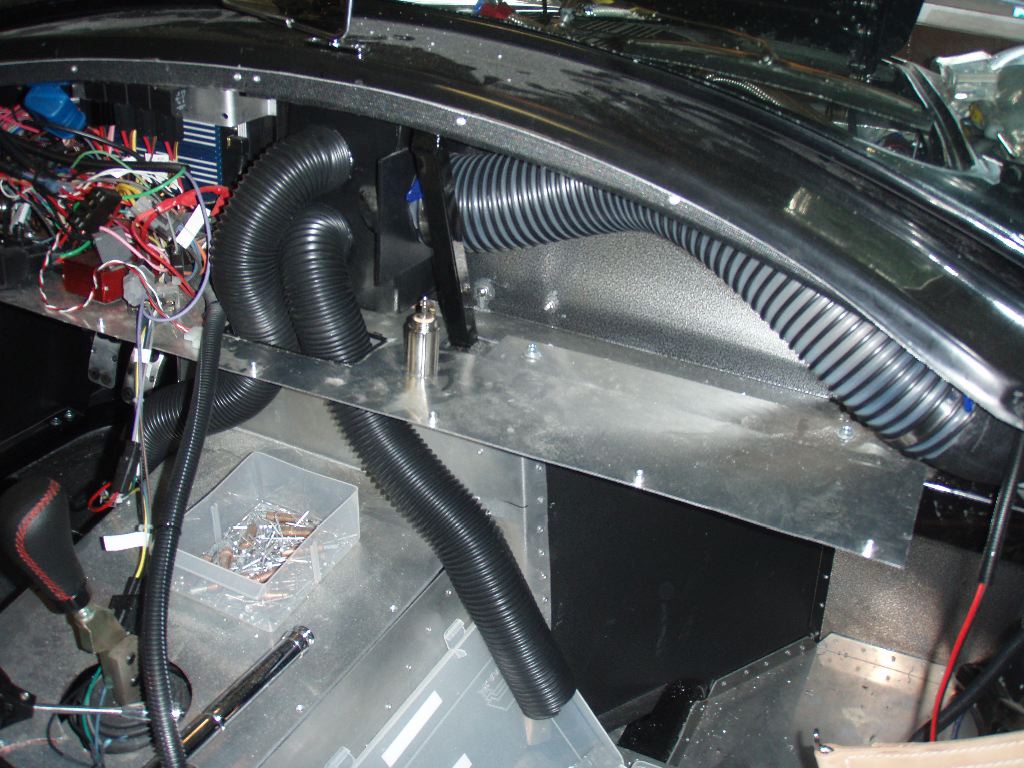
Monday night I stopped at Rockler after work and picked up another bag of 3″ hose clamps, and got the duct installed behind the dash to get the air from the blower to the heater core.
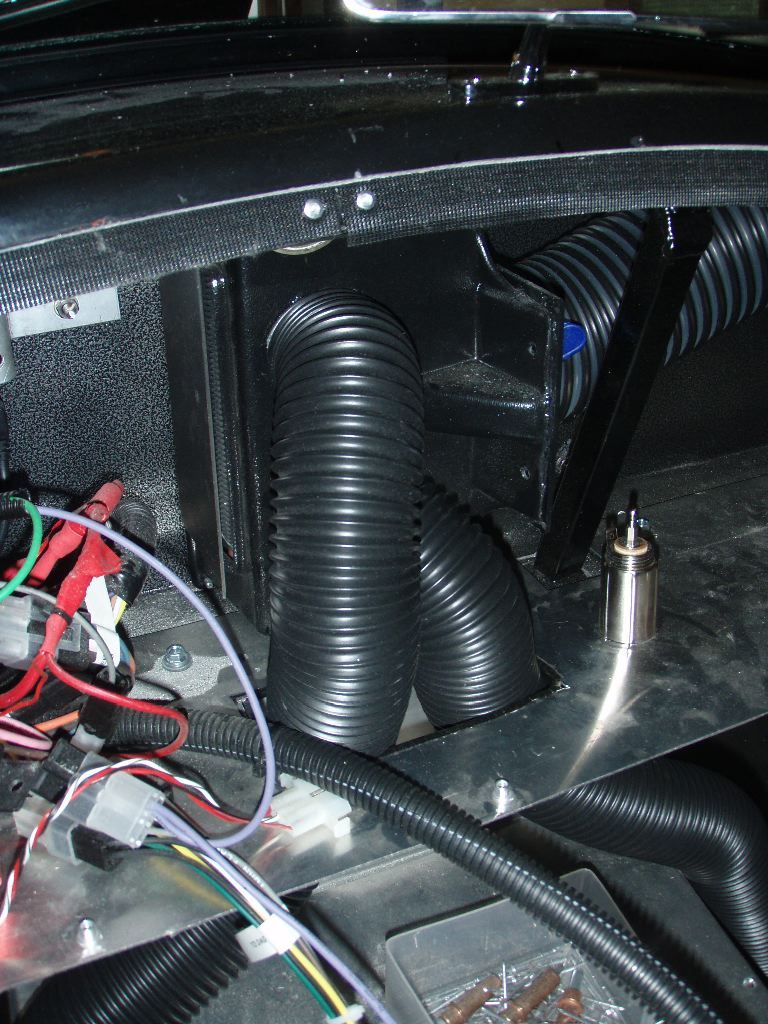
I also used a cut-off wheel on my Dremel to cut an opening in the underdash panel to pass the two vent lines from the dash into the area that will eventually have a center console. For now the two hoses will work fine for blowing heat or vent air to both seats even without a console. I do have vents to go into the console once I fabricate it, but that’ll be a winter task.
The wiring for the proximity sensor for the alarm, the power feed for the heated seats, and the vent/heat controls will all run through that opening as well.
The next task is to get the fuel tank vent line installed (I don’t have any spare hose for it, so I have to buy some) and to get the fan speed controller installed behind the dash. The wiper circuit needs to be wired into the last Delphi connector for the dash, and I need to finish fixing the hazard lights. Once those are done, the dash, steering column and turn signal assembly, and the steering wheel go on. At that point, its just a matter of installing the belts and passenger seat and I should be all set for inspection.
With a three day weekend, I expect I’ll be through that list this weekend. While I haven’t determined why the hazard lights aren’t working, I don’t expect it to be a problem and the rest is just assembly labor.