There has been nothing, except perhaps the heater, that I’ve spent more time futzing around with and thinking about then the look of the dash. I’ve had an image in my head of the overall look I wanted, but this is my first car and first real fabrication of anything before. Knowing what I want, picturing it and actually creating it are all very different things.
For two months I’ve been trying to find switches I’d be happy with, and figure out exactly what switches I’d want and where. I decided on Saturday it was time to *ahem* “sit” or get off the pot… I needed to just do it. I stopped a “You Do It!” in Needham, MA on my way to visiting some friends for a barbecue. I picked up some various parts and decided it was time to see if I could build what I was envisioning. I’d collected up other bits and pieces over the summer, as well.
Read on …
I spent some time thinking about exactly how I could precisely build what I was envisioning with the (relatively) limited tools I had at home. I knew I wanted to construct a switch panel out of aluminum, but had no real good idea how to do it.
I tried marking up the aluminum with sharpies, and placing the handles on it to determine spacing, but it just wasn’t going to be accurate enough. I needed something more precise.
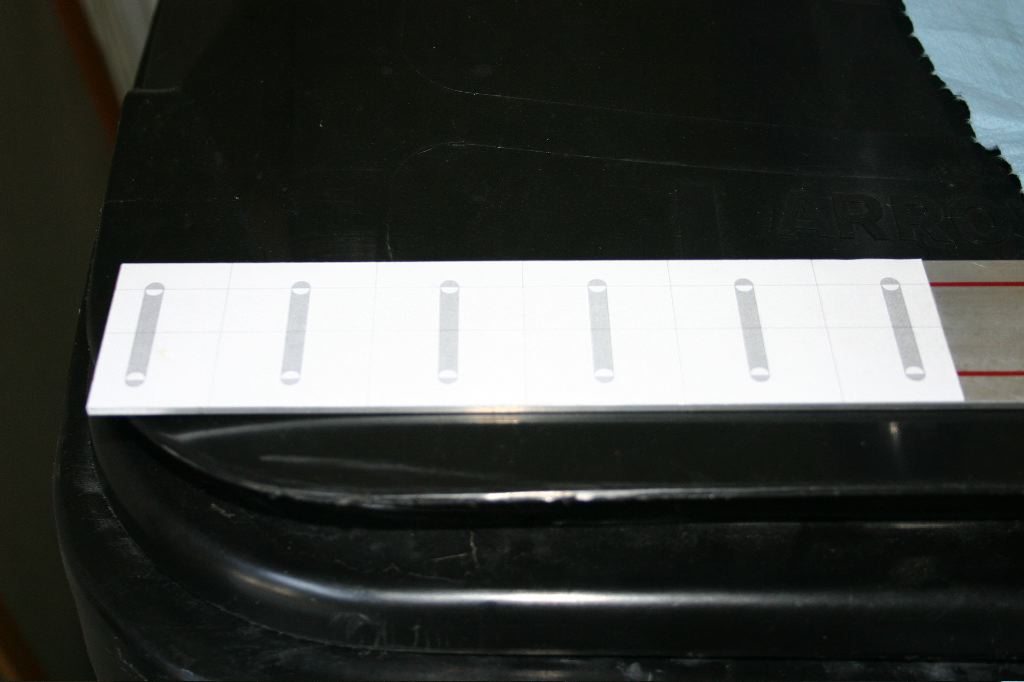
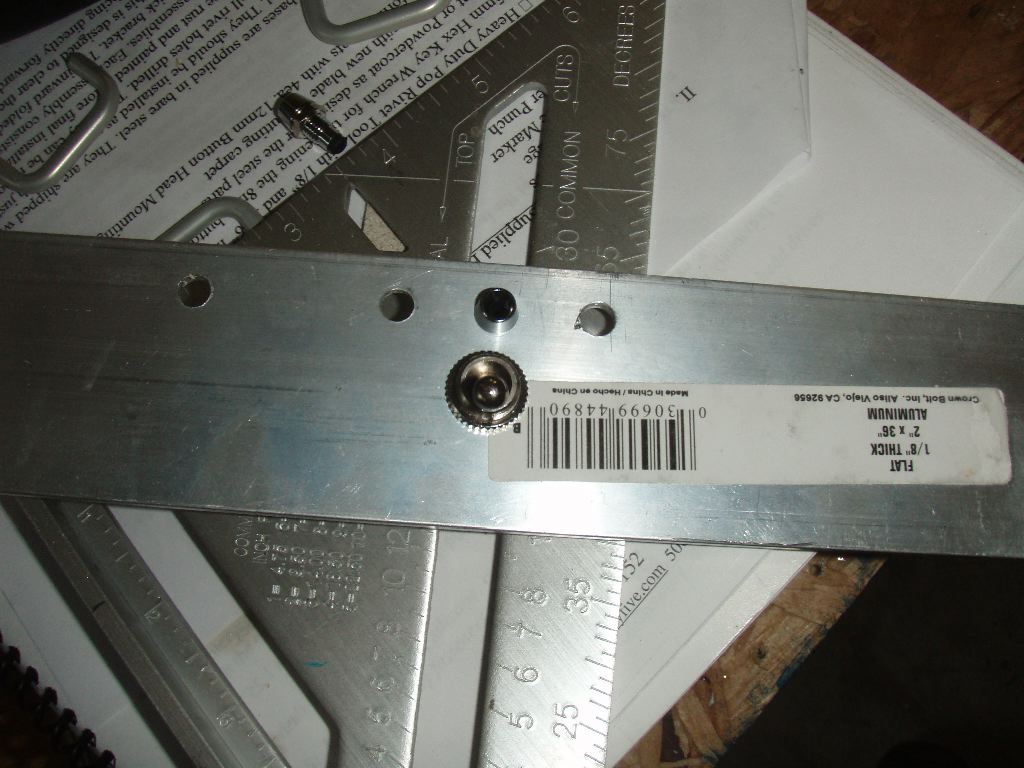
The first thing I did was sit down in Open Office’s drawing program and designed a template. I had 1/8″ thick aluminum stock left over from some other projects that was 2″ wide and several feet long. I figured that would be perfect for a switch panel.

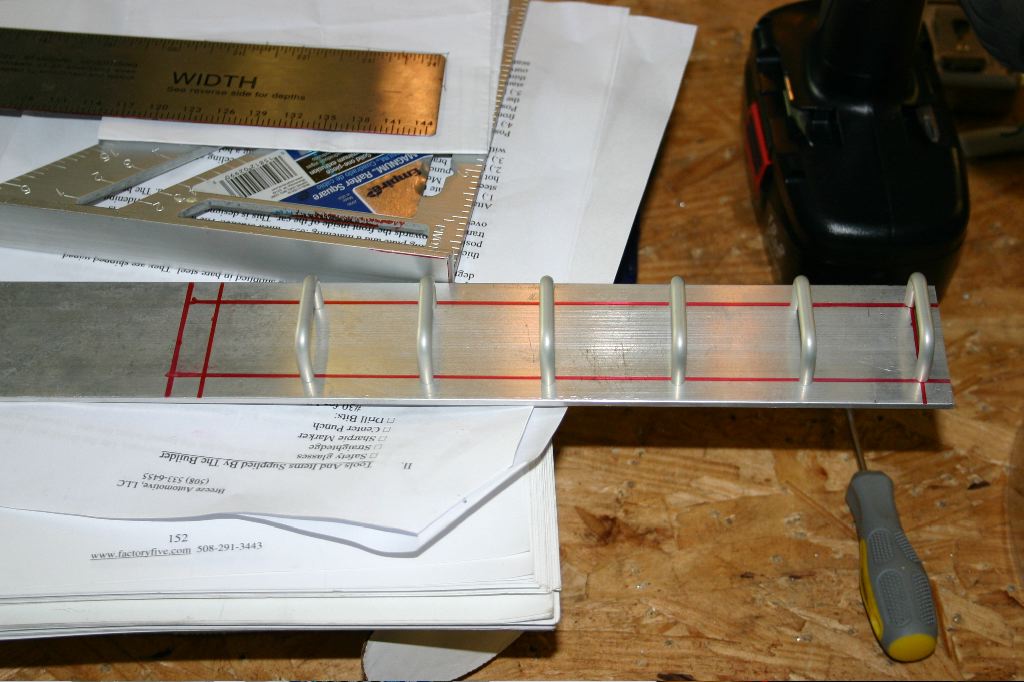
The template was designed to fit onto the aluminum, so I could align the drill holes and cuts. After printing out the template, I trimmed it to size, sprayed it with spray adhesive and glued it to the aluminum.
Using the paper as a guide, I center punches each of the drill points. There were twelve for the screw holes for the pull handles (the blue parts in the diagram). The cross points between them were for the half inch holes for the switches. The far left switch would be left undrilled, as that is going to be the starter button which I haven’t picked out yet. Above the four right switches are four indicator LEDs in chrome holders.
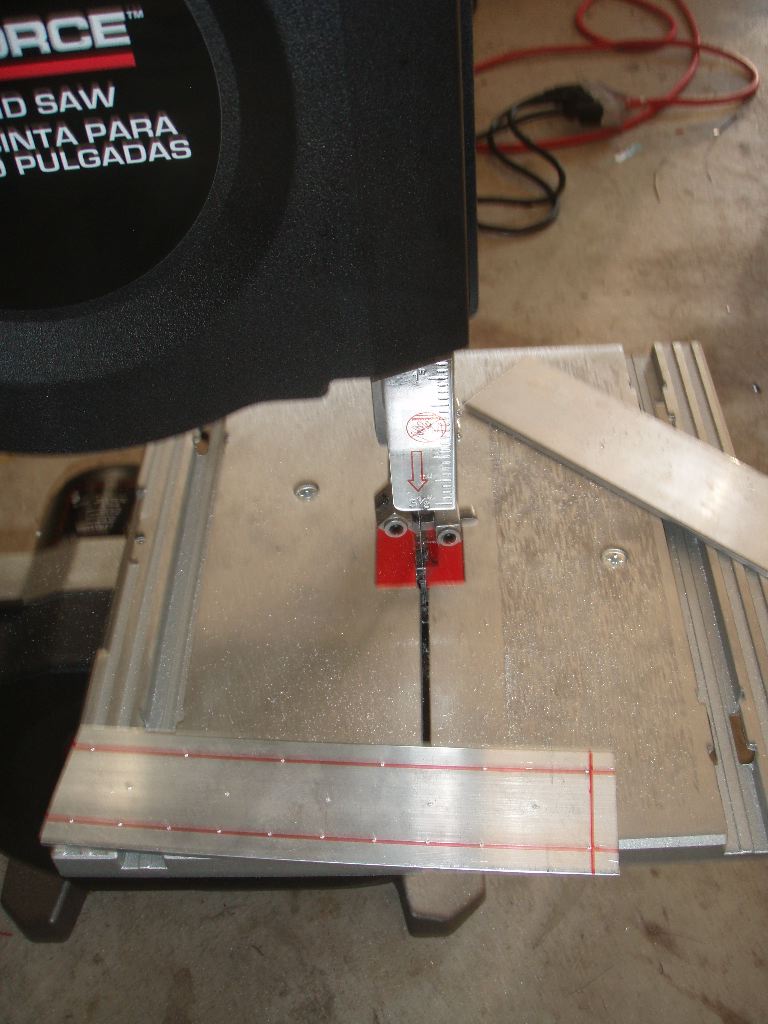
Using the band saw, I first trimmed the aluminum to length. I had punched the holes but not drilled them — I didn’t want to have to redrill them if I screwed up the cut. Well, that was prescient of me because I screwed it up not once, but twice. I was running out of aluminum at that point, and realized what I really needed to do was cut it well away from the line and then just use the bench sander to essentially grind it down to the right size.
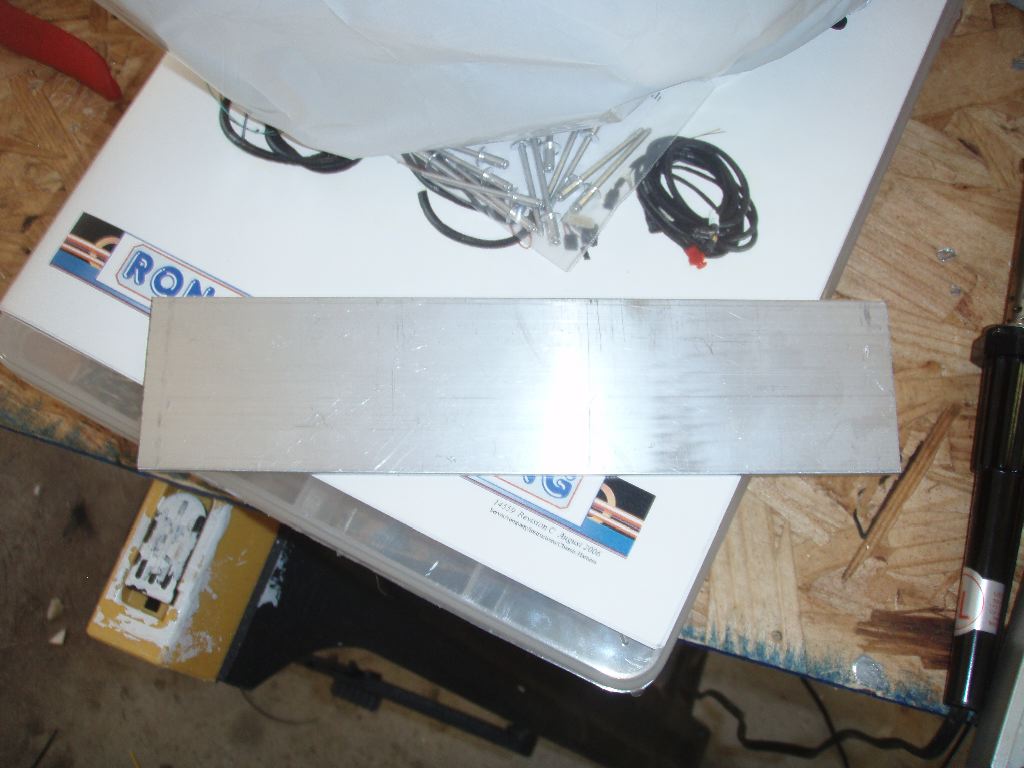
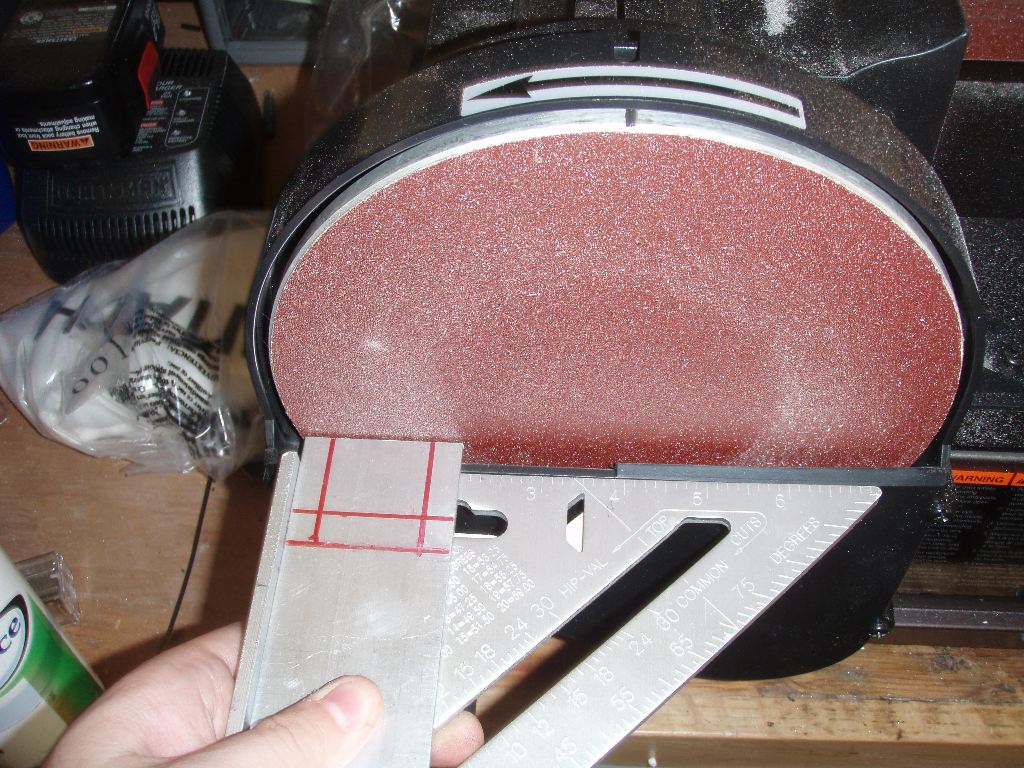
That is exactly what I did, using a square to ensure it stayed a 90 degree angle.
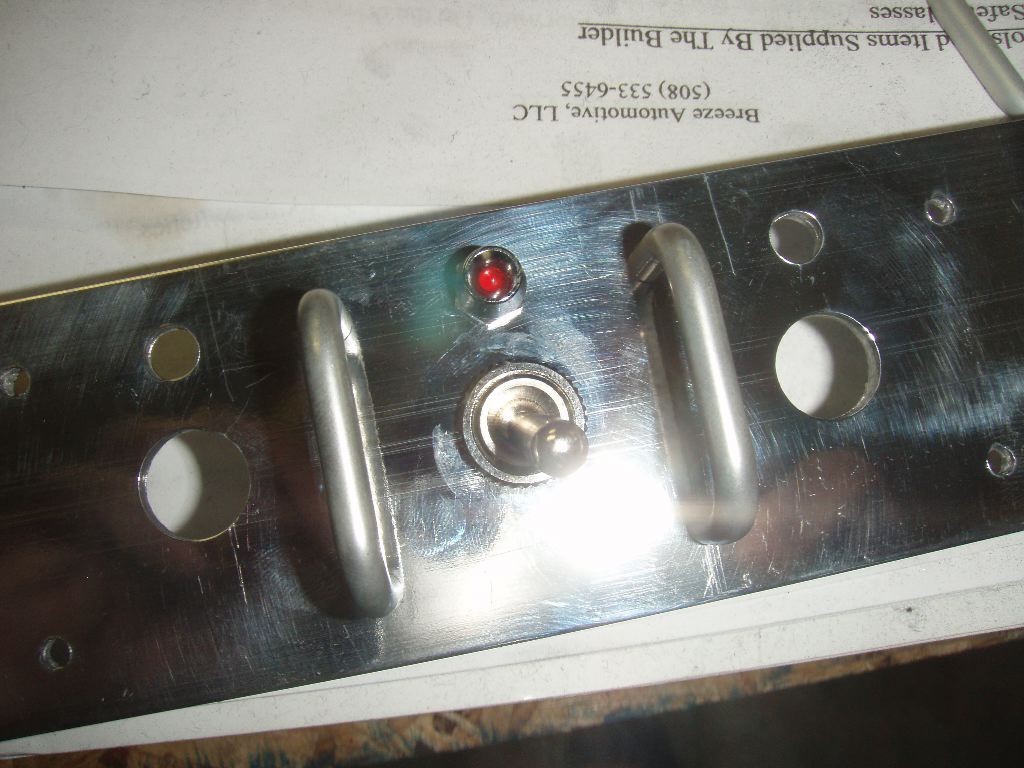
Realizing I had screwed up the cutting of the aluminum, I decided to use the scrap and drill the various size holes I needed to ensure the sizes were correct. I test fitted the switch and LED to verify it. I had forgotten to buy the screws for the aluminum handles, though, so I couldn’t do those at this point.
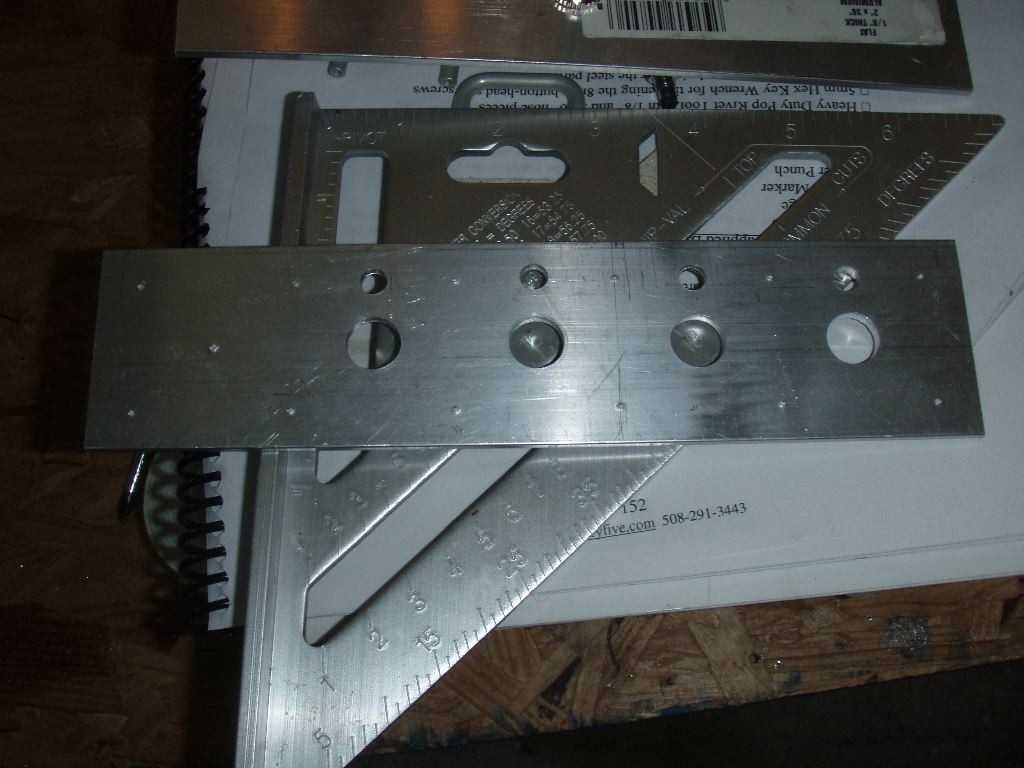

Using the drill press, I drilled the various holes I needed. When I got to this point, I ran out to Lowes to pick up the screws I needed.
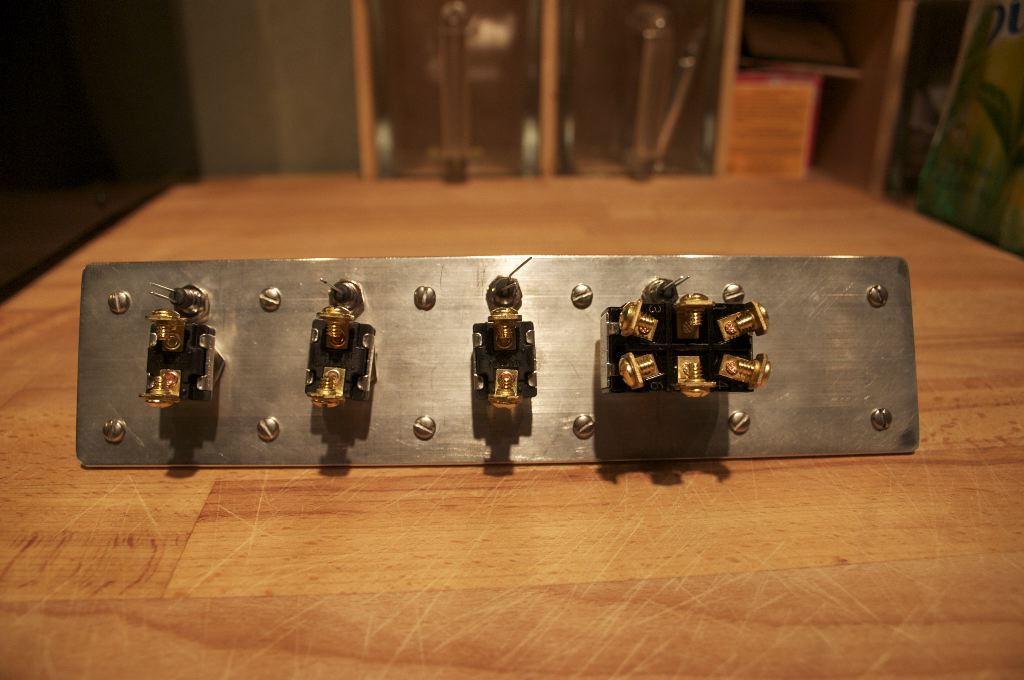
With the screws in hand I could finish up the rest of the holes. Notice the left hand spot is center punched but not drilled as I mentioned above.
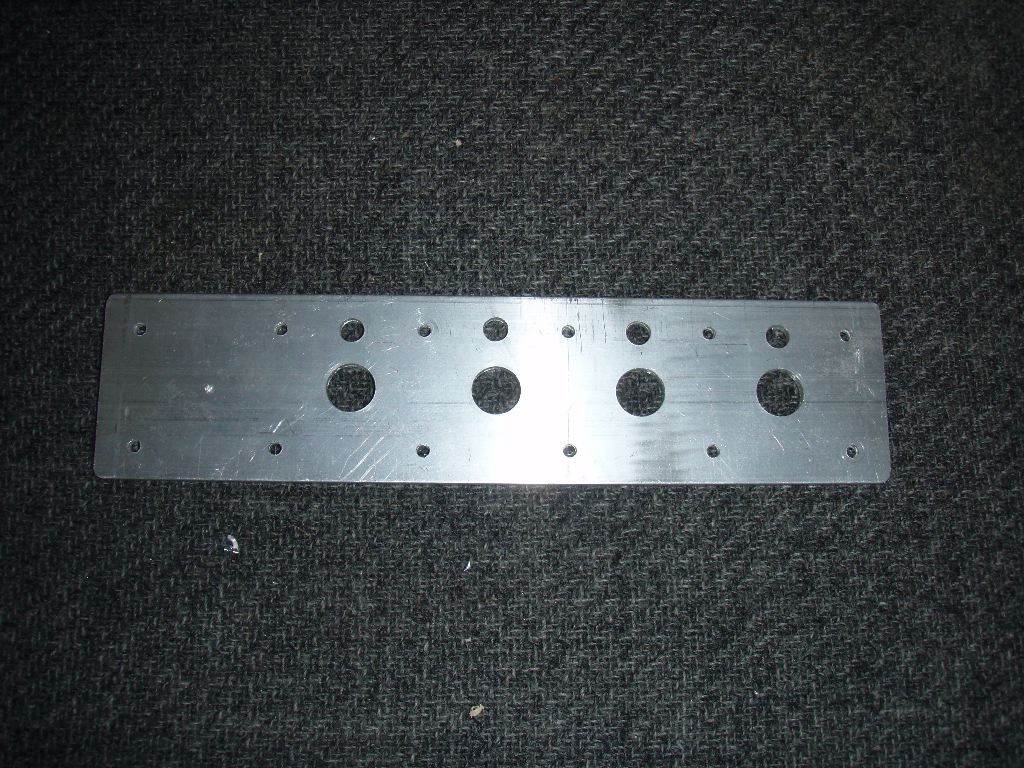
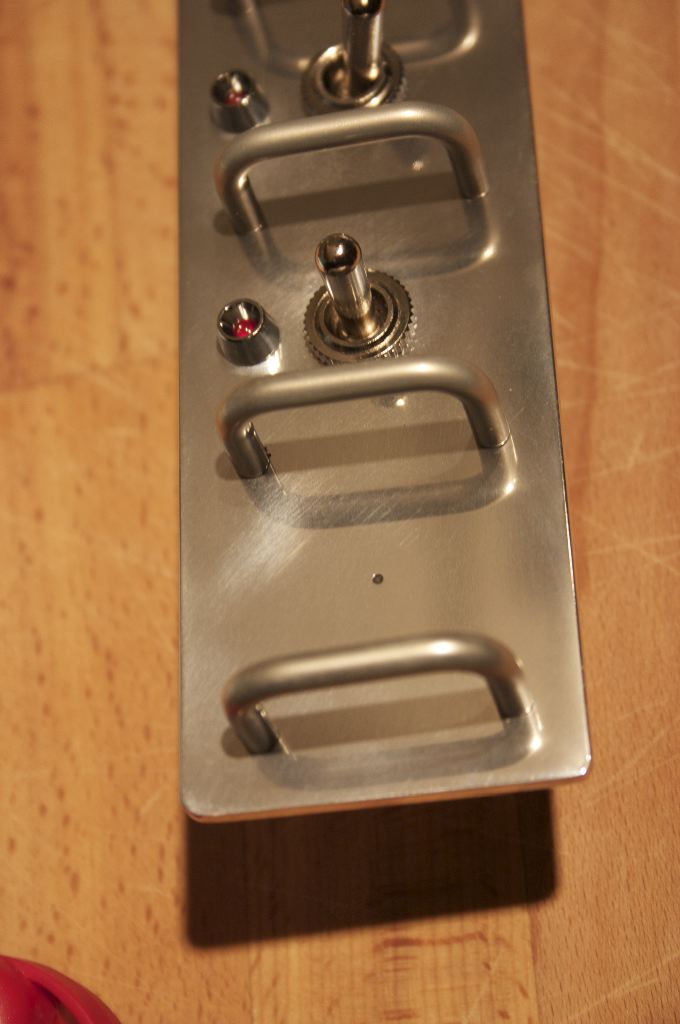
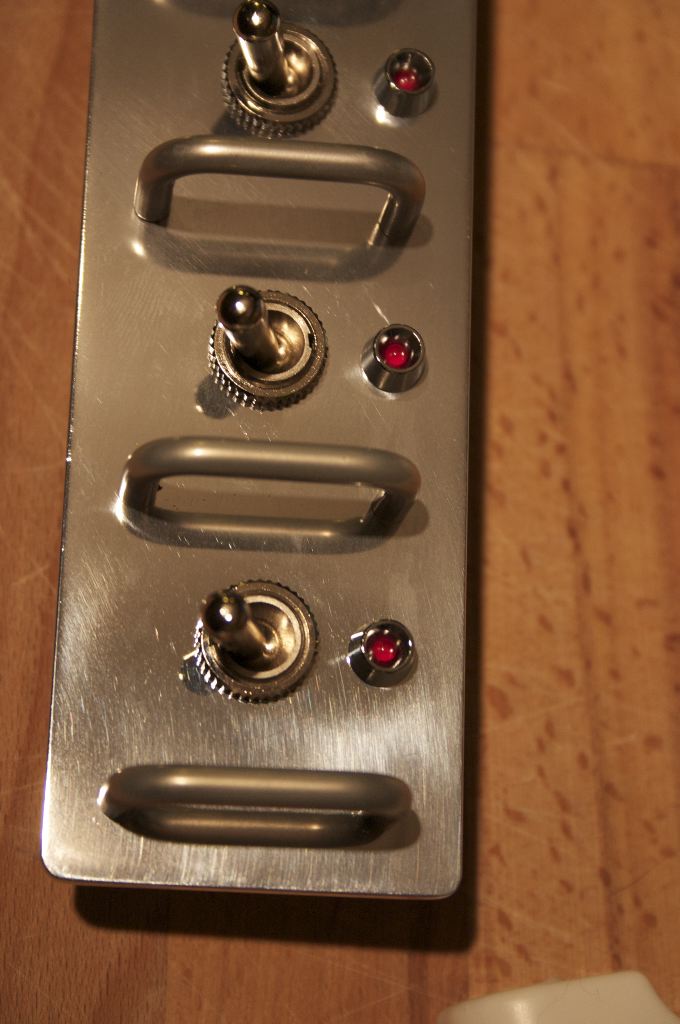
Using some metal polish and a buffing wheel, I polished the aluminum. I was able to get a good mirror-like finish, but discovered the aluminum was a lot more scratched and pitted than the stock looked before polishing. I was still happy with the overall look of the test fitting of the parts.
This evening I used a hand sander and sanded down the aluminum. Starting with 220 grit, then 440 and 800, I sanded out the scratches and pits as best I could. I then used a coarser polishing compound, a finer one and a finishing polish to finish up the metal. Unfortunately I couldn’t find anything finer than 800 grit and the end effect was more of a polished brushed-aluminum look than a mirror finish. It actually wasn’t what I was trying for but looked better.
The switch positions are:
– Start/power button
– Headlights (left – driving lights, right – headlights — the switch won’t fit vertically with the LED in there, although I may be able to find a smaller one)
– Hazard lights
– Fan override
– Unused
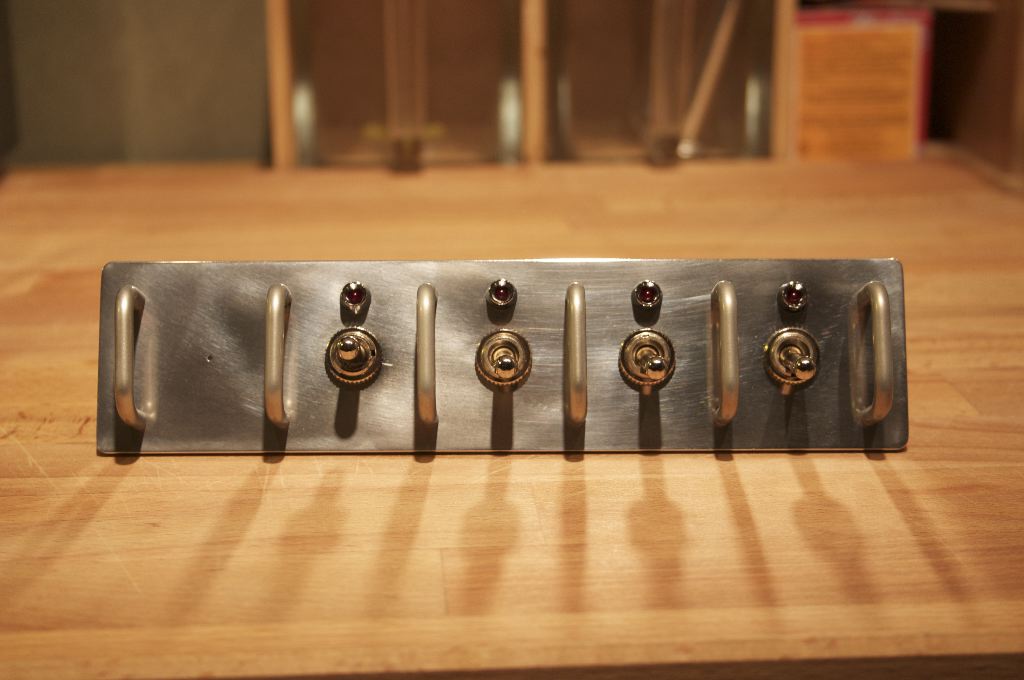
It seems like a small thing, but of everything I’ve done so far on the car, this is by far the most satisfying. This wasn’t a challange like figuring out how best to take parts and assemble them to do what I wanted — this was taking an image in my head for a style I wanted and creating it from scratch.
The end result was exactly what I was hoping for.
I’ll be doing a similar, but smaller panel, for the center console which will have a 12v accessory plug, switches for the seat heaters and the control knobs for the heat/vent on it. I’ll probably build that this week, too.