This weekend is a three day weekend, and its only Sunday, so I’ll probably have another post tomorrow with whatever work I decide to do on my day off. Yesterday and today, however, I worked on getting some parts in the car painted, and polishing some other stuff. It doesn’t sound like a lot of work, but it was more than I expected.
You know the deal — read on for more.
So a post or two ago I had been getting the drivers seat positioned and drilled. I started off yesterday clearing out the huge amount of parts collected in the passenger side of the cockpit. It had turned into a bit of a closet, in that everything I wasn’t using was getting tossed over there.
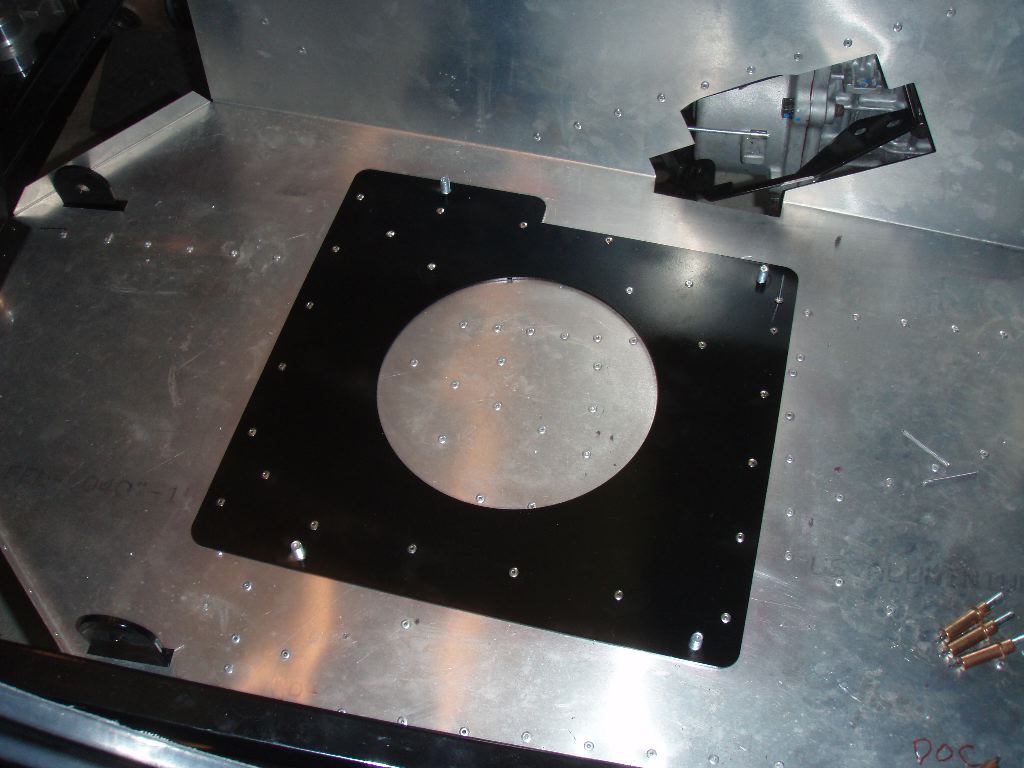
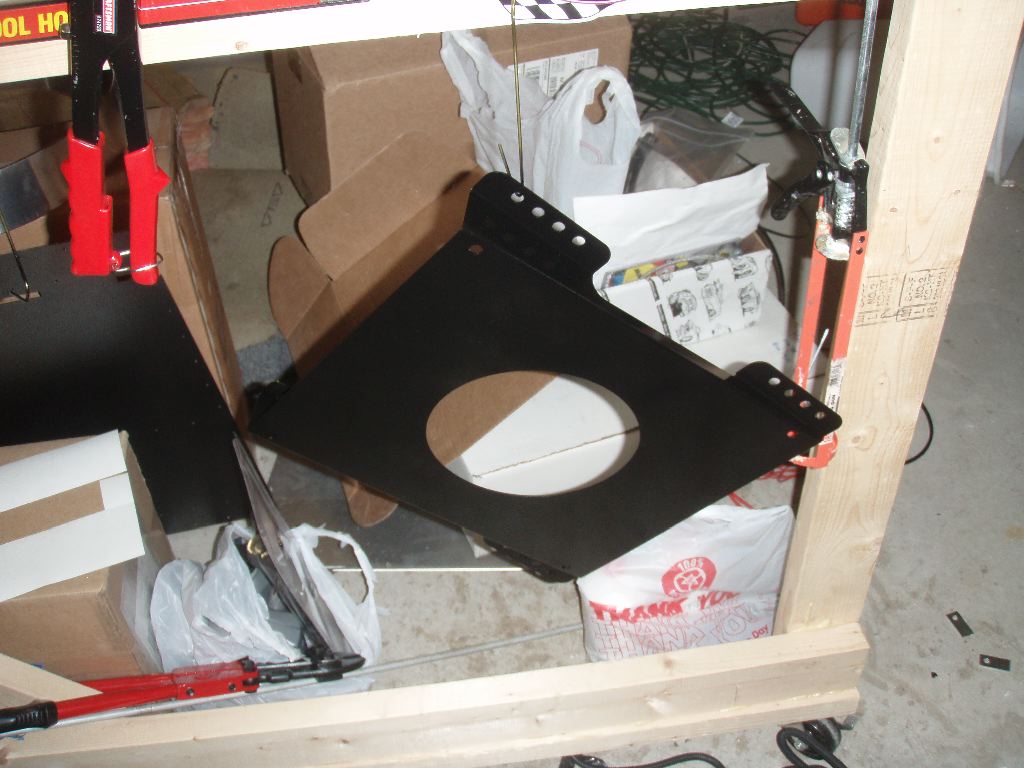
Once I had the parts all cleaned up, I hit it with the shop vac — it was amazing how much bits of metal collects in every corner of the car from cutting and drilling stuff. I mounted the passenger side seat mount onto one of the Street Performer seats and positioned it.
Same process as the driver side — I had to drill out all the rivets so the seat would sit flat.
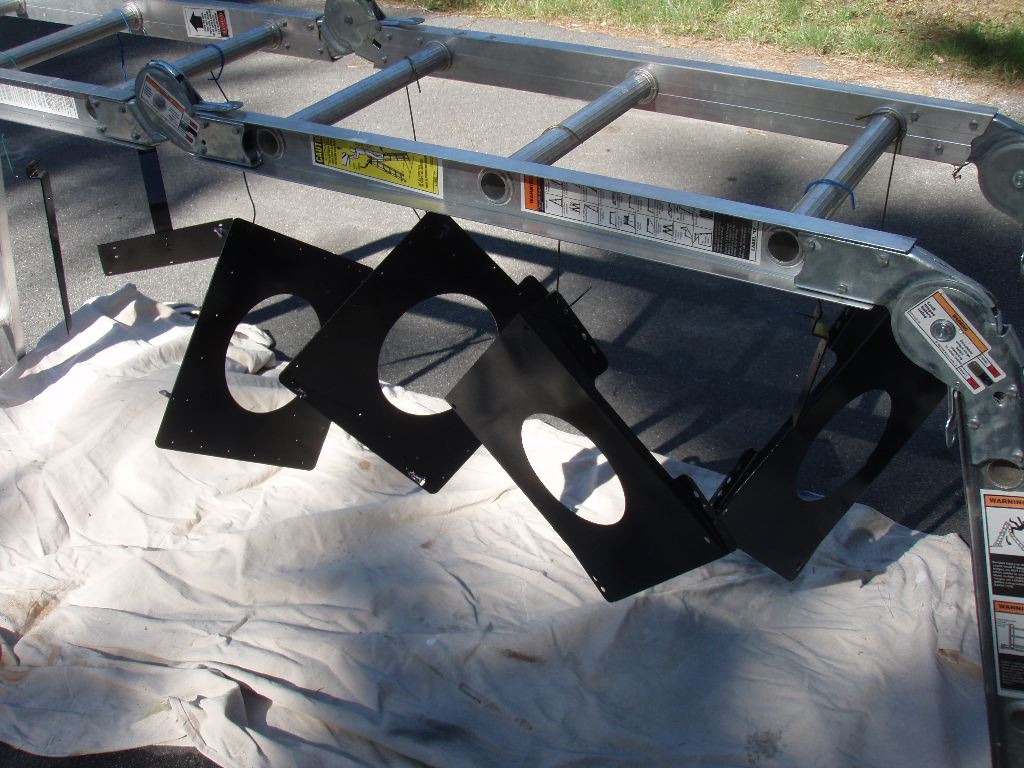
Because I had the seat mounts drilled, I decided to take advantage of the nice weather and get them painted. I had bought some Rustoleum Appliance Epoxy paint which I’ve been told is MUCH more durable than the normal Rustoleum paint, which frankly I haven’t been impressed with. It was already flaking off the brackets I’d made to mount the brake reservoirs and the degas tank in the engine bay.
Because I had to paint the seat bottoms anyway, I decided to remove the brakets and associated tanks to paint them with the appliance paint. That turned out to be a lot of work, both in undoing the various hoses and sanding off the old paint. Some of it stuck well, much of it didn’t. It all had to come off though.
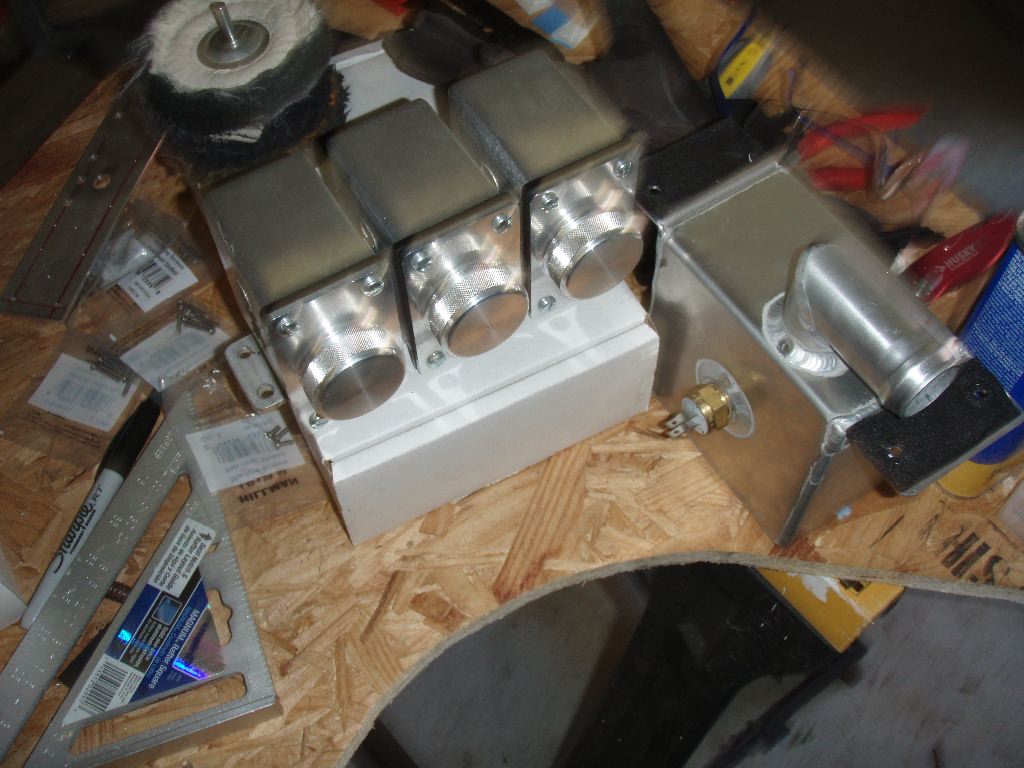
I set the tanks aside, as I figured I could polish them up a bit, since I had the stuff for polishing the switch panel.
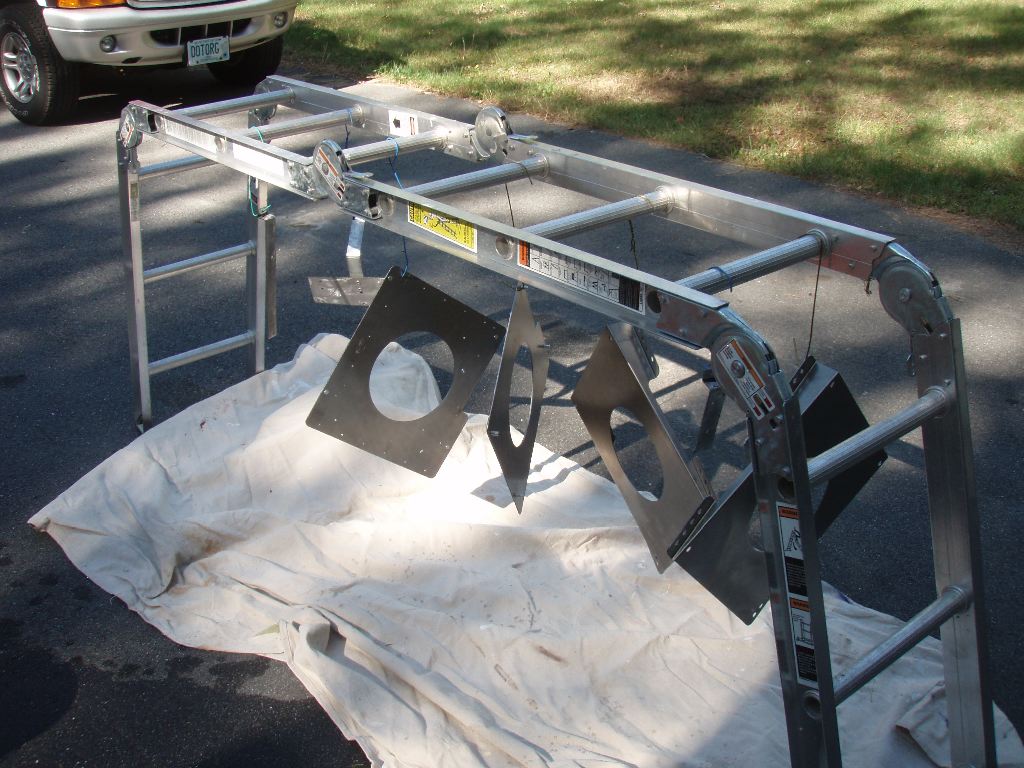
To paint everything, I used my folding latter and three hangers I cut up to make hooks to hang them from.
After I sprayed them, between coats, I polished the reservoirs and the degas tank.
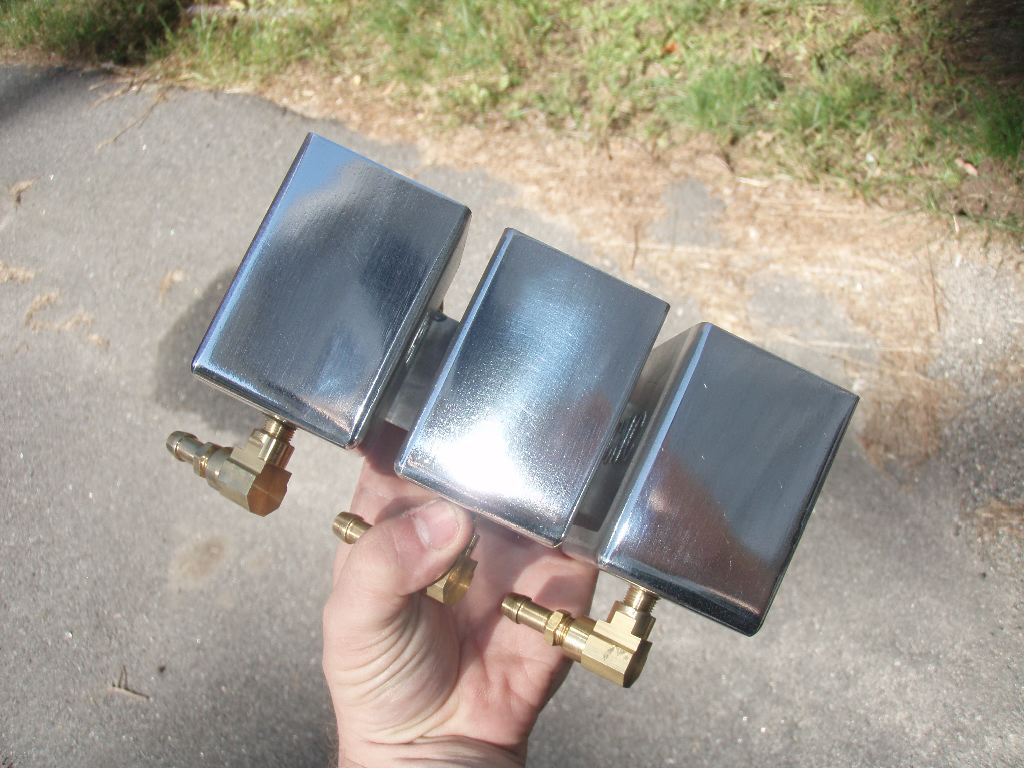
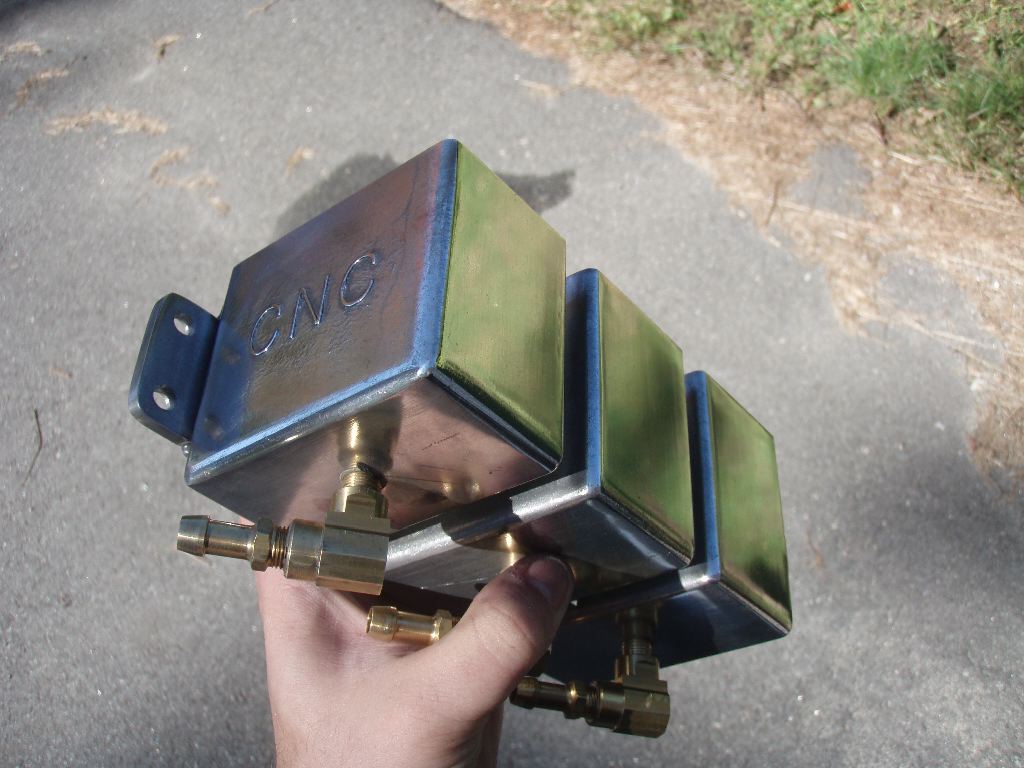
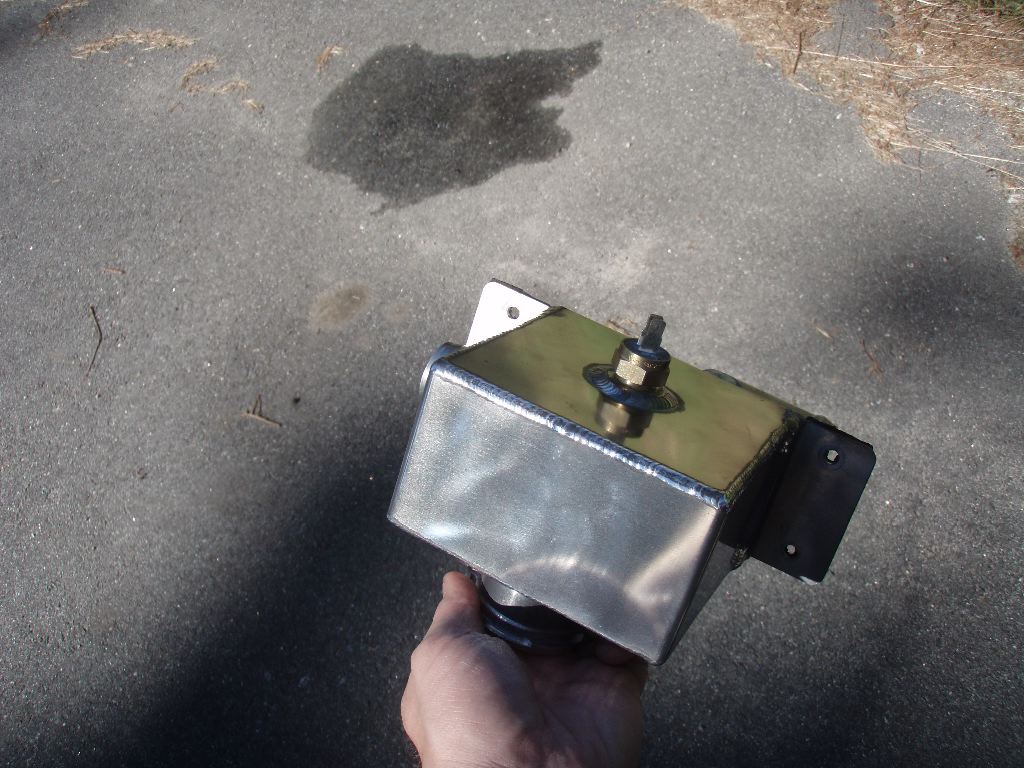
I didn’t sand the tanks at all — just polished what was there. The end result was more of a shiny brushed finish, a little rougher and less bling than a full mirror polish would’ve been. I was happy with the results.
The various bits that got painted looked good, as well. That was the last thing I did yesterday — let those dry and took them in.
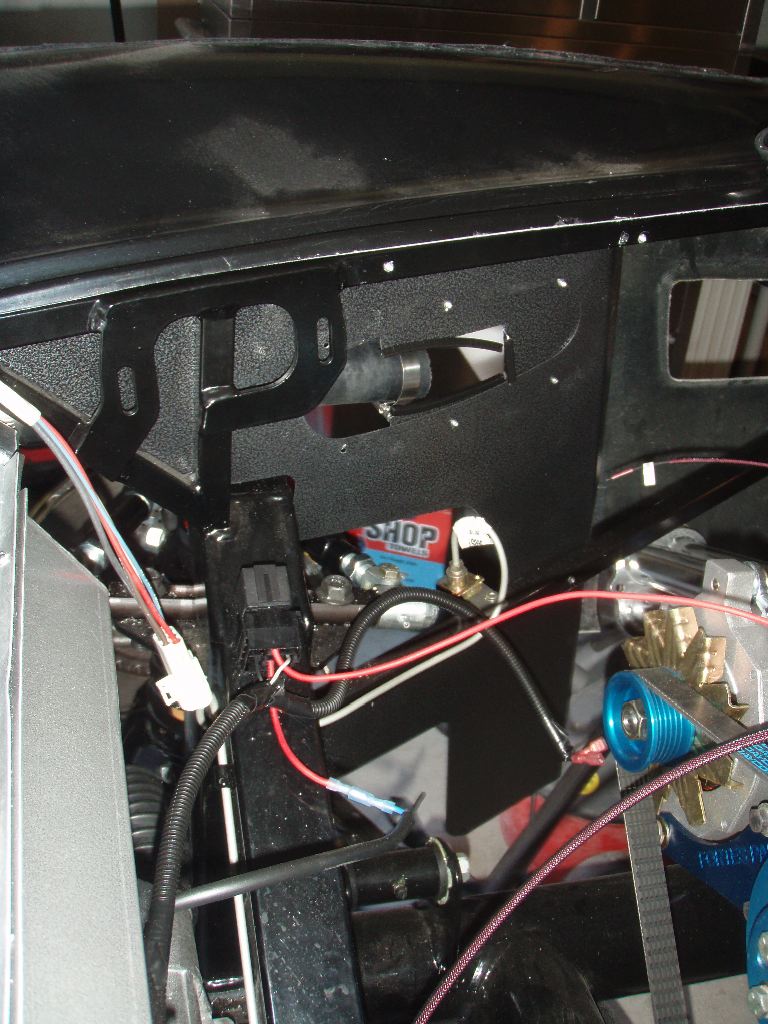
This morning I started off by getting those all remounted. I had to clean up the rivet holes, drill out the bits of the rivets that were still there from before, bolt everything up and re-rivet the brackets.
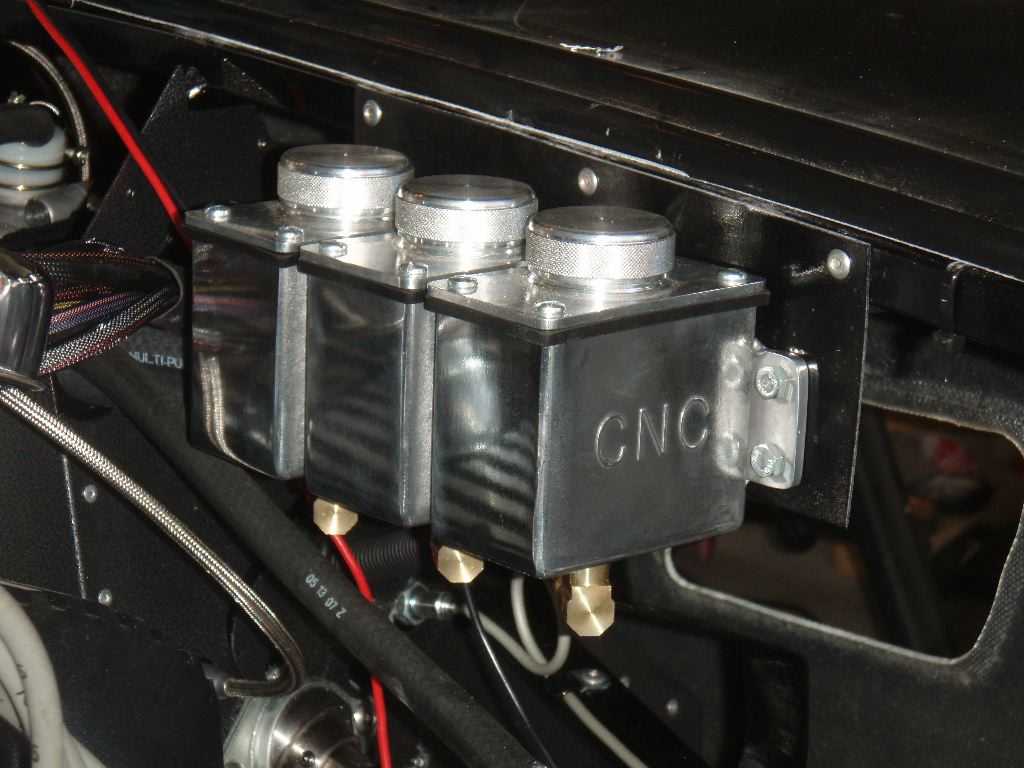
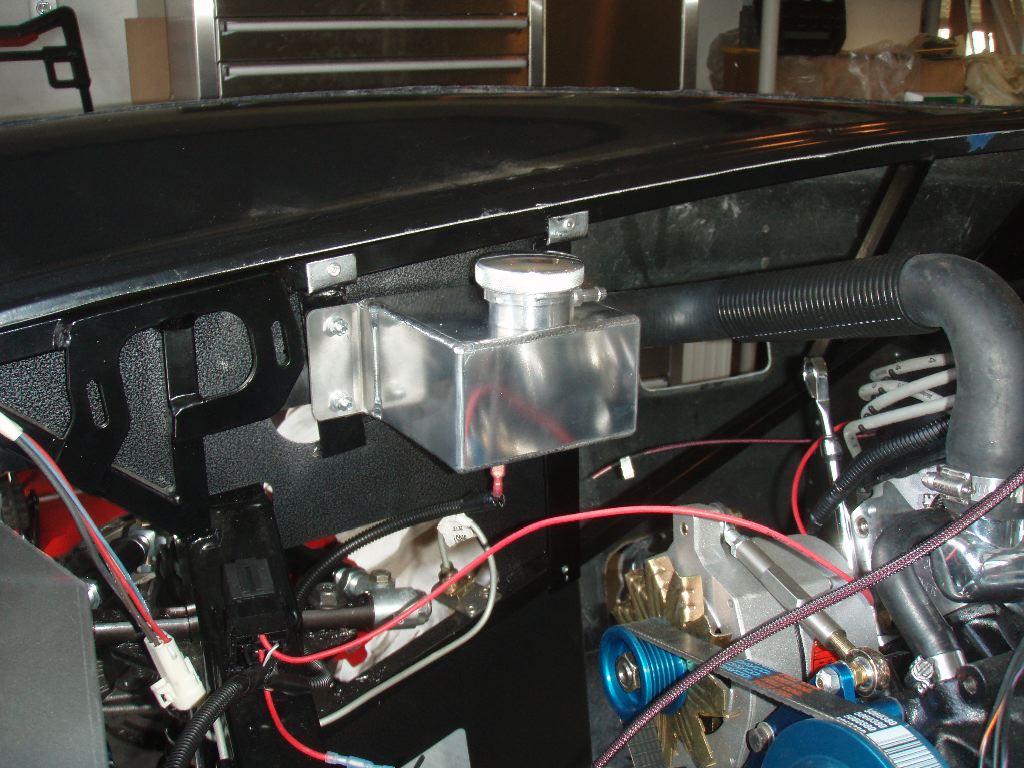
The tanks looked a good bit nicer once they were remounted. Notice in the last photo I managed to miss part of the tabs mounting the degas tank onto the frame. I’ll have to go back and hit that again with some paint before it rusts.
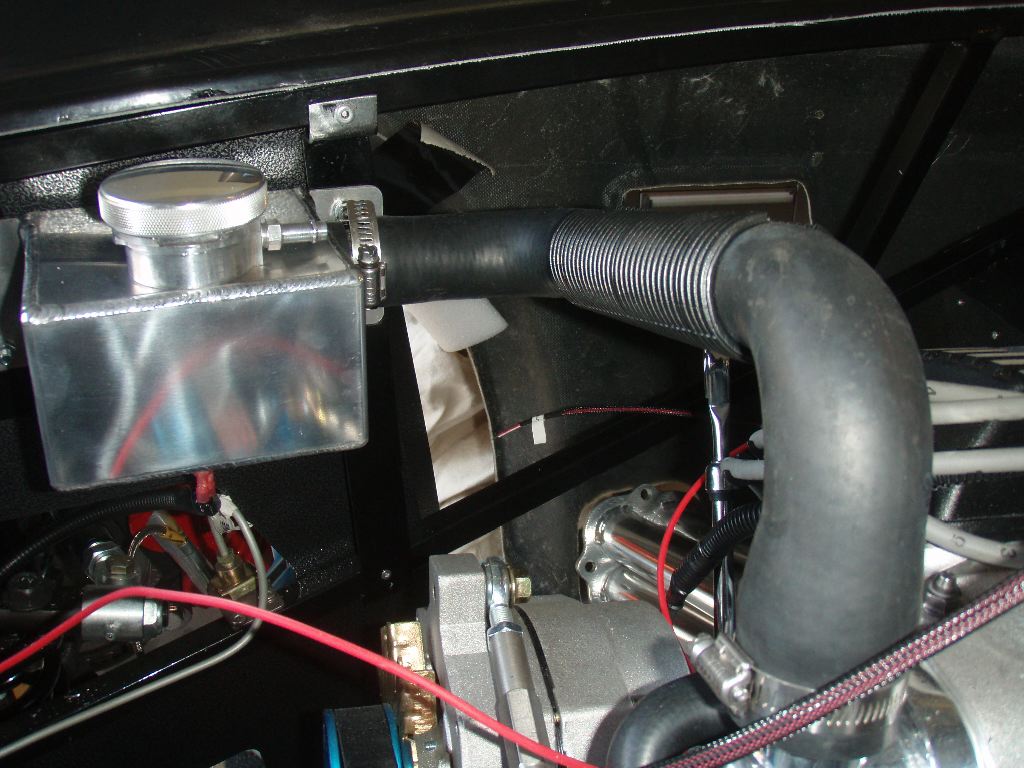
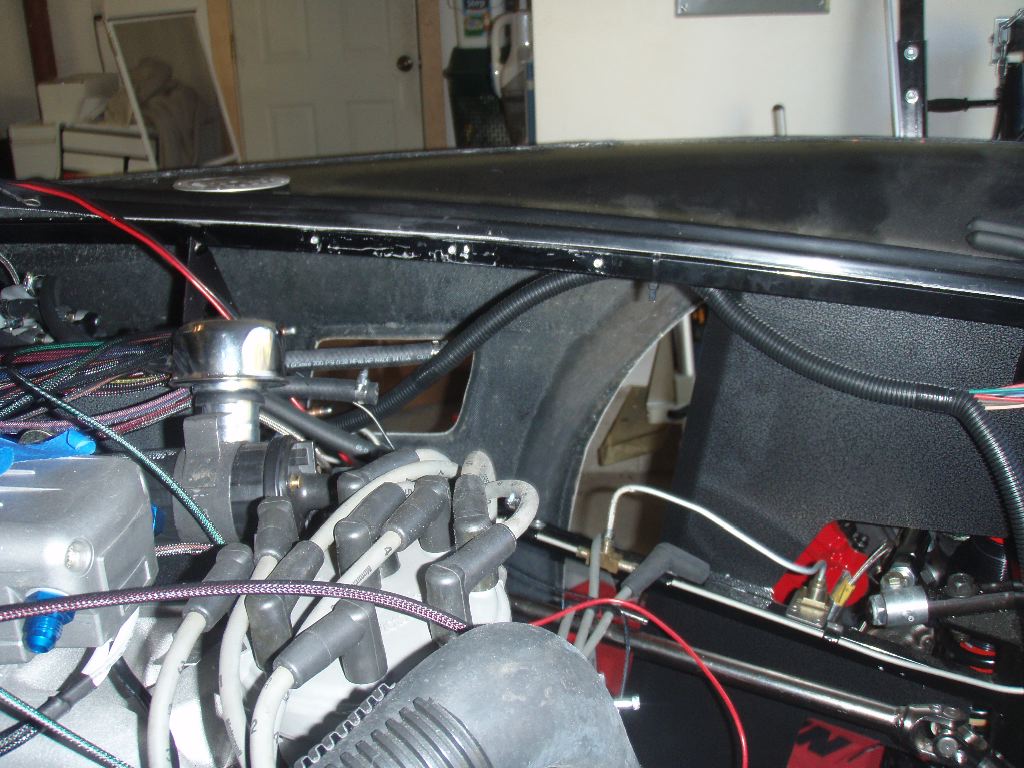
While I was remounting the upper radiator hose I decided to take the end of it off, which had a bit of a weird S-curve in it. The hose is more of a straight shot now, which will both work better and I think it looks better.

The seat mounts got riveted to the car. I had to run out and buy stainless steel rivets, as I felt it would be safer using them as opposed to aluminum to hold the seats down. With 20+ stainless rivets, these seats won’t ever come loose!

The portion of the seat frame that bolts to the seats is also painted, but I haven’t mounted them to the seats yet. I’ll put the drivers one on temporarily to do things like adjust the pedals, but the two seats are going to get recovered, so I might as well leave the passenger one off.
Lastly, I used a new Neat Receipts scanner I picked up yesterday to scan all of the receipts so far for the Cobra project.
Lets just say I strongly recommend anyone building one of these to just toss the receipts in a box and never look at them.
Ouch. Very ouch.