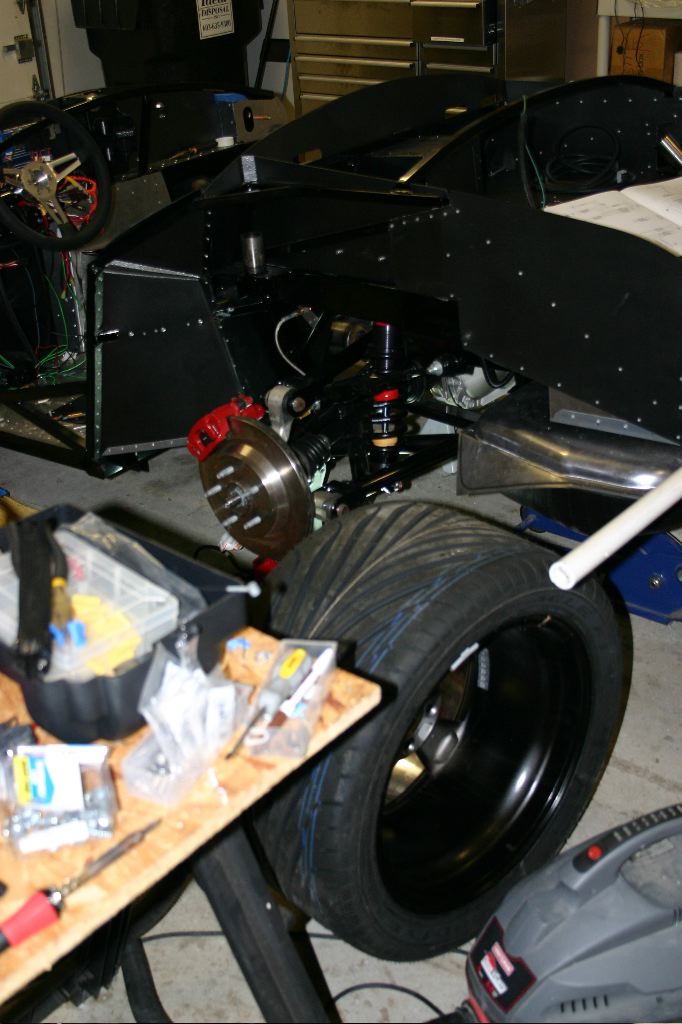
I mentioned in last night’s update that I had spent a few hours yesterday evening working on fixing my IRS setup so my wheels and tires would fit correctly. This morning I finished up the process, at least well enough for now, and wanted to post an update about it.
Its annoying that the Factory Five manual explains this poorly at best, just plain incorrectly at worst. Thats apparently well known, but was news to me. Unfortunately had I known, it would’ve been much easier to tweak and adjust before I had assembled the trunk. On the upside, I do know that even with the trunk assembled, I can still get to everything back there.
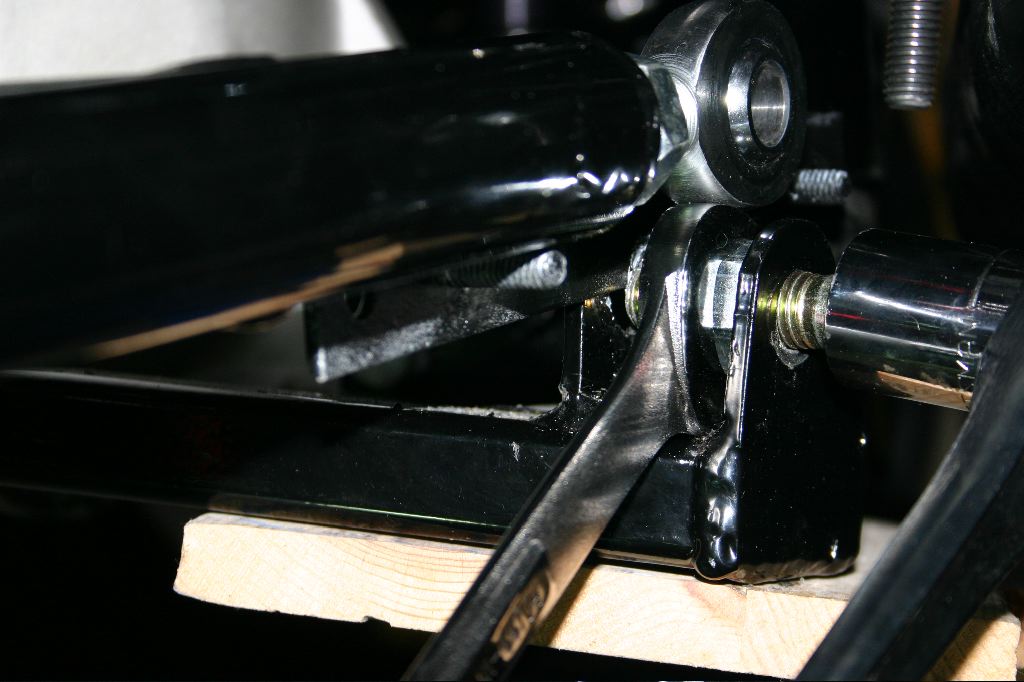
So the crux of the problem is the explanation of how to set up the heim joints on the inboard ends of the lower IRS arms. The way the manual explains how to install them doesn’t leave room for larger wheel and tire combinations, plus narrows the width of the car and shortens the wheel base of the car slightly.
Fixing the problem involves essentially disassembling the IRS and reassembling it with the heim joints farther our and shifted back as far as possible in the mounts. The upper arm is then adjusted to keep the alignment correct and everything is reassembled and re-aligned.
The trick is to set the rear passenger heim joint as far out as possible (with 5/8-3/4 of an inch of threads still engaged), then adjust the front passenger to match, then match the exposed threads on the drivers’ side heim joints as a starting point. I don’t know why its critical to start on the passenger side, but it is.
Passenger Side
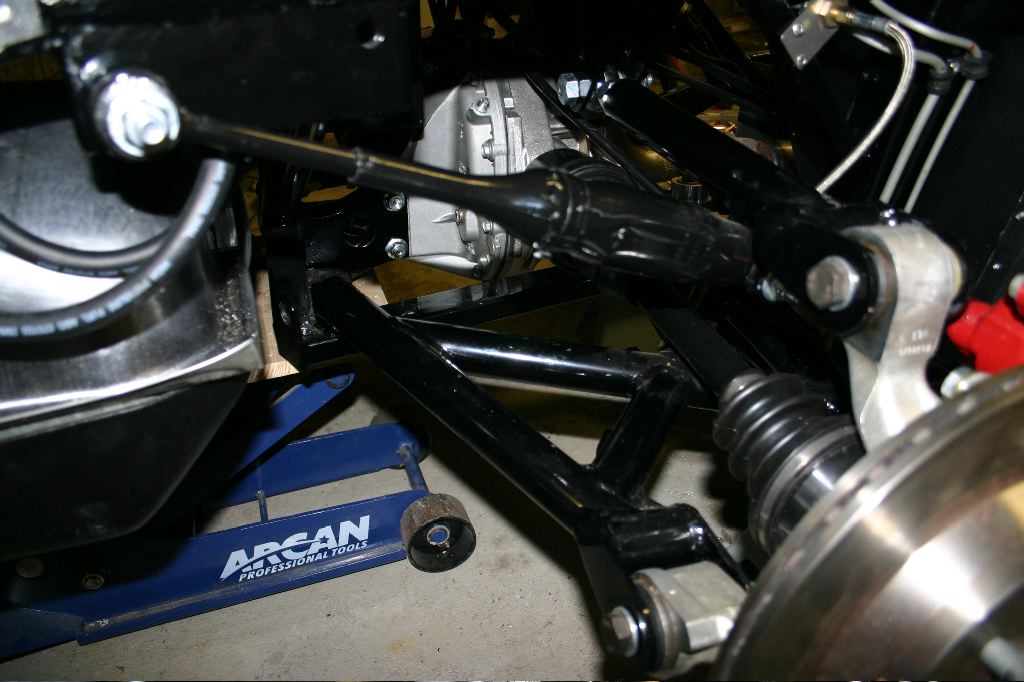
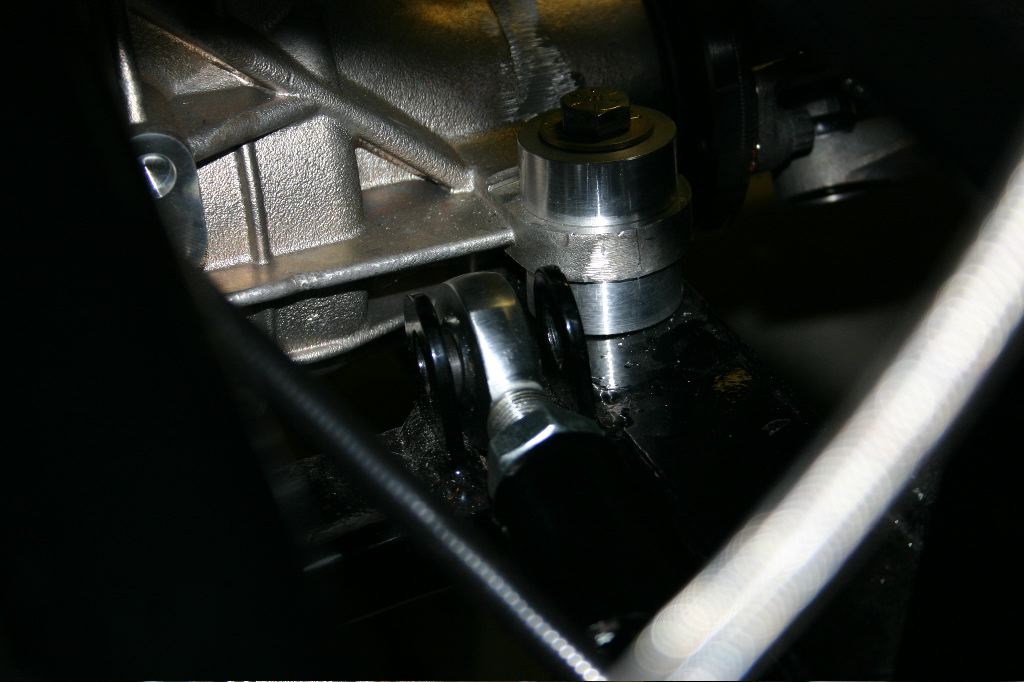
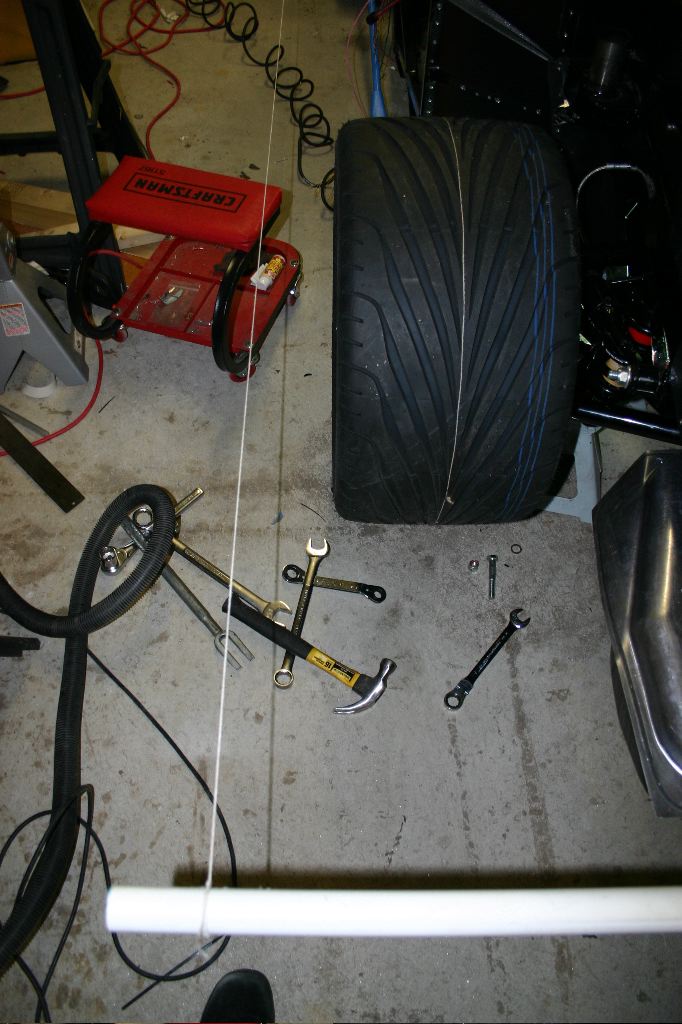
The work I did last night on the passenger side first started with removing the coilover assembly. It turned out I didn’t have a nut on the lower shock mount bolt, so its good I did that. Whoops. Removing the assembly made it much easier to reach the heim joints and allowed me to manually move the wheel through its range of vertical motion to see how much clearance I had.
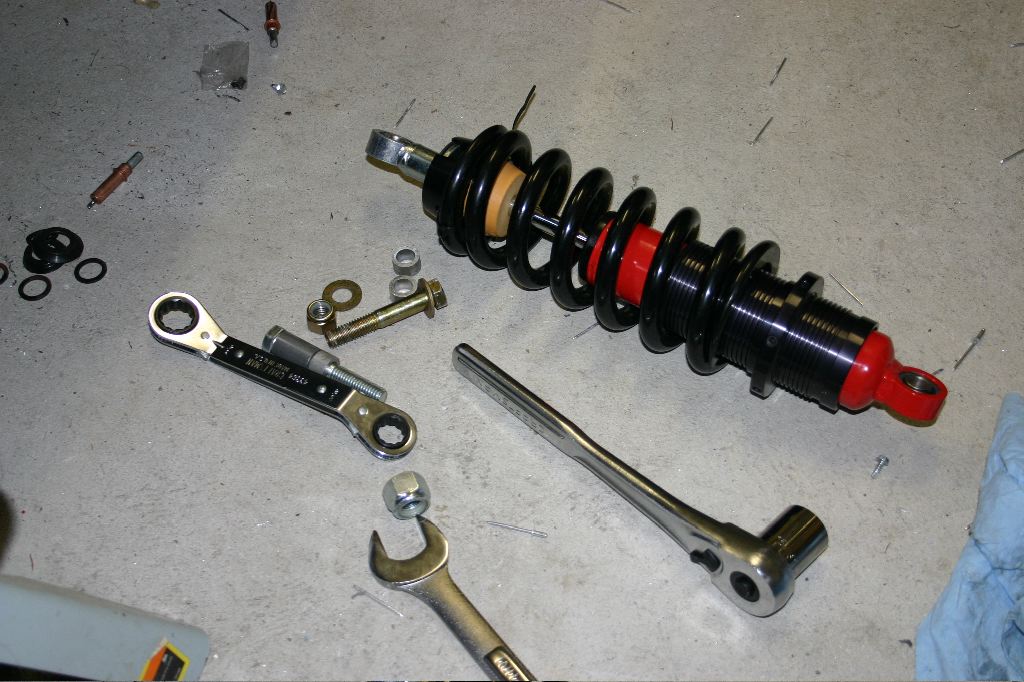
The coilover assembly comes out pretty easily — its just two bolts, although the upper one isn’t easy to reach with the trunk floor installed.
Once I had the shock out, I removed the heim joint from the end of the rearward lower IRS arm. I wanted to verify how much thread there was on the joint, so I could know how far I needed to thread it back in.
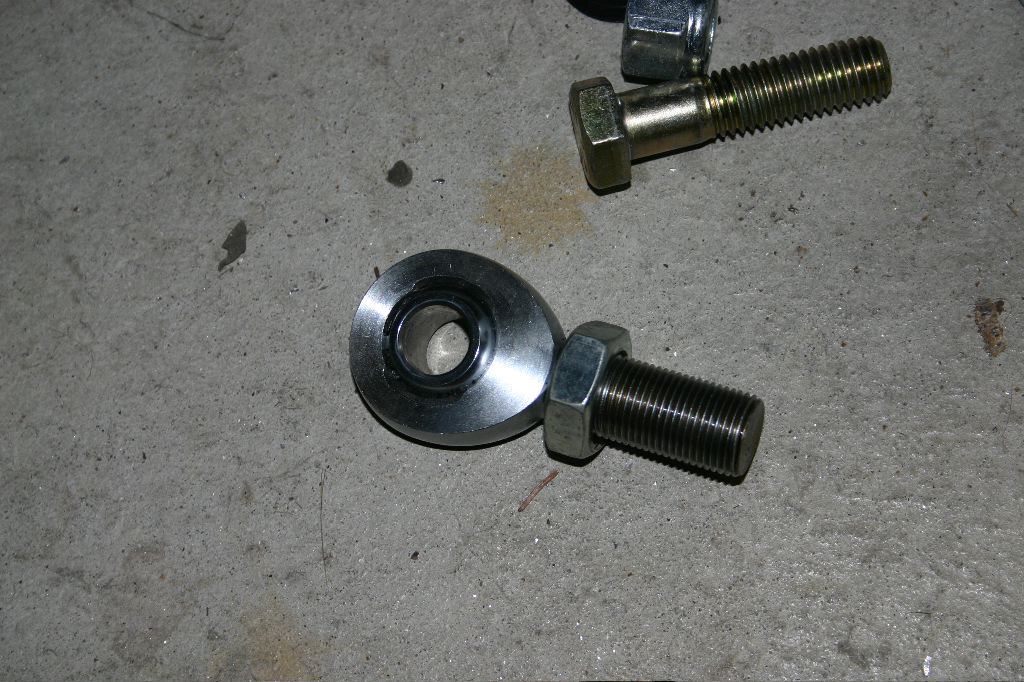
The heim joint has 1.75″ of thread on it, so at inch of thread, give or take, can be exposed.
Once the rear was set, the front gets adjusted. It turns out that there is some aspect of the chassis design that causes the front passenger heim joint to be a likely limit on how far out the arm can go. To get a good toe-in, I had to re-adjust the rear and front a couple of times, moving the arm inwards to get it aligned correctly and also having enough thread engaged into the arms.

For adjusting the arms, it was a lot easier to prop up the brake assembly with a jack stand. It would’ve been a lot less strenuous to do this alignment if I removed the calipers, but I didn’t want to re-bleed the brakes. Quick-disconnects would be a nice upgrade someday.
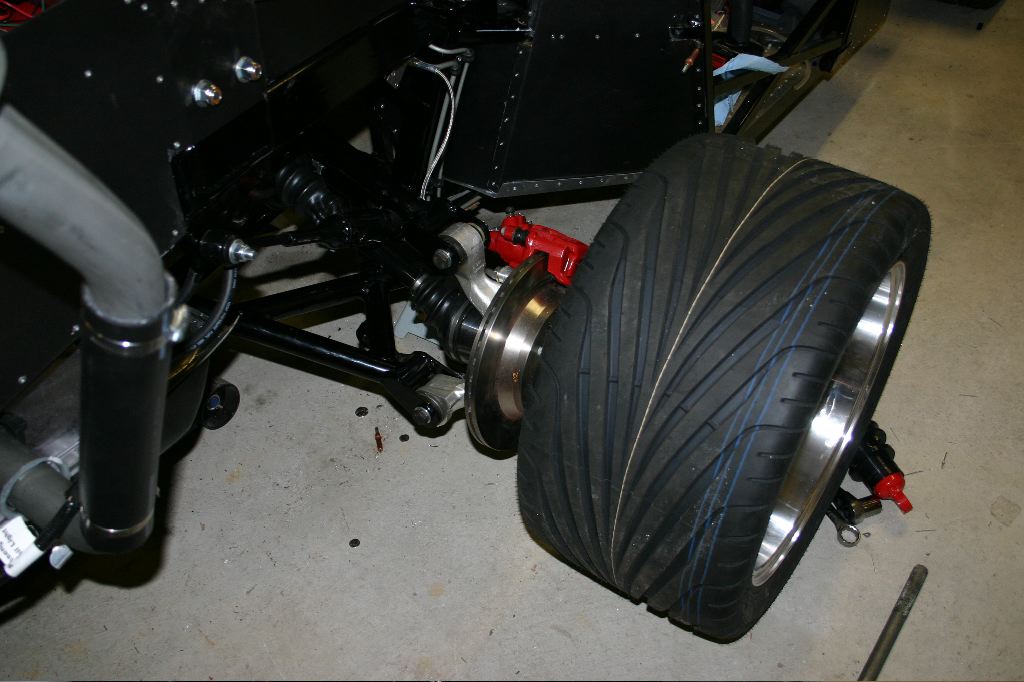
I also put the wheel on, with the shock still removed, to see how high it could move before hitting anything. It will still rub the sheet metal, but Richard Oben tells me it’ll also impact the body at the same time and you are really hitting something bad if that happens.
I had to re-install the alignment rig, and re-align the wheel. I got the toe-in dead on by eye, amazingly enough. Camber was a good bit off. I adjusted it this morning and its still off but drivable. I’ll have to pay someone to do a full detailed alignment once the car is legal.
The gap went from touching or near touching to about a half inch, and the wheel is about 3/8″ to 1/2″ farther out, which actually not only gives more clearance at rest but also gives more rise before it hits.
Driver’s Side
The driver’s side went a bit more smoothly than the passenger side. I’d done it already and knew what had to be done. To start, I didn’t remove the shock, although I removed the bottom bolt. I should’ve removed the whole thing, though, as it was in my way most of the time. I’d definitely recommend just taking it out to anyone having to do this.
Once I had them adjusted, I had to put the wheel back on and take the car off the jacks. Unfortunately it was a good bit off, and I had to do more work on it.
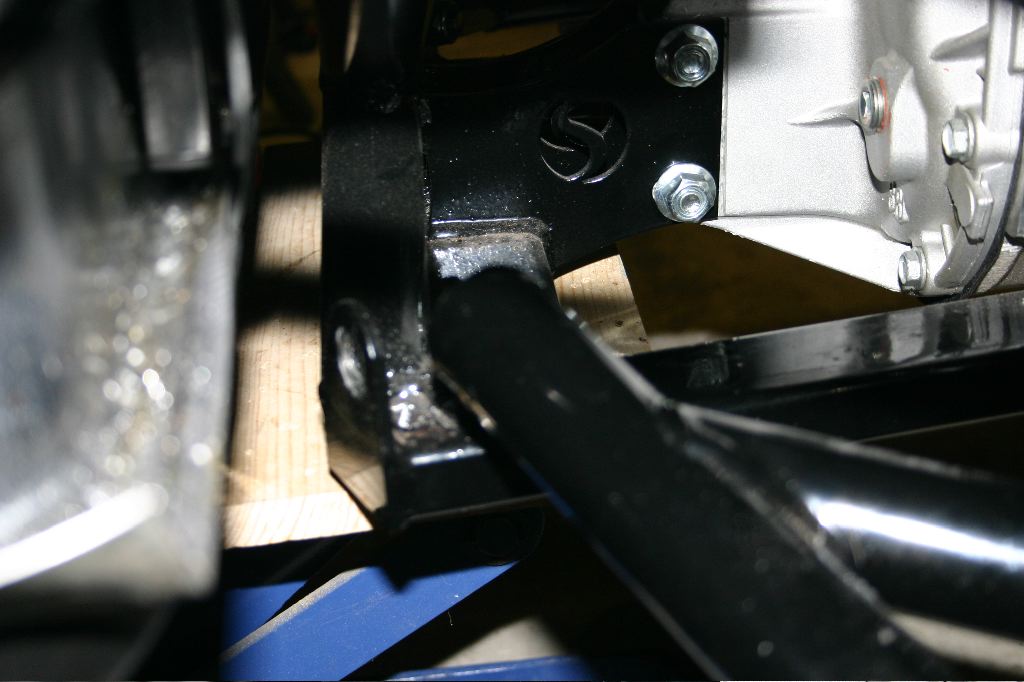
One problem I had was an issue with the rear mount flanges on the driver’s side. They weren’t parallel to each other, and I couldn’t get enough spacers in there to properly support the heim joint. I had similar problems with the flanges in the front of the car. This time I realized I had a way to bend them back straight. I threaded the bolt though one side, the nut on the other side of the rearward flange and then put a piece of steel between the bolt and the hole in the forward flange. By tightening the bolt, it squeezed the steel against the forward flange and bent it forward, making them parallel again.
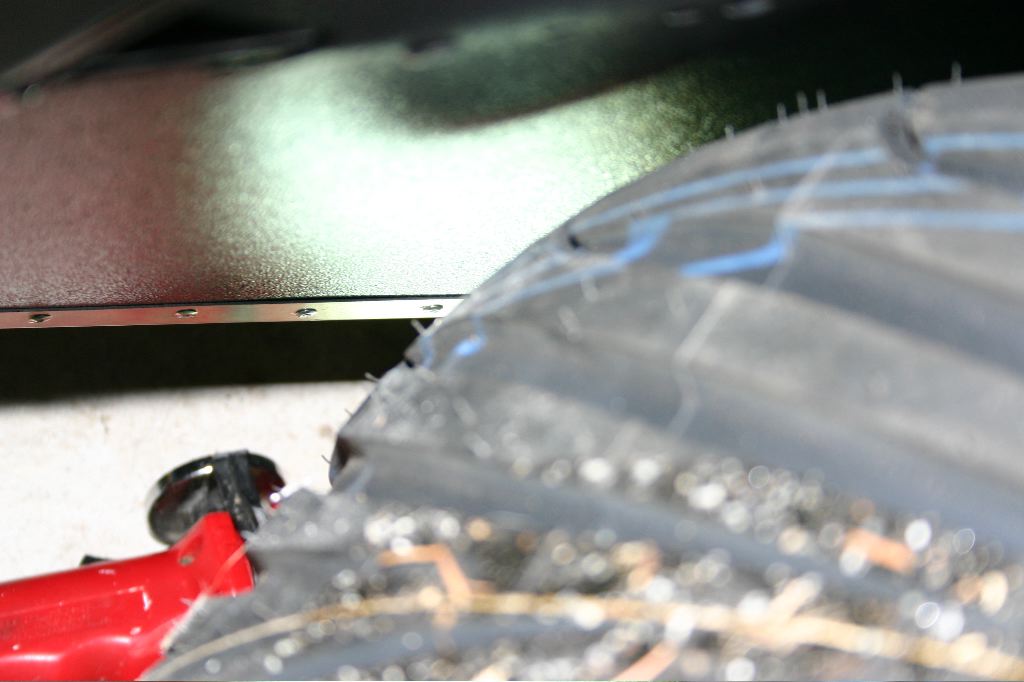
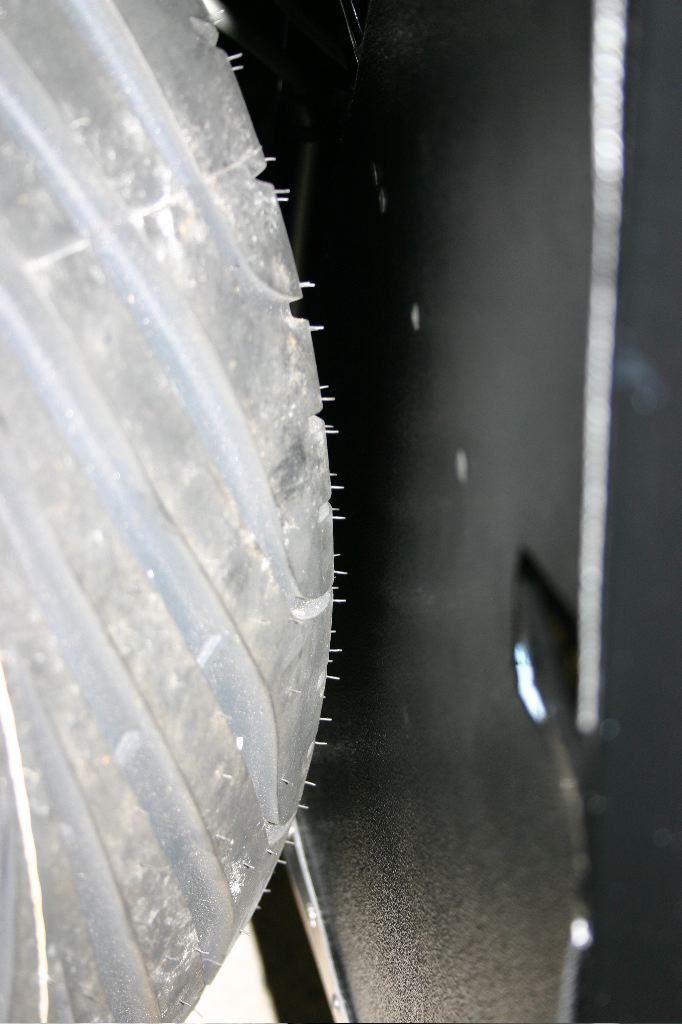
The gap is about the same on the driver’s side, so I assume I’m in the clear with the tire fitment.
It was a lot of work, but this was the right way to fix it. I wish I’d known to do it this way from the start, but its not the first time the manual has explained things wrong. I put this stuff together very early on the build before I knew to not use the manual. In fact its probably one of the last bits of the assembly I used the manual for.
Moral of the story? The Factory Five manual is junk. Best used as a reference for what box things are in… of course thats wrong a lot, too.