The build week continued today with my fourth day off work working on the car, and really the sixth consecutive day working on it. The last post about the IRS configuration covered the first couple hours of the day. I was absolutely exhausted and sore when I finished that work. As a result, I decided to focus essentially entirely on wiring for the rest of the day. That’d been basically my plan for most of the week anyway, but frankly I didn’t have the energy to do anything more physical than that.
I was sore enough, particularly in my knees and back that I decided before doing any wiring I’d put the seats in the car so I could sit down while working on the wiring. Most of what I had to do was untangle the mess of wires behind the dash and get things reconfigured to work with the dashboard.
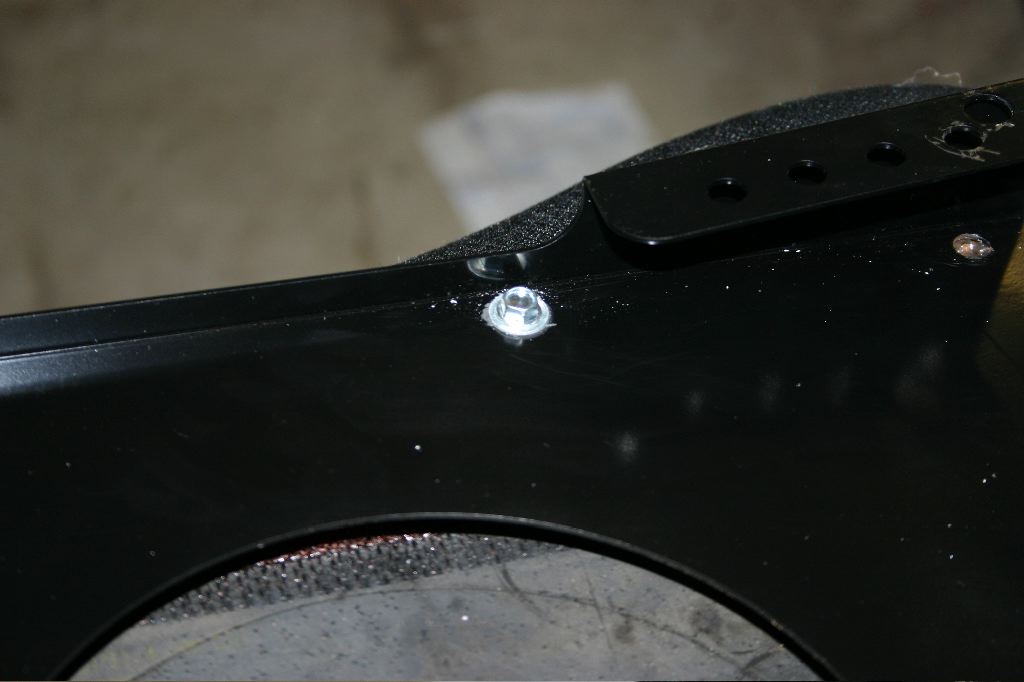
One lingering problem I had with the driver’s side seat was a stripped bolt hole on the front inboard side. To solve that, I just ran a large self-tapping screw into the seat frame, though the mount. I’ll probably double it up, but short of getting a riv-nut kit and putting a threaded collar where it had been stripped before, this is the best option. Without seeing whats under the seat cover, I actually bet this is just as secure or more so than the stock bolts.
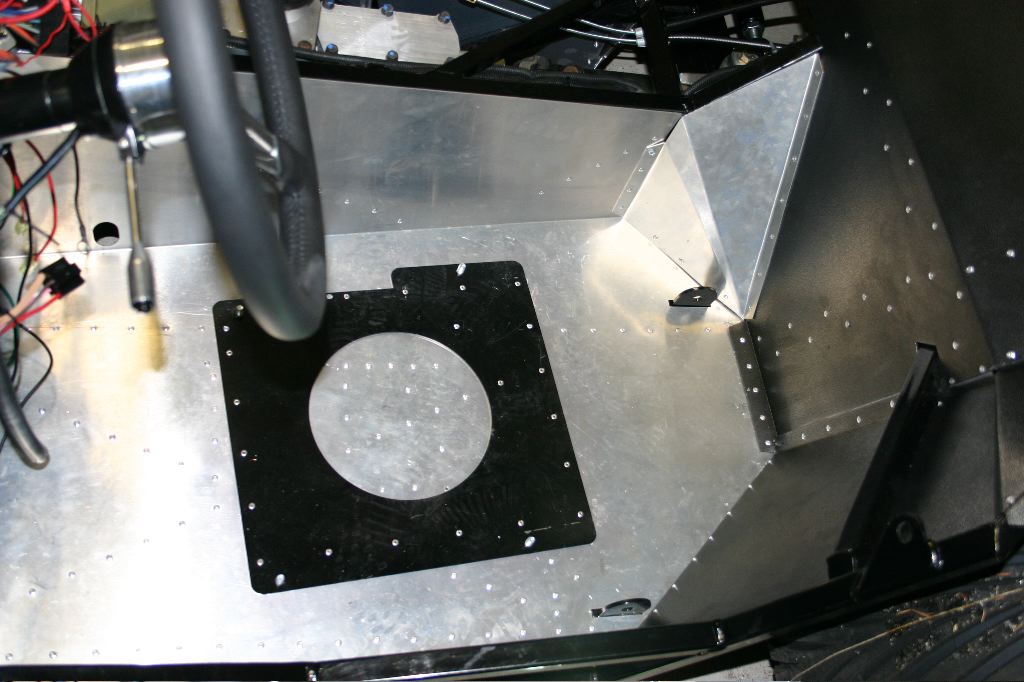
While I was at it, I also took care of installing the inboard corner piece on the driver’s side. That buttoned up all the rear wall sheet metal in the cockpit. I also dug out my Schroth harnesses and started the process of installing them in the car, but I was short some nuts and left it half done. I also realized the buckle side won’t fit through the belt hole in the seats, so removing the seats once the belts are installed would mean removing the buckle side of the lap belt as well. Annoying, so for now I will leave it out.
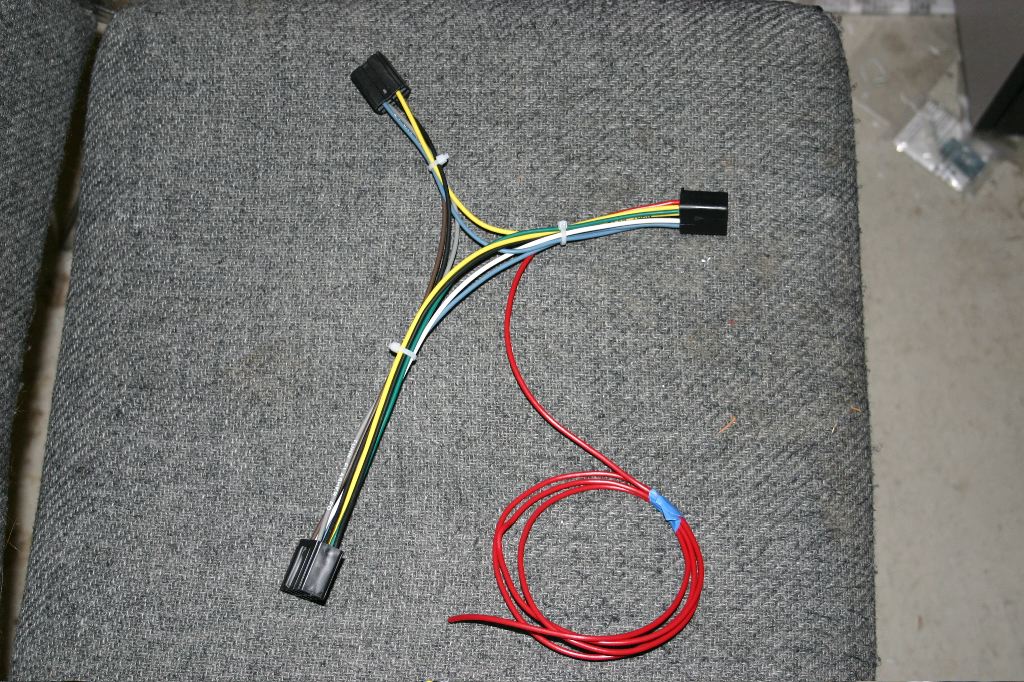
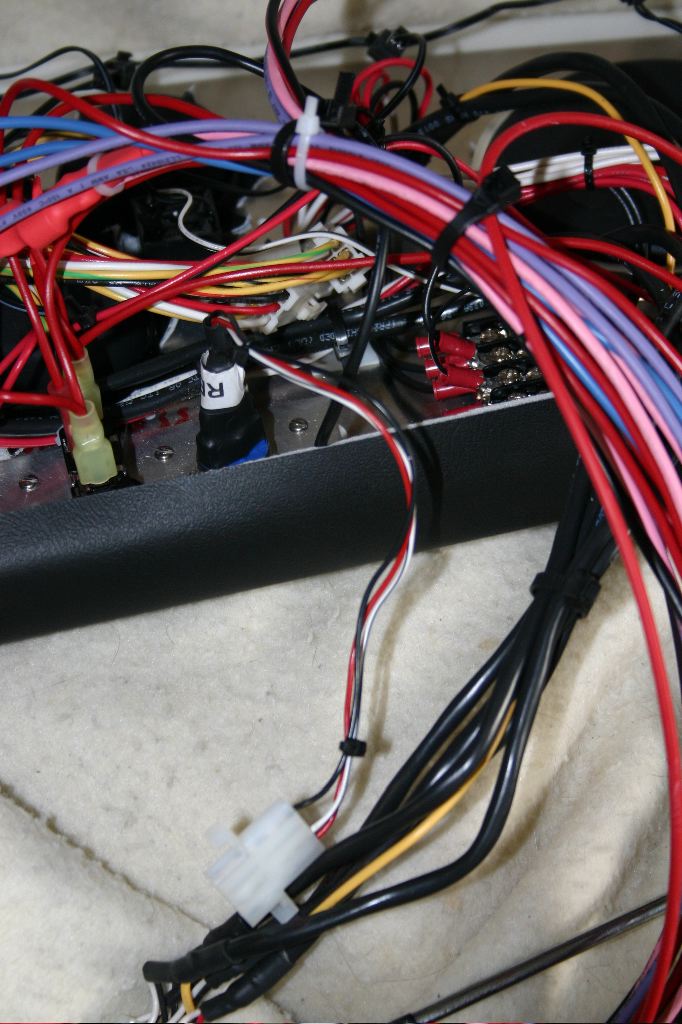
The first thing I did with the wiring was build a three-way harness for behind te dash. This harness is designed to connect between the turn signal assembly, the lights on the dash for the turn signals, and the chassis harness. The long red wire in the photo above is the indicator line for the high beams. The high beams will be turned on via a foot switch, so the output side of that switch will go to the high beam wires in the front harness, and to that wire to turn on the dash indicator.
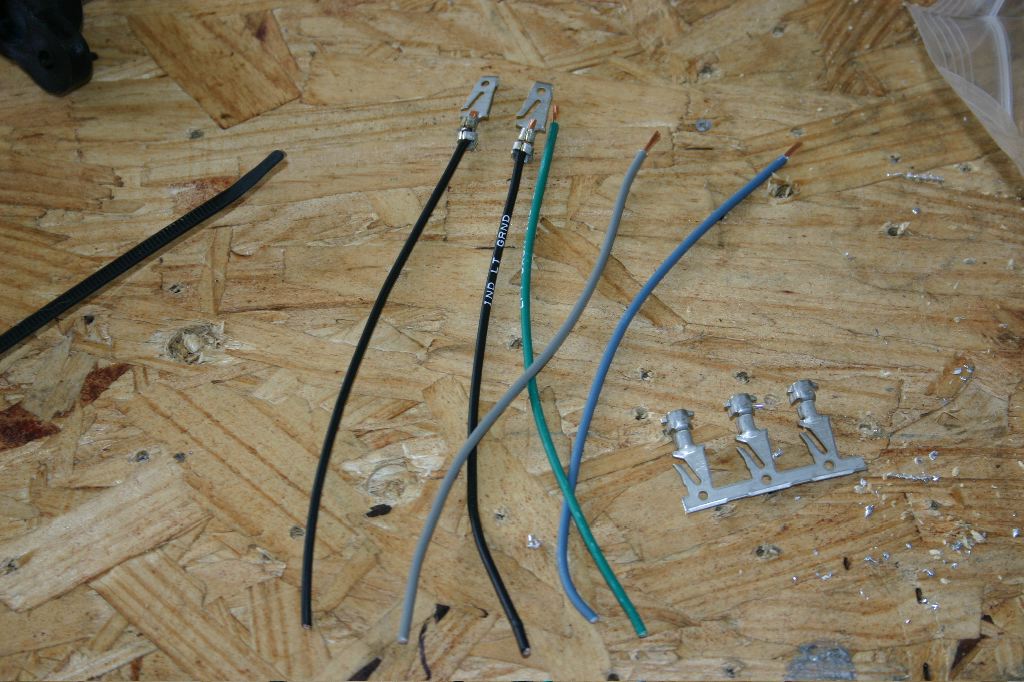
Once the harness was done, I had to create a matching connector on the turn signal assembly itself. It has five wires on it — two are a circuit controlled by the button on the end of the stalk, and three are connected to the turn signal assembly itself. I’m using the button for the horn. Five wires were cut with Delphi connectors on the end.
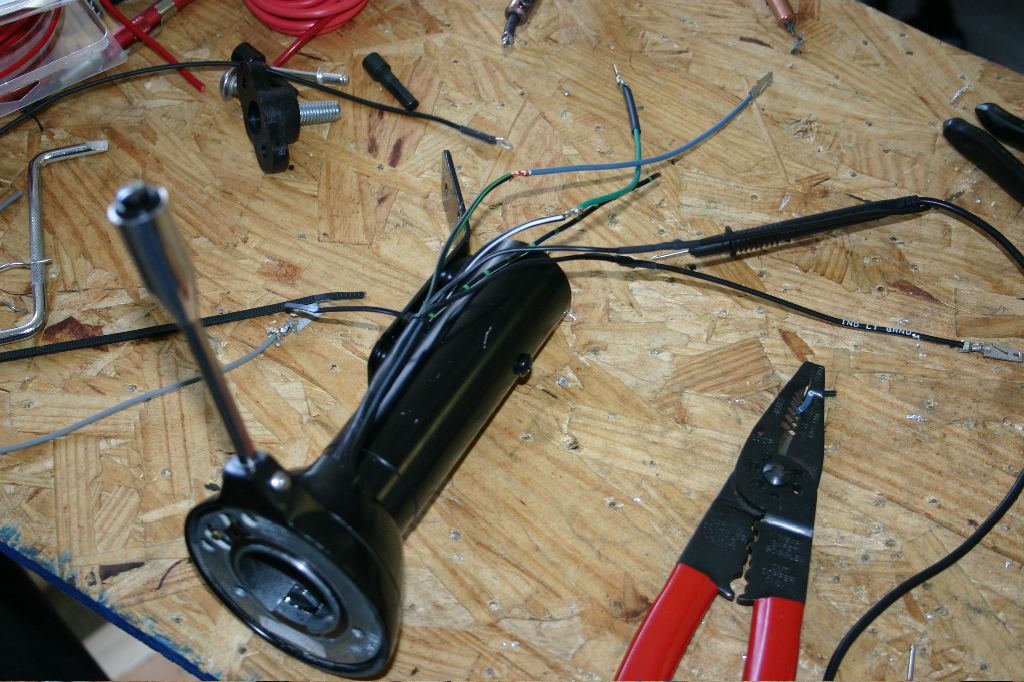
I soldered and heat-shrunk the new wires onto the wires on the turn signal assembly.
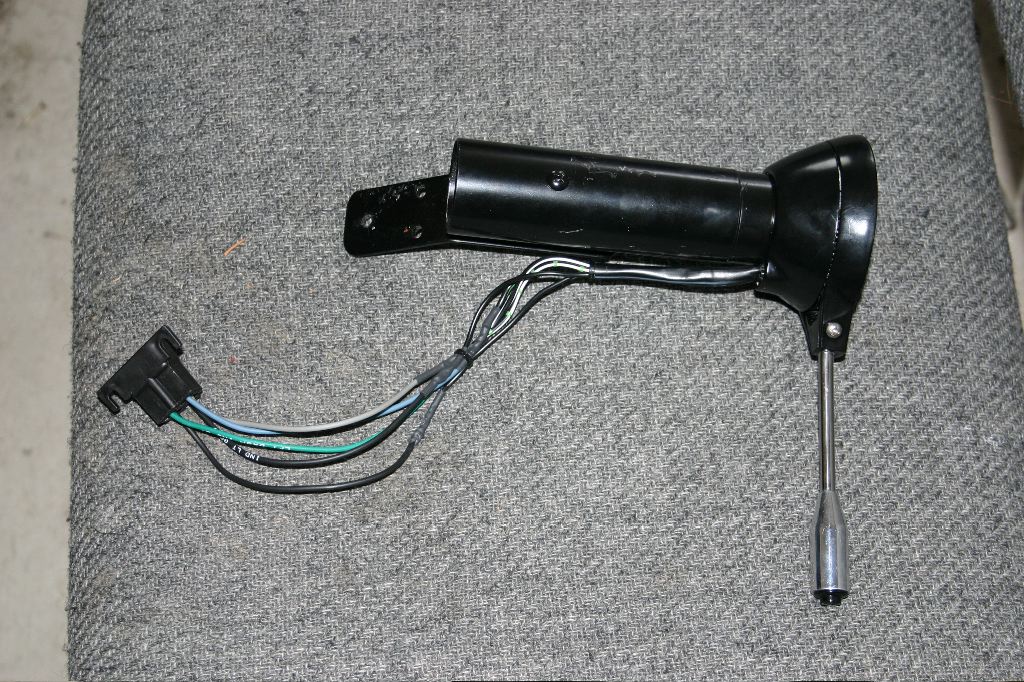
The final harness is quite a bit longer than the original, but it needs to be long to feed it through the dash opening before the assembly itself.
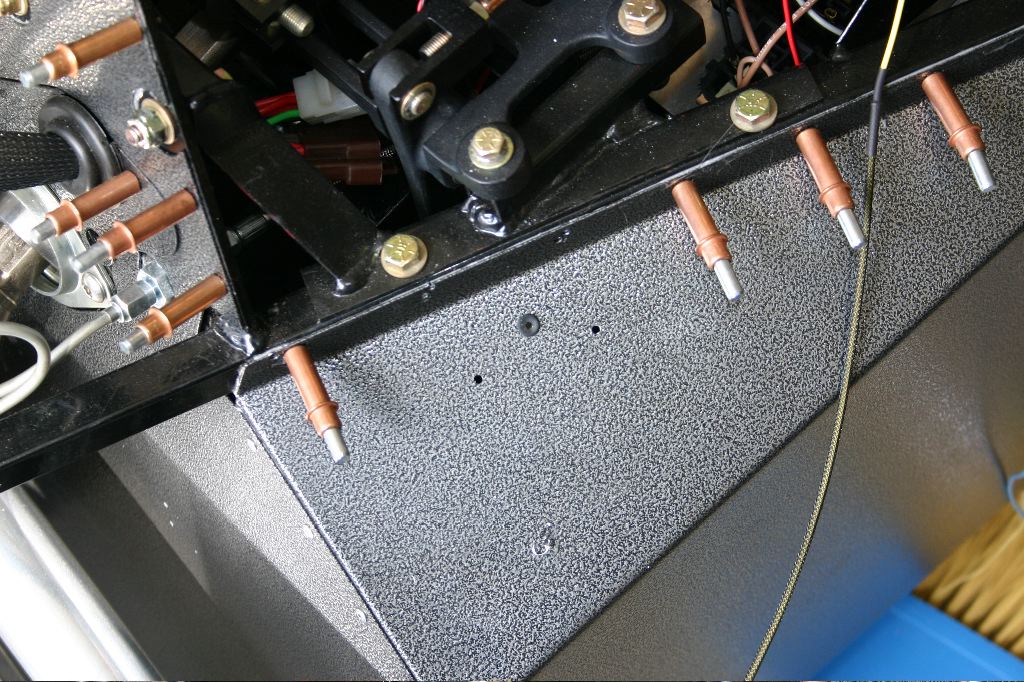
I needed to get some lingering wiring done to be able to power the car up. I haven’t actually had power in the car for several months — since I first installed the Digital Guard Dawg. I had a lot of trouble before knowing what the system was doing because I neither had the flashing parking lights, nor did I have the siren hooked up for the “chirp”. I poked around a while trying to find a good spot for it and decided the best spot was outside the driver’s footbox. I’ll regret this spot if I ever have a problem with it because getting to it will mean taking the body off, but that’s also good for security. I drilled two holes to rivet it to the sheet metal, and a third 1/4″ hole for a small grommet for the wiring.
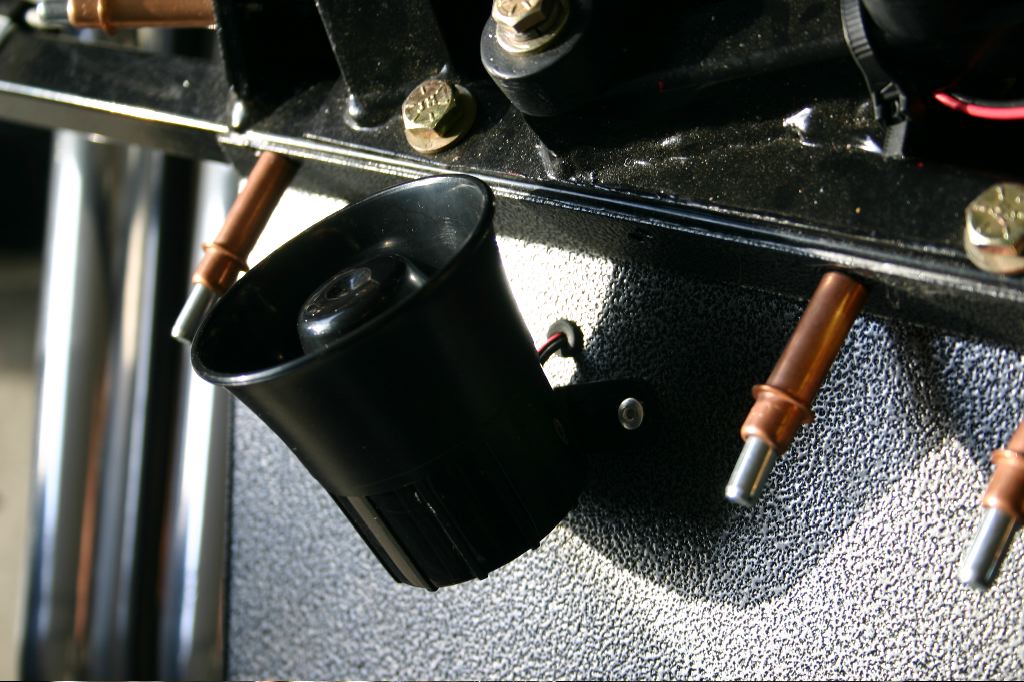
It was a quick and easy install, and came out very well.
Along with the siren, I thought it was a good time to remove the temporary pushbutton from the harness and wire up the quick-connect Molex connector for the button on the dash itself.
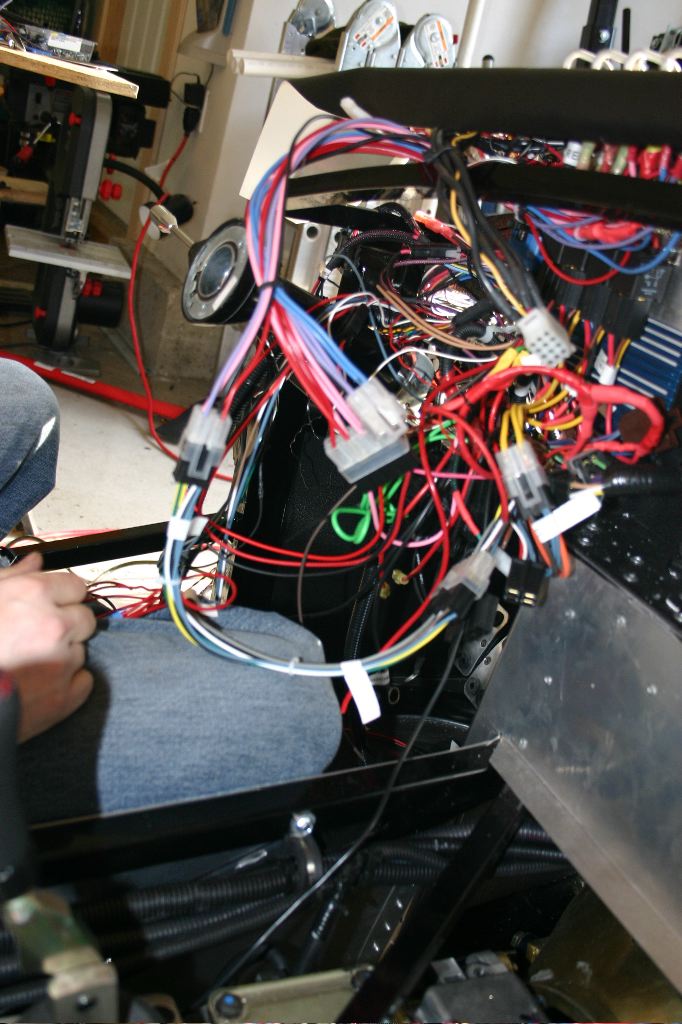
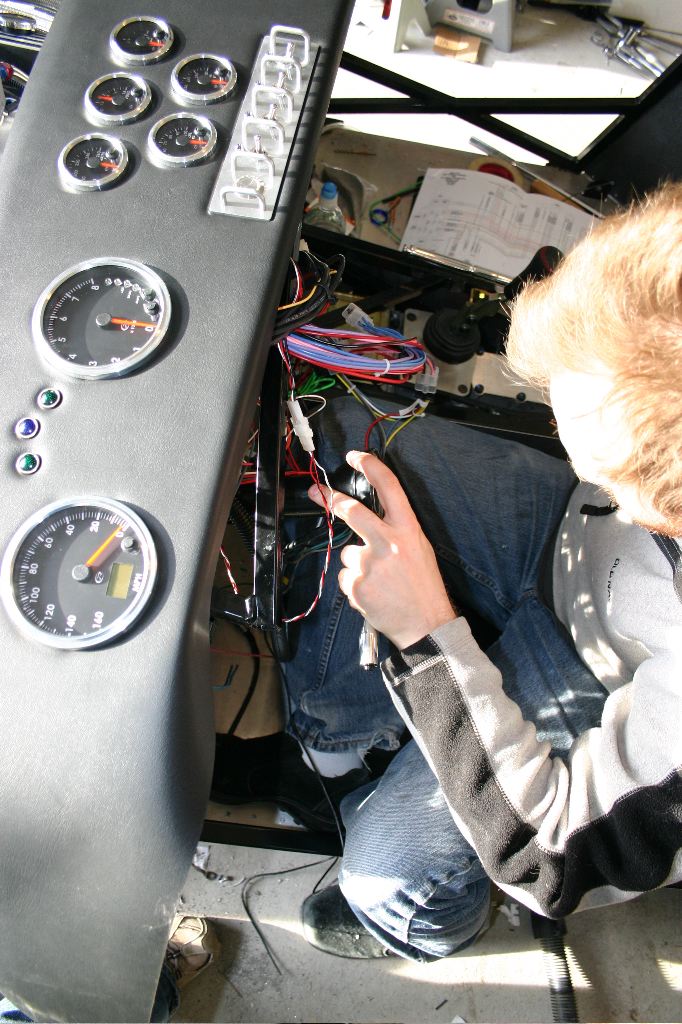
I took the dashboard and layed it over the top of the car. I’m not ready to mount it yet, although I likely will tomorrow, but I needed to start connecting harnesses together and checking circuits.
After some basic sanity checks, I turned on the power to the car and disarmed the alarm. When I pushed the start button, it turned solid red and power turned on to the car. The fuel pump started running (which is not correct — the ECU should be controlling it, so something isn’t wired up correctly there). Some quick testing verified that the parking light and headlight circuits (at least relative to the dash) were working.
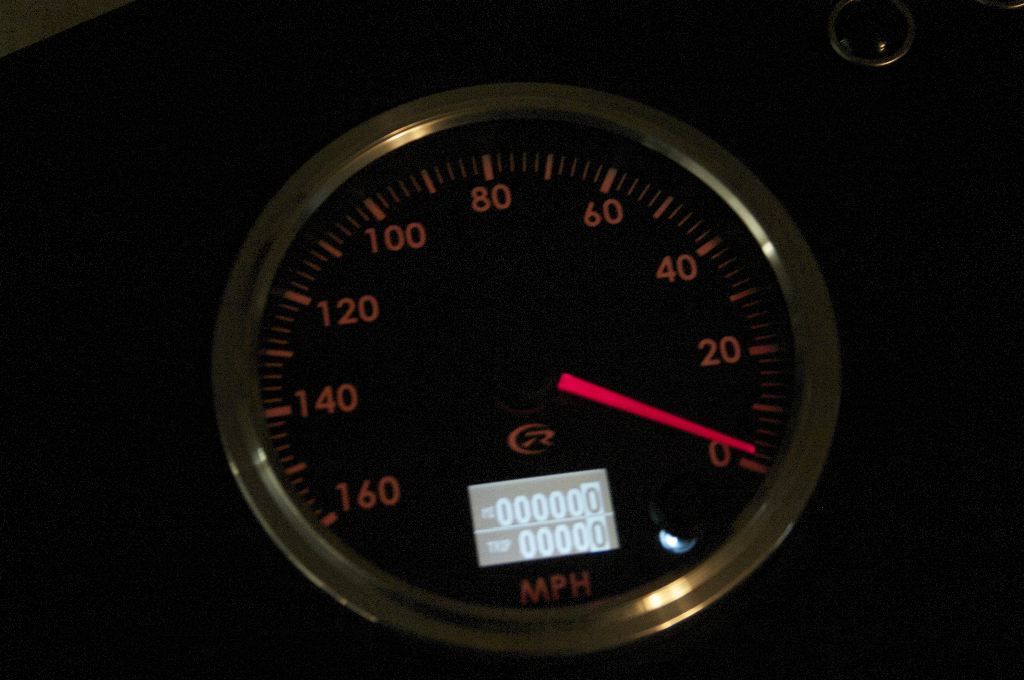
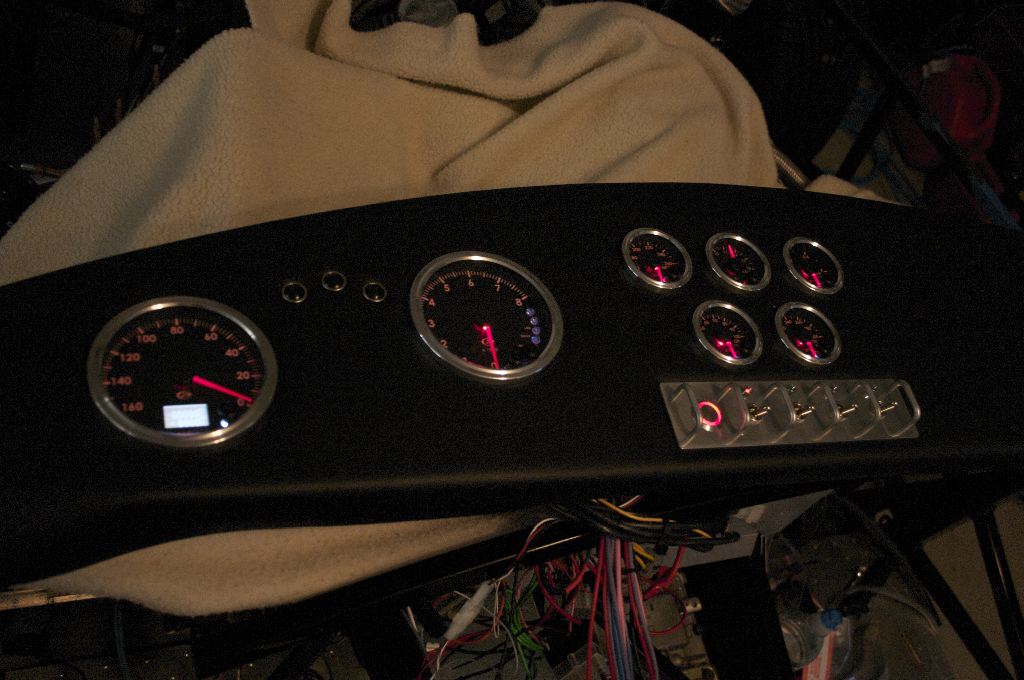
The dashboard illumination worked, and the gauges all powered up. None of the sensors are hooked up yet, but the volt meter did show the battery was putting out a bit over 12 volts. The gauges illuminate red with a red arm, as seen on the speedometer above.

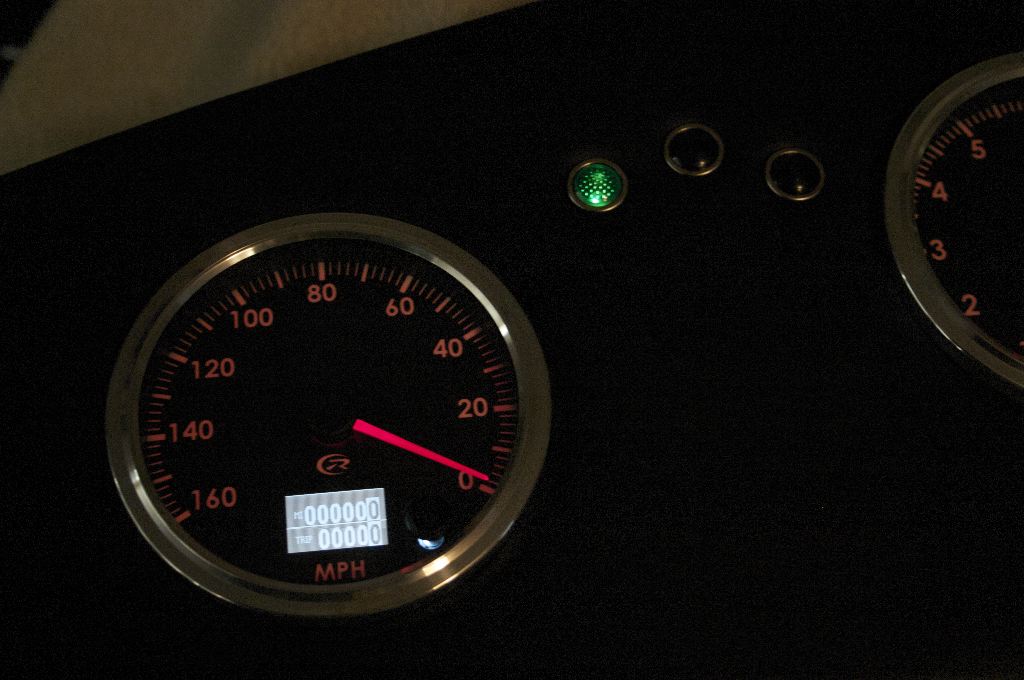
The LED above the headlight switch shows that the lights are on, in this case the parking lights. When flipping on the headlights, I can hear the two headlight relays flipping, so it appears all the way up to the ballasts the circuits are working now.
The turn signal indicators work as well, although they don’t blink. I’m guessing the flasher needs the load of the lights to actually blink, so I’m not concerned about it as there isn’t anything but the dash wired up to it right now.
There are some “bugs” in the wiring — the dash is on all the time, for one. The wire I assumed was switched power wasn’t, but fixing it is just a matter of rewiring that power pin to the dash. The dash needs switched power for the gauges and constant power for the headlight switch and hazards.
I also tested the reverse wiring I hooked up before — it worked fine.
The horn circuit also works, although the front harness is disconnected so it doesn’t actually honk.
I have a bit more wiring behind the dash tomorrow morning but should be able to wrap up the chassis wiring in another hour or two worth of work. At that point I’ll mount the dash, likely using industrial strength velcro. Once that is done, I can build the harness for all the sensors for the dash and the core wiring will be finished, with just the lights left to do on the body.
The new distributor and coil also showed up today, and the harness to connect them with the fuel injection system is showing up tomorrow. That means, in theory, I should be able to start the car on Saturday, but I think I’ll put the body on and deal with the lights first and plan on first start for next weekend where I’m less rushed.