Yesterday was a long work day on the car. It was a fantastic day — mid 60’s and bright sun, and a very nice day for working on the car. I got out to the garage by 9 and worked on it until close to 5.
I managed to get a good bit of work done, as well as got help to get the body off the car, so I also got the body taken back off the car. The body being on the car really held up a bunch of work this week when I discovered that I couldn’t really reach the lights with it on. I did take advantage of it being on the car during the morning and early afternoon, however, to get the hood hinges put together and the trunk light installed.
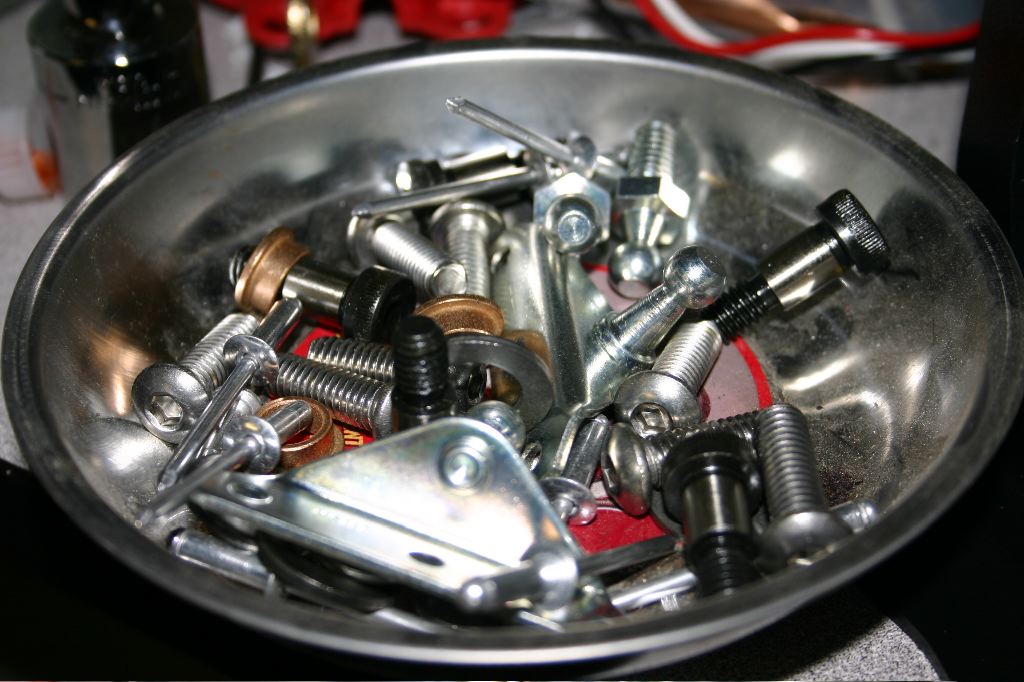
The hinges came with a ton of parts — the metal bits I posted photos of when I painted them a few weeks ago, and a big bag of hardware… and no instructions. There are instructions, apparently, but Factory Five tends to forget to include them, it seems. I spent a while scratching my head and eventually found a poor quality scan of them online and one reasonable close-up photo. Between the two, and with some experimentation, I figured out how they went together.
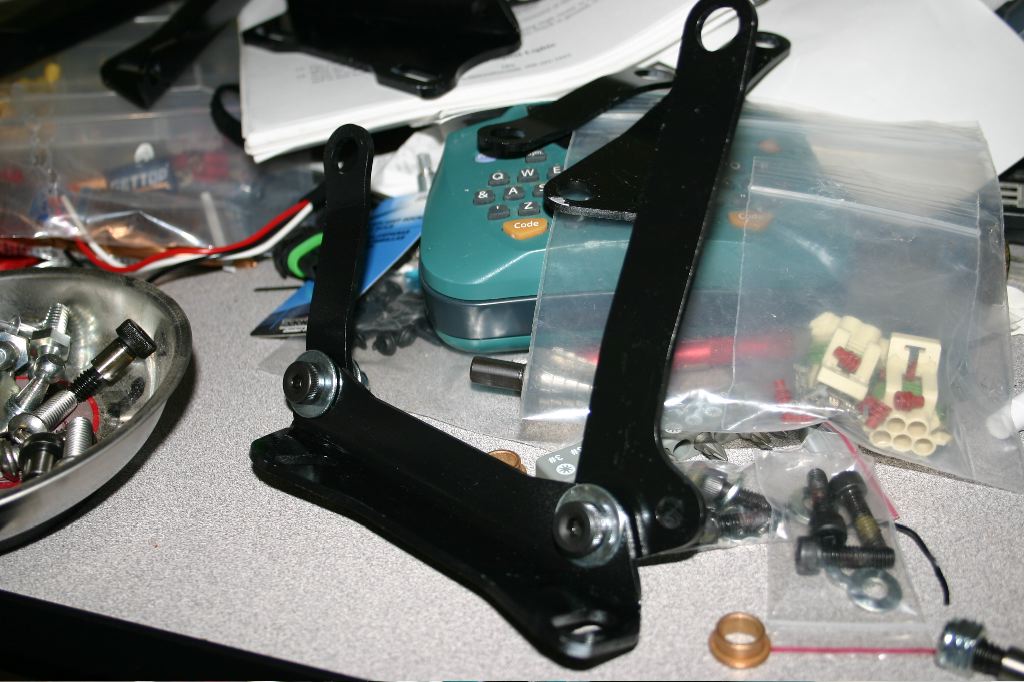
The hinges are basically a trapezoid created by two shaped bits of angle iron, and two arms of unequal length that allow the hood to tilt up and outwards as it opens. There are brass bushings, spacers and sleeved bolts that go together to create the pivot points.
The upper (shorter) bracket gets riveted to the hood, the bottom bracket gets bolted to another piece that then bolts to the car. This gives the ability to adjust all sorts of angles on them when mounting them to get the hood aligned properly. These, lack of directions aside, are one of the better designed parts of the car.

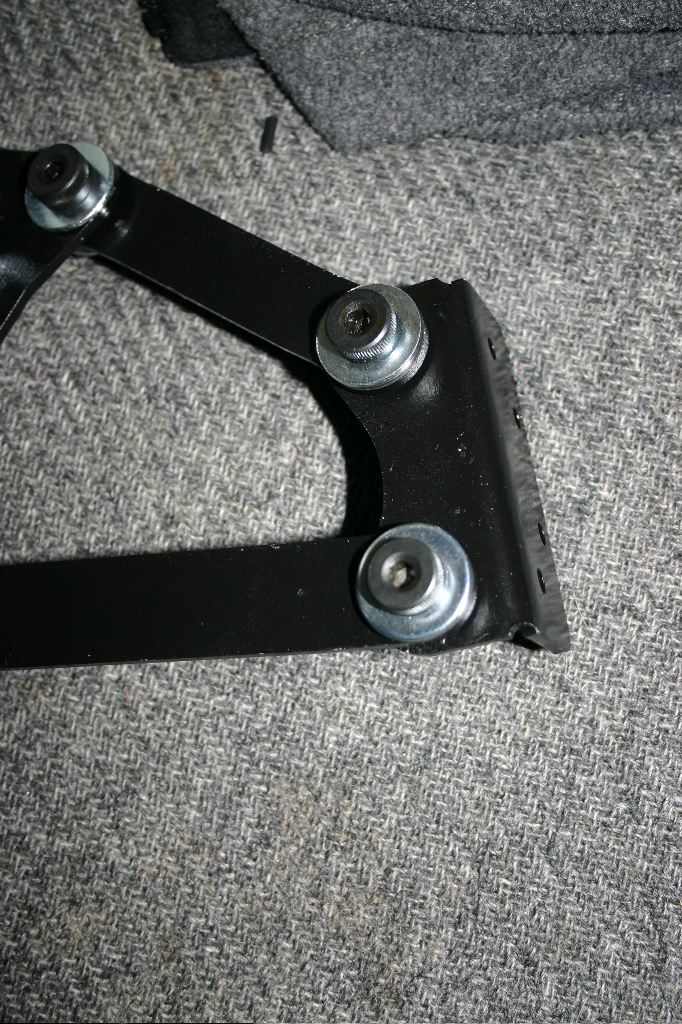
A closeup of the mounting shows how the adjustments are made. Two bolts hold the lower bracket to the chassis of the car and allow some up and down, as well as limited rotational adjustment, as do the two bolts between that bracket and the hinge assembly.
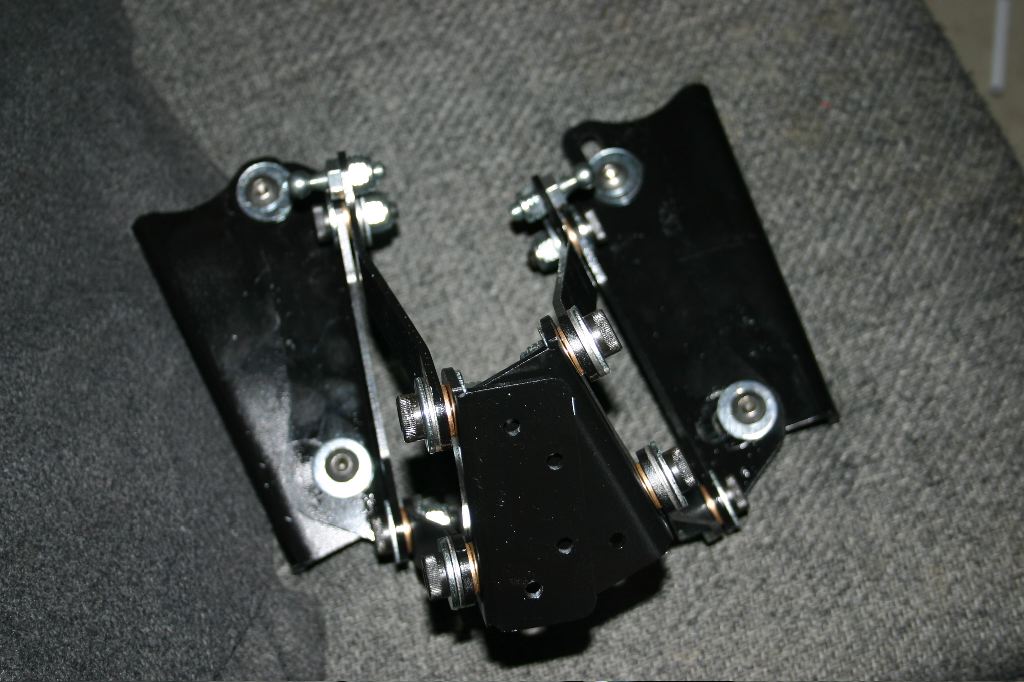
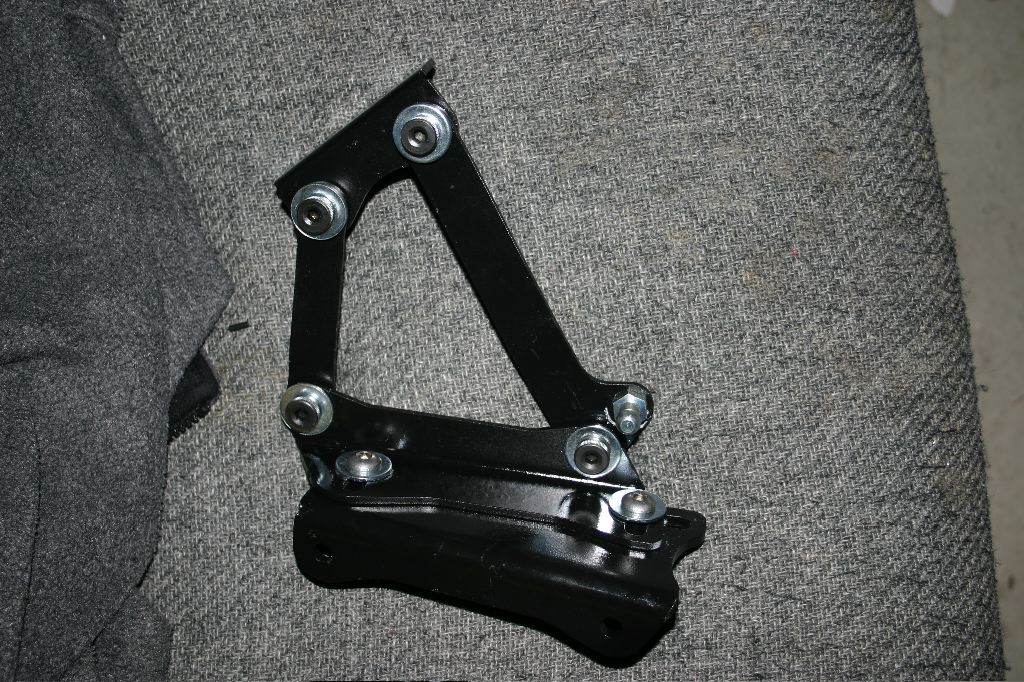
The two hinges finished. Factory Five includes short bolts to mount these to the chassis, but doing so means either having small double jointed hands or not having the F-panels installed. Of course the F-panels are typically installed before the hinges. At a recommendation from someone online, I went out and bought four 5/16″ x 1″ carriage bolts, which fit perfectly into the brackets on the car and don’t need to be held from behind to tighten the nuts. Factory Five should just include them — its a vastly better way to mount the hinges.
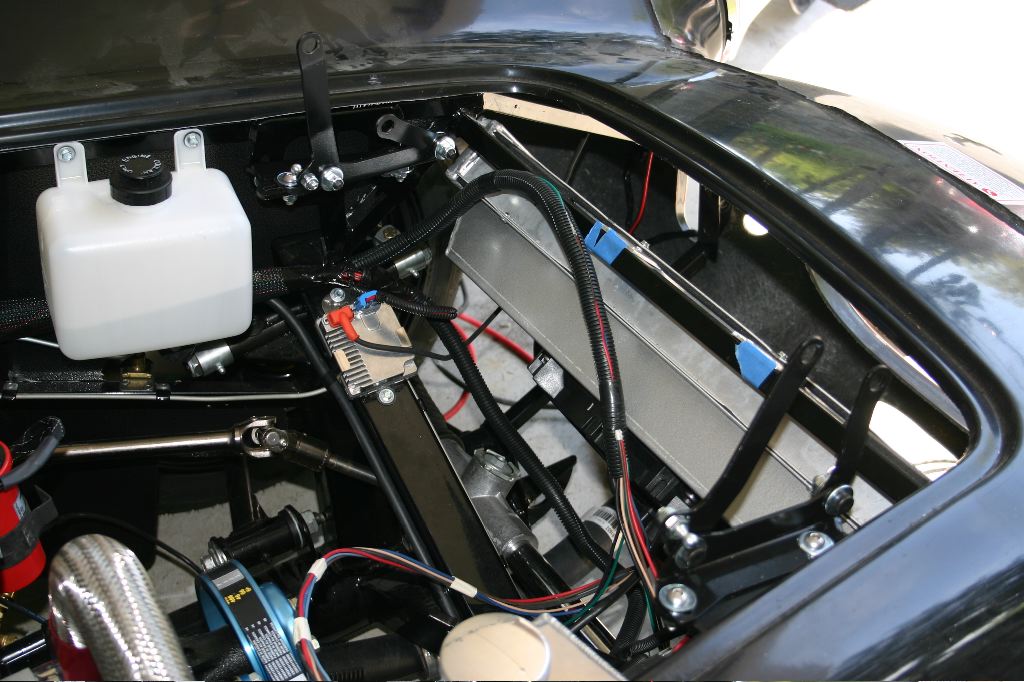
The hinges bolt to the chassis. In this photo, I’ve removed the top brackets to get them bolted to the hood. The silver pins visible on the hood are used with two pneumatic cylinders to hold the hood up.
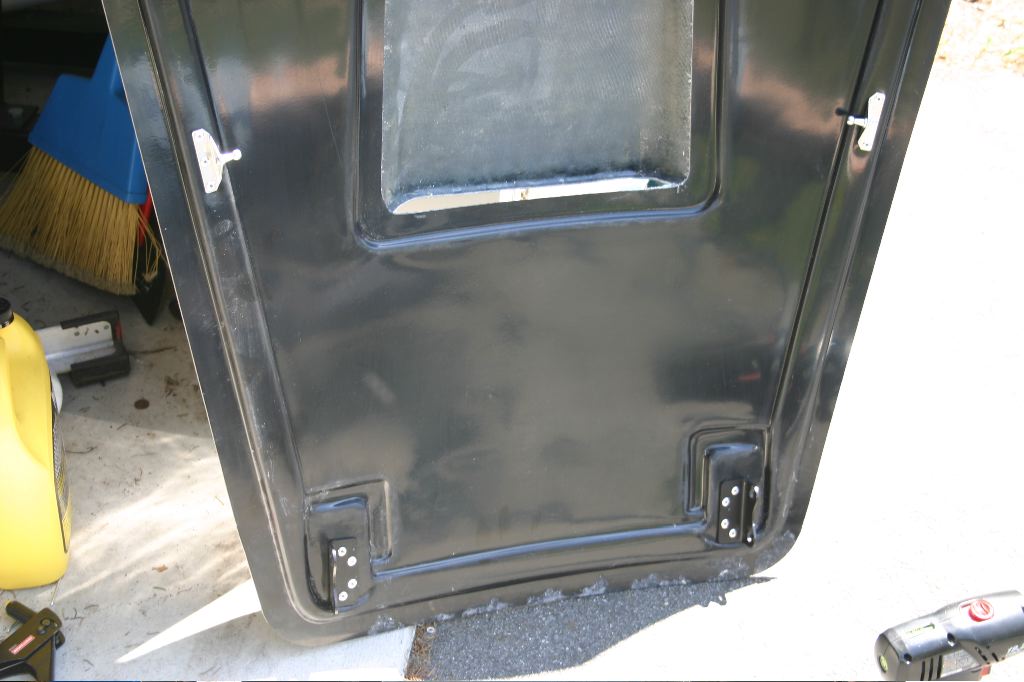
The brackets are riveted to a metal plate embedded in the fiberglass hood at the end. The middle of the hood gets two brackets for the other end of the cylinders.
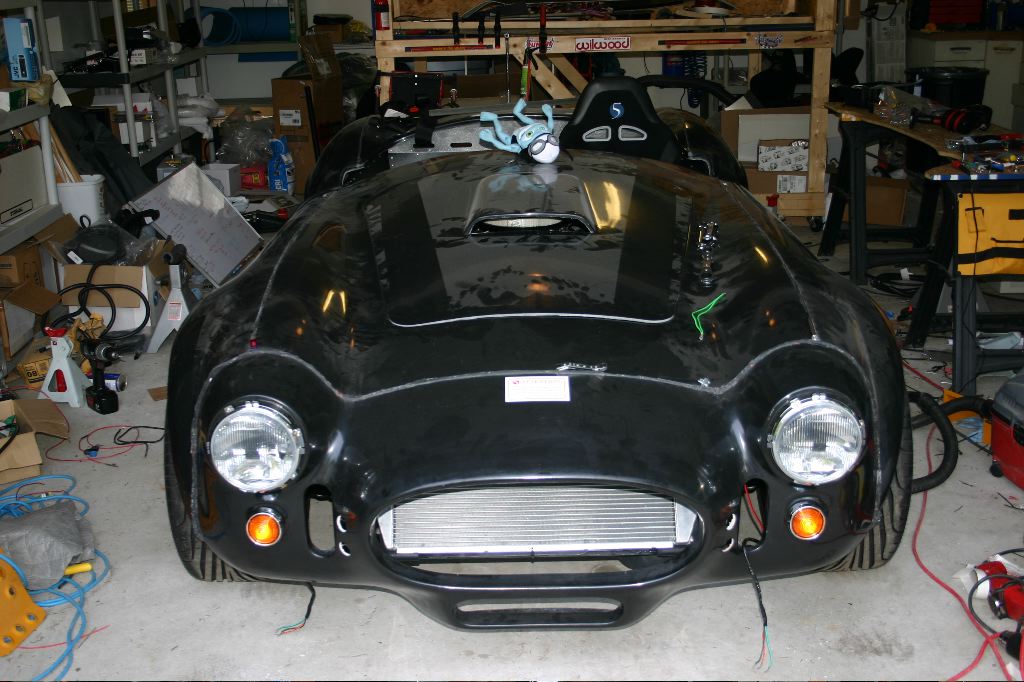
The hood on the car. This photo doesn’t show it mounted with the hinges, however. I decided to not bolt the hinges back together after mounting the brackets to the hood because I would need to readjust everything when the body is finish mounted anyway.
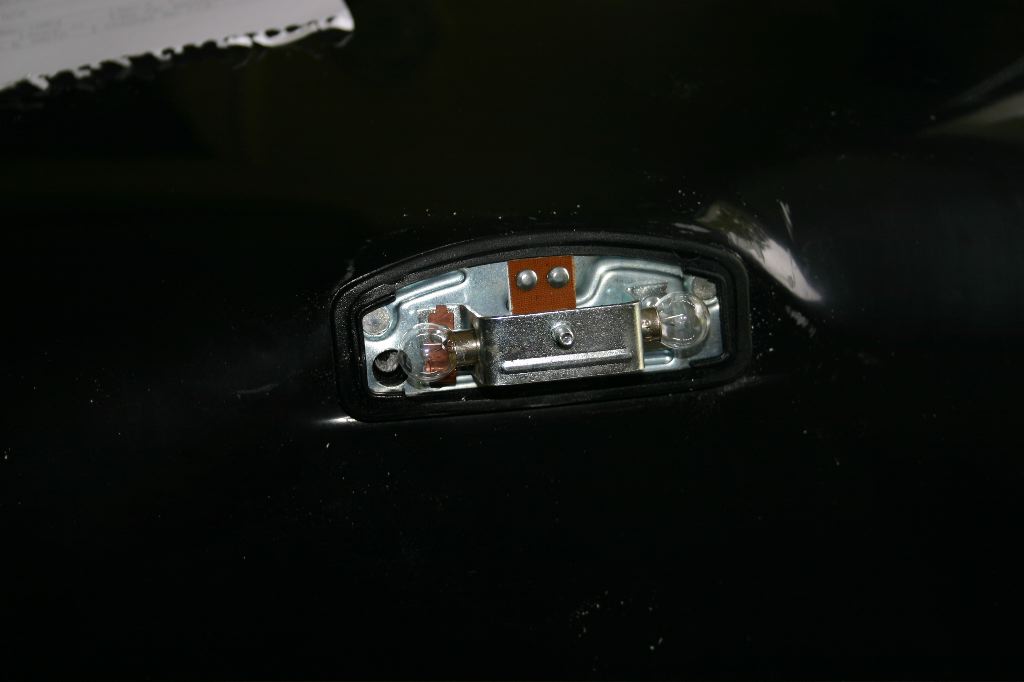
While the body was on the car, I also remounted the trunk and dealt with the license plate light on the trunk lid. Mounting it was just a matter of removing the chrome and plastic covers, then drilling three holes in the trunk — two for mounting bolts and one to feed the wires through.

The trunk needs some adjustment to really fit the car — the trunk won’t open all the way, but until the body is permanently mounted, I didn’t want to start adjusting body seams.
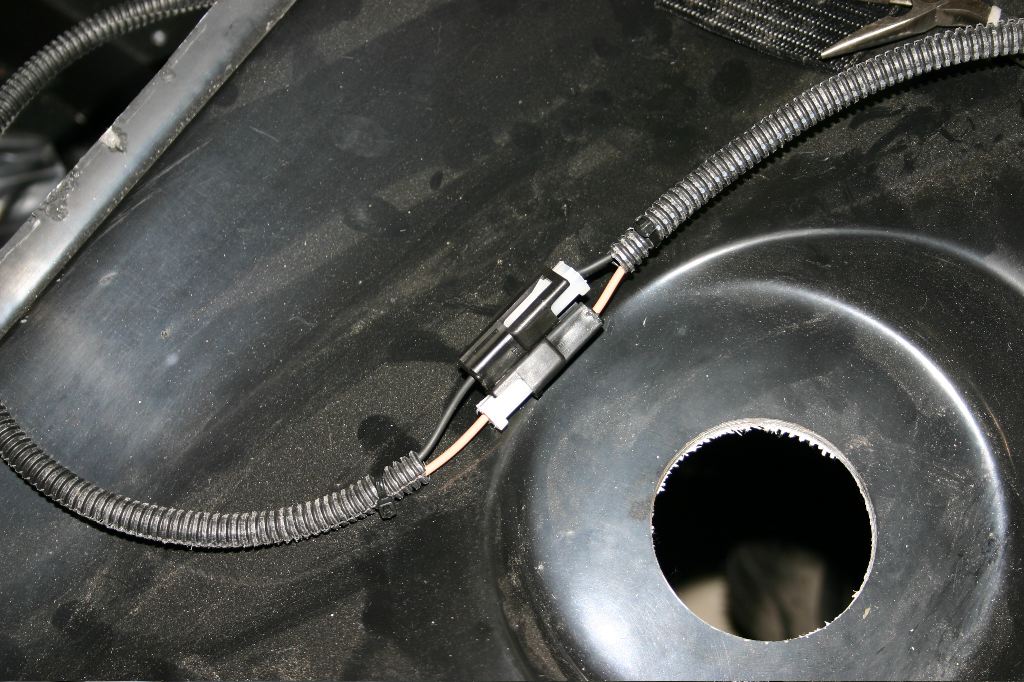
The wire harness I ran along one of the frame tubes in the trunk, and then found the point at which it would be at the edge of the trunk lid. I cut it there and put two quick disconnects in it, otherwise I would have to disconnect the wiring from the light to remove the trunk lid later.
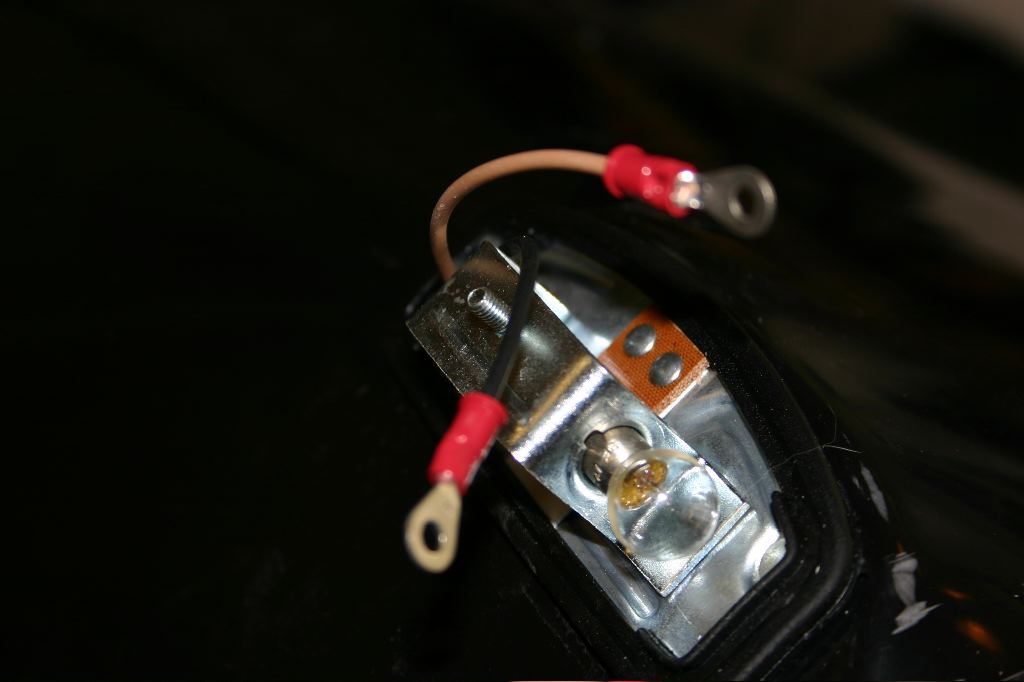
The wires on the other end ran into the fight fixture. The fixture didn’t have normal mounting posts in it, but rather had these copper tubes. I put ring terminals on the wires and used a small bolt to attach them to the light. While doing that I shattered one of the two bulbs, and will have to replace it.
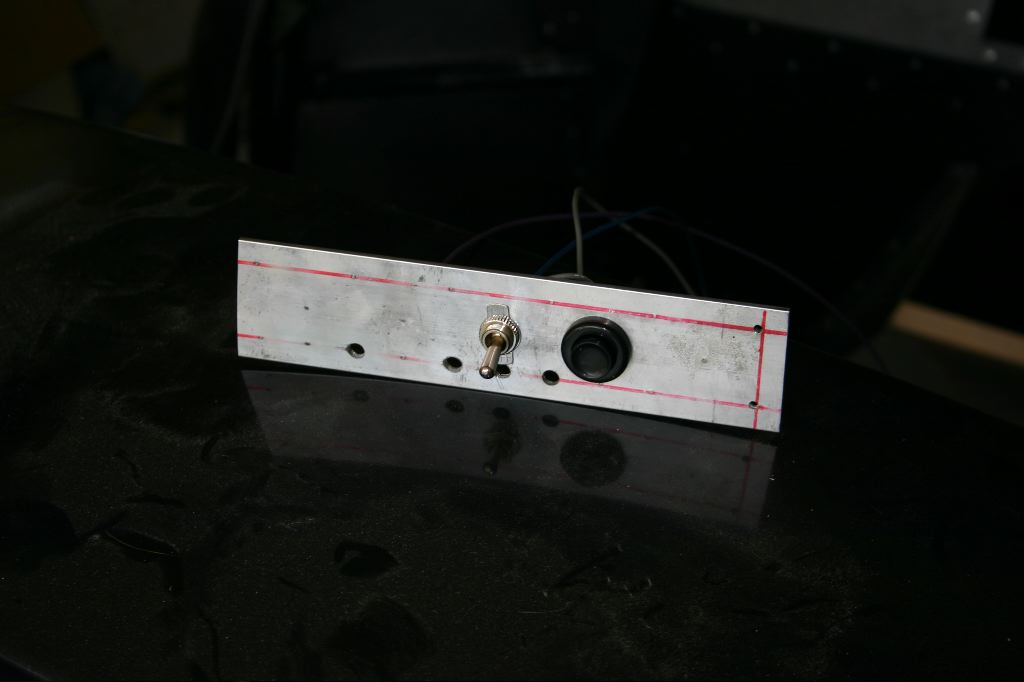
I pulled the controller for the Digital Guard Dawg system out of the dash to send back to them to get replaced or repaired. As part of that, I wanted to ensure I could still turn on the power to the car as well as start the engine. To enable doing that, I build a temporary control panel with a toggle switch for power and a push button to start the engine, and the appropriate harness to hook the panel into the car.
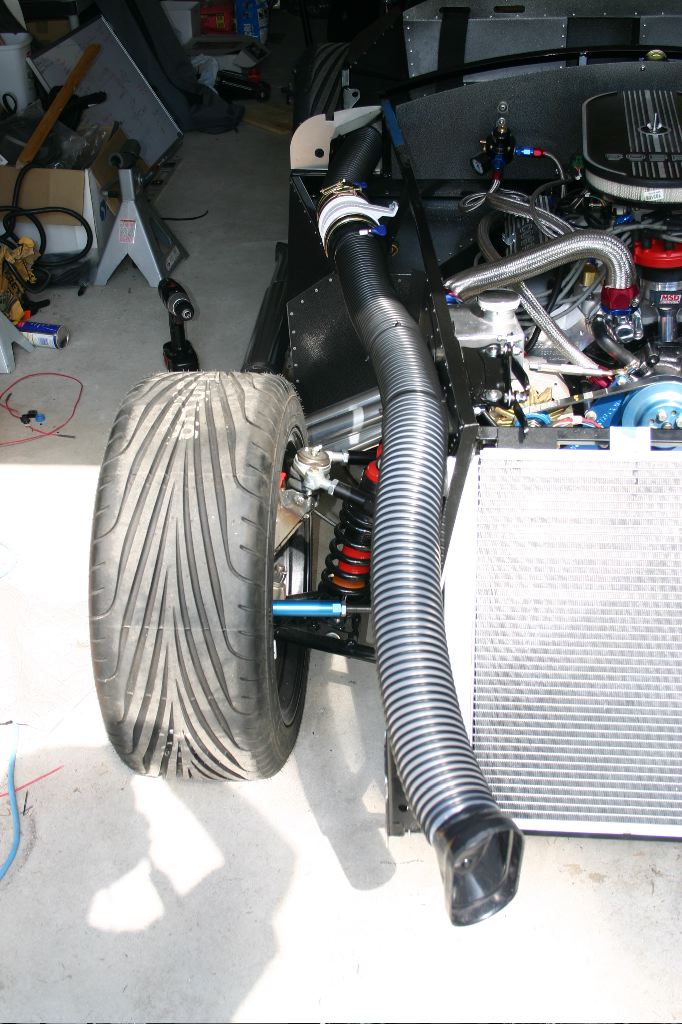
Once the body was off the car, I didn’t have a lot of time left to work on the car so I picked something I thought I could do fairly quickly. I decided to run the heat/vent ducting. This involved taking some of the reinforced 3″ ducting and cutting it to fit between the 90-degree elbow into the dash and the blower, and between the blower and the brake duct.
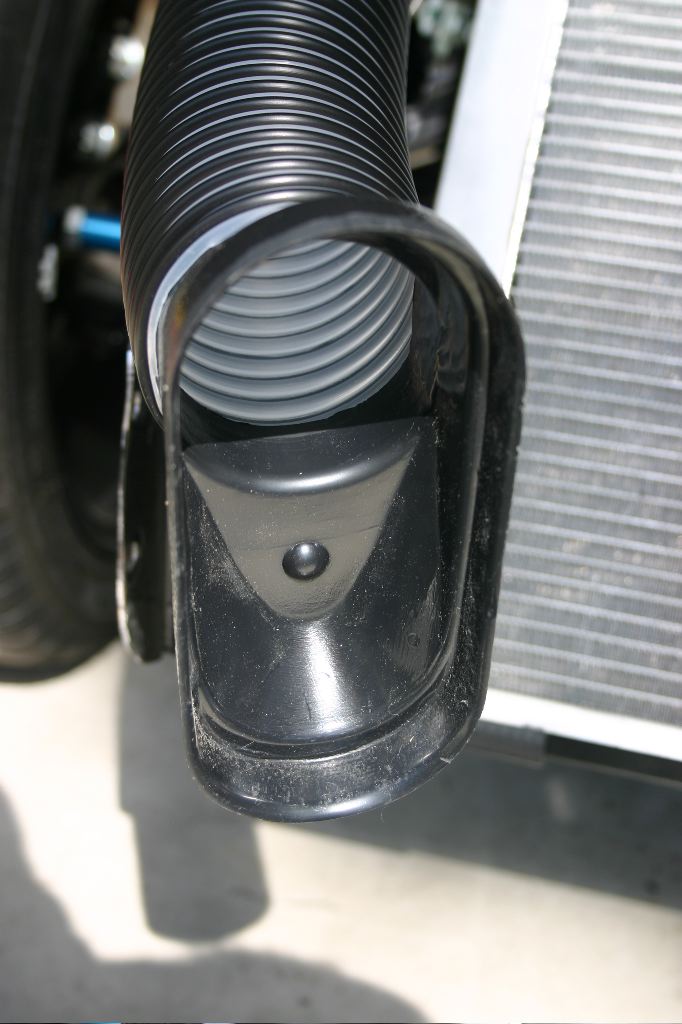
A shot of the brake duct on the end of the hose. This duct will get adhered or bolted to the brake duct opening in the front of the body.
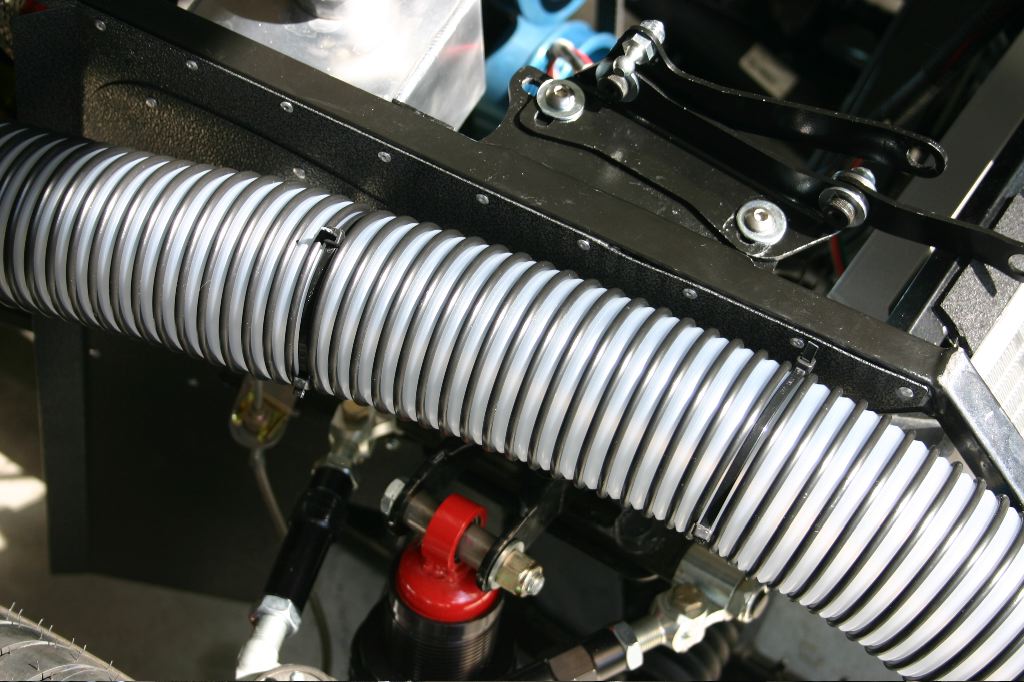
The tubing is zip-tied above the passenger side front suspension components, to the radiator hose running from the degas tank to the radiator.
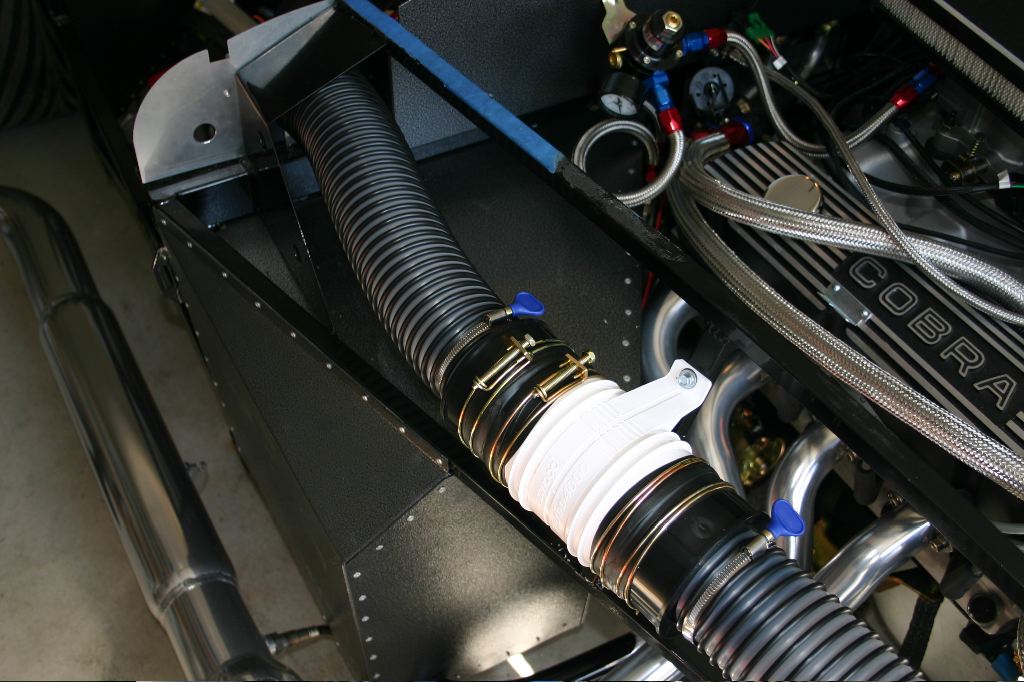
The hoses clamp to the blower unit. I don’t have the hose mounted to the elbow here because I don’t think I can bolt the windshield on with that panel mounted to the car. I’ll have to figure out how I can securely attach the hose, as a clamp won’t be reachable there.
Once the ducting was done I decided to wire up the fan controller and see how it works with the blower.
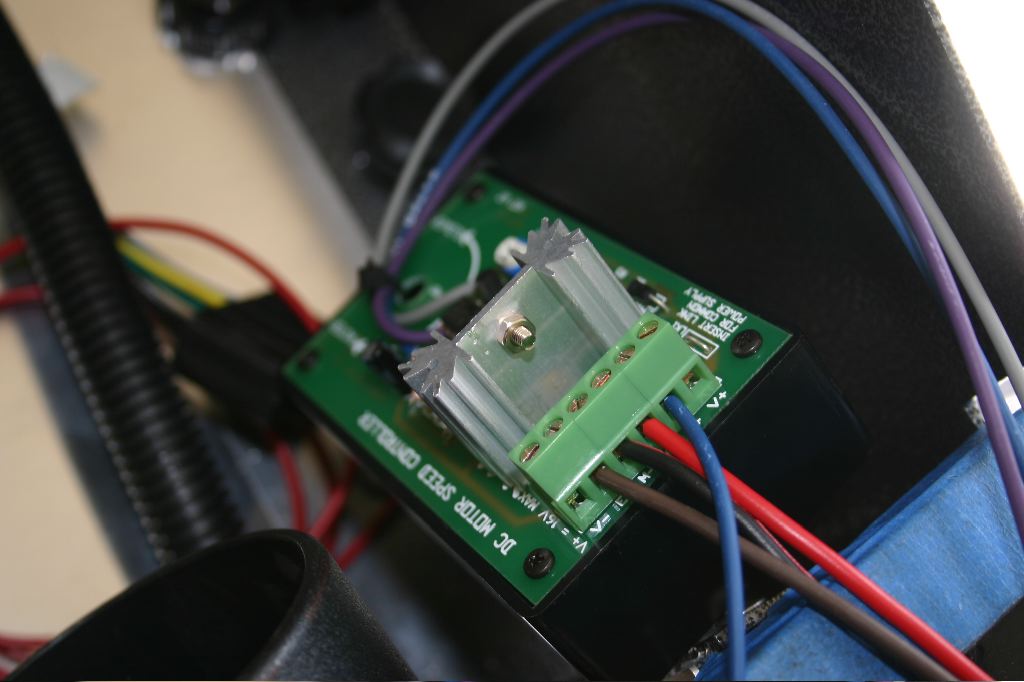
The controller works, although it (not surprisingly) causes a hum in the blower. It won’t be hearable with the engine running, though. I need to replace the potentiometer that came with the controller with the sort you’d use with a radio, which has an on/off switch as well. I’ll run a relay with the switch to feed power to the blower, and the controller will let me adjust the speed of the air.
On today’s list: tail light wiring, turn signal wiring, mounting the horn, and running the oxygen sensor wiring. If I have time I’ll also finish the trim pieces for the transmission tunnel and the backup light in the body.
I’m fairly tired from yesterday, though, so I may not get a full day in.