Considering I’m really running out of time to finish the car if I want to be able to drive it to the open house, this weekend was not nearly as productive as I hoped. My goal was to get some help today to get the body on the car, in which case yesterday I would’ve focused on getting the bulb seal on the car. Unfortunately I wasn’t able to get any help, so I did what I could.
Most of the items on my punch list are things I can’t do before the body was on, but I had some stuff I could do even without it on.
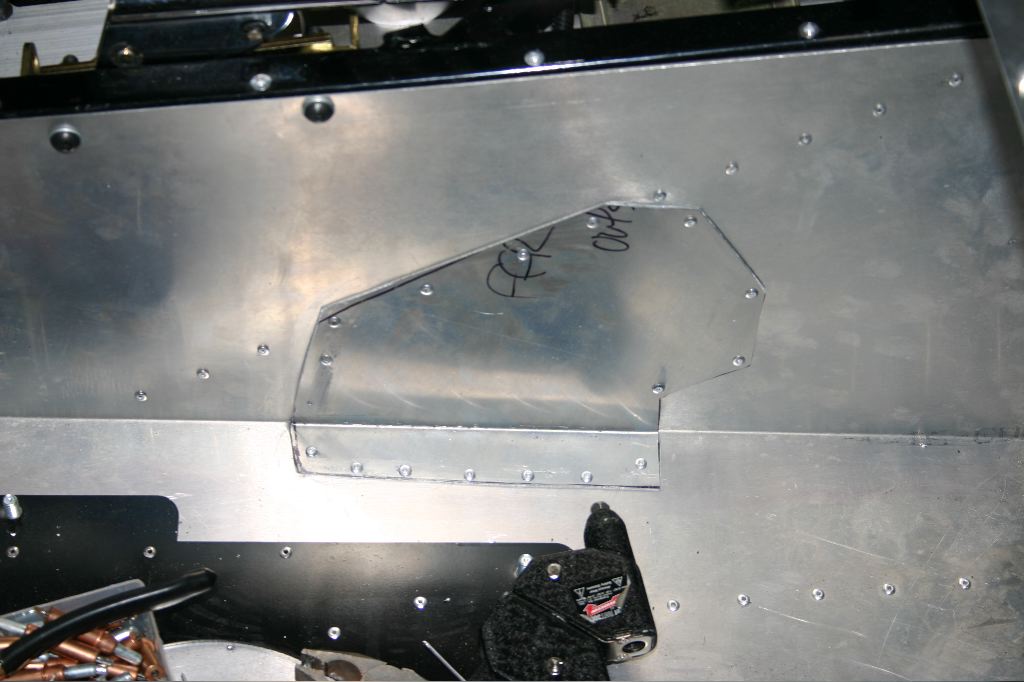
I started off by riveting the panel over the emergency brake opening in the passenger side of the cockpit. The last post on here showed the fabrication of it, but I hadn’t actually riveted it yet. I discovered a bunch of the rivets I already had in the transmission tunnel had to be drilled out, but in general it was easy to get installed. In retrospect, I could’ve used a thinner gauge of aluminum, but it works and it’ll be covered by carpet.
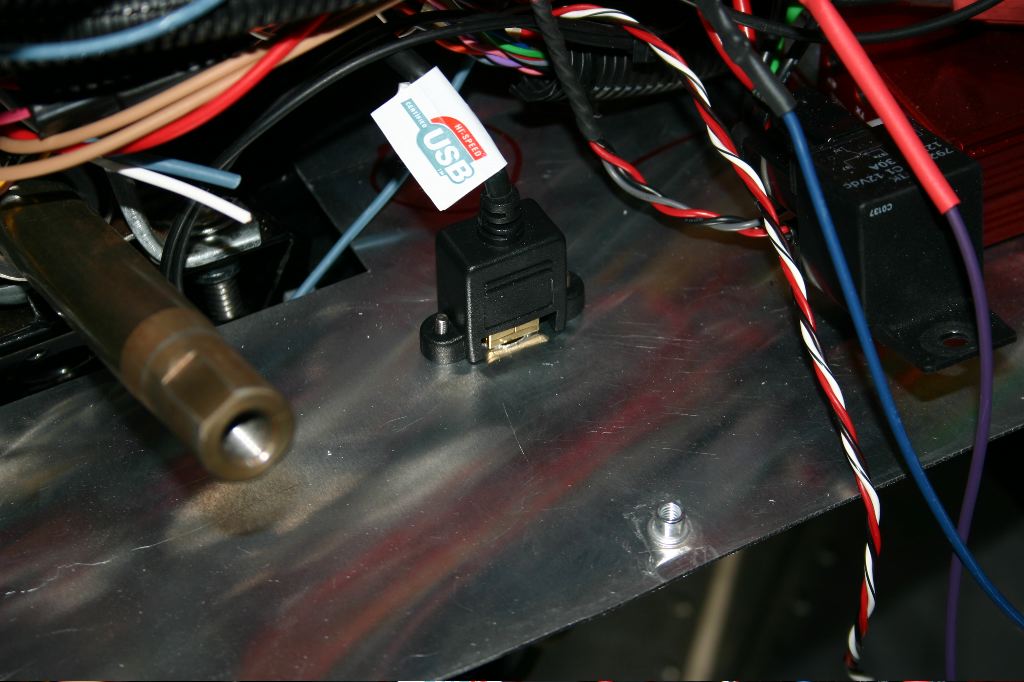
The second thing I did was take care of mounting the USB extension for the ECU. This basically involved drilling a half inch hole for the USB plug and two small holes for the bolts.
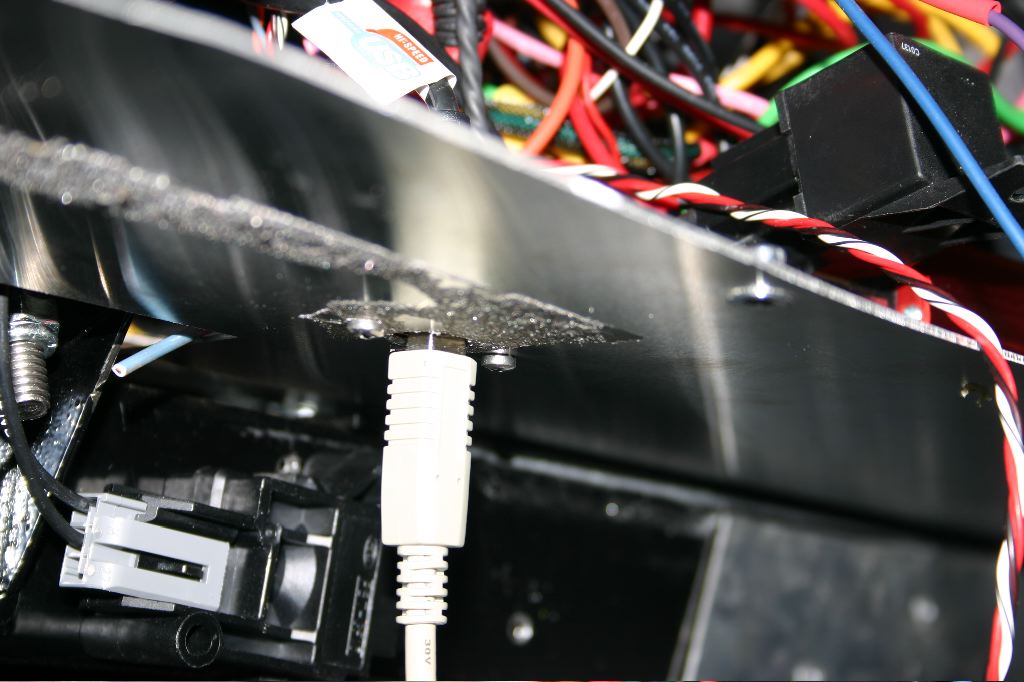
The USB port is under the dash near the steering column.
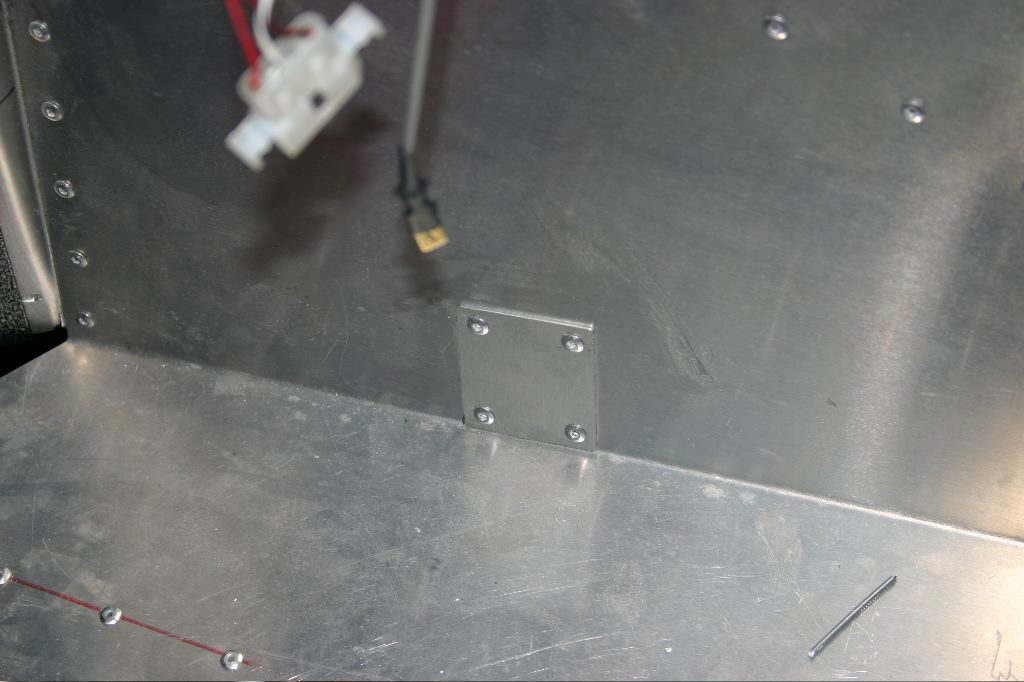
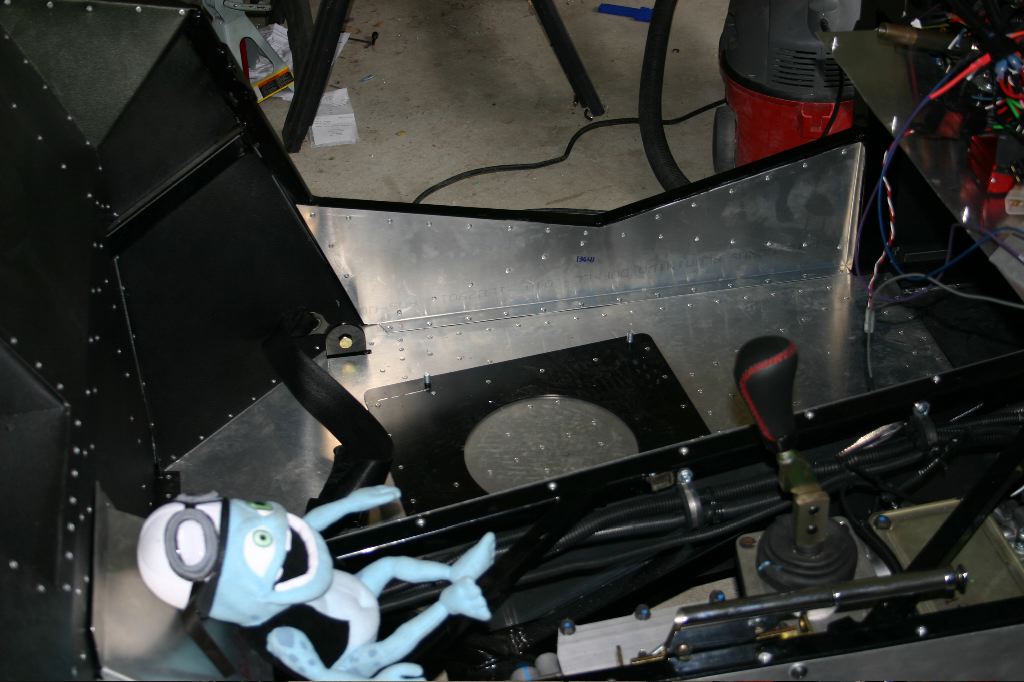
I used a small patch panel to close off the hole the transmission harness normally comes though. Considering there is carpet here and its underfoot, I don’t understand why Factory Five even placed this hole here — its a lousy spot to run wires.
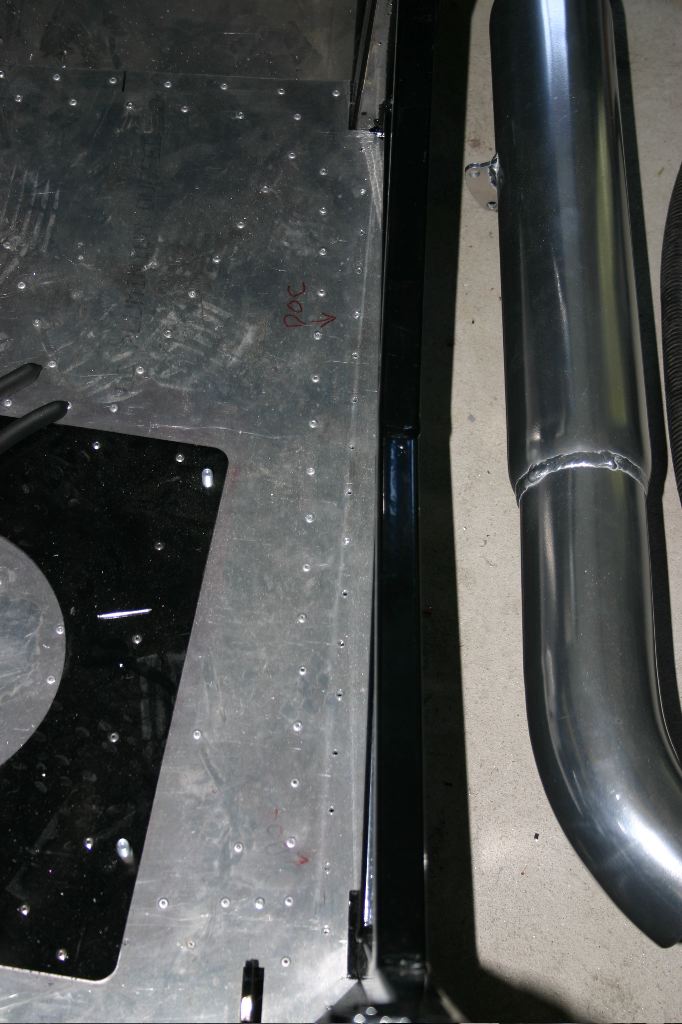
Another item I didn’t need to do before the body was on, but frankly was probably easier, was the outboard sheetmetal in the cockpit. I’m not sure why I didn’t drill and mount these last year. I guess I kept forgetting. I had to drill out the outermost row of rivets in the floor, as they were in the way of the side panels.
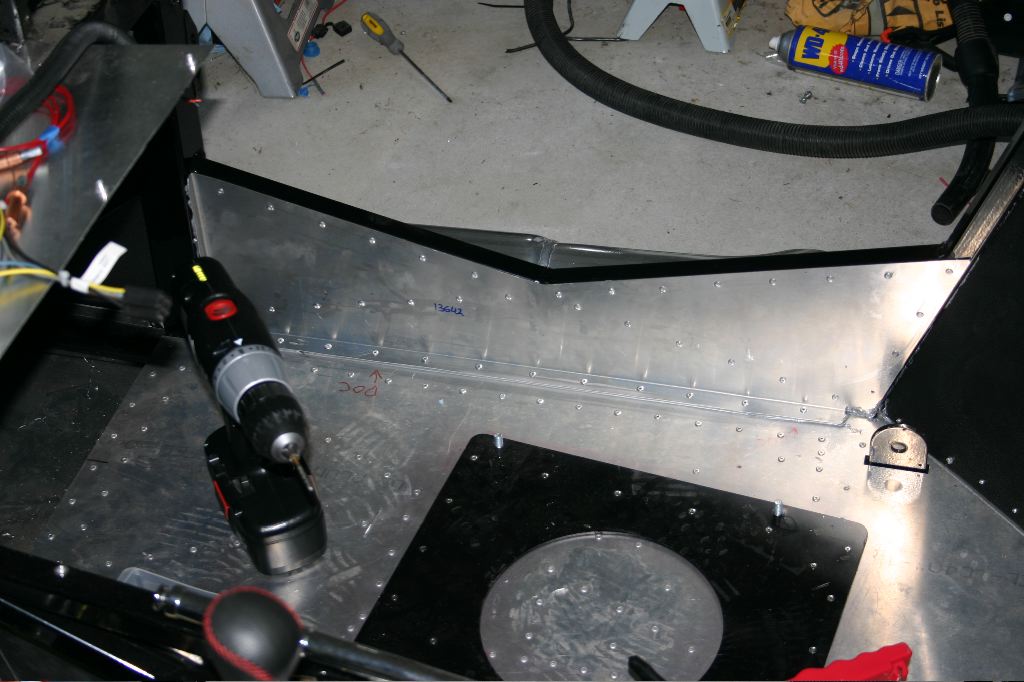
A bunch of drilling and riveting later, and the panel was in the passenger side.
I ran out of caulk yesterday and couldn’t find my extra tube of it, so this morning I bought more and installed the driver’s side. (And, of course, promptly found the old tube I had already…)
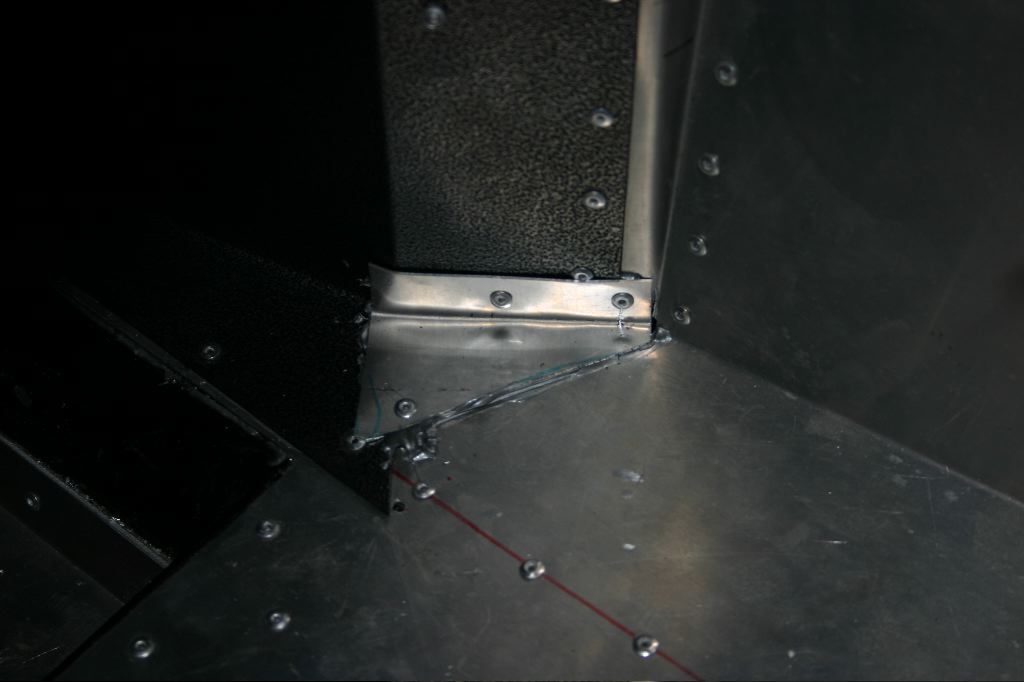
I had one other large opening in the driver’s side of the cockpit. For some reason the FFMetal footbox leaves a fairly large triangular opening. Its strange, because they didn’t include a small patch for the hole. In either case, I used some scrap aluminum and patched it. This, I had to be more careful with — the brake line runs right behind it. Rivets drilled, and no holes in the brake line. *whew*
Another task I’d forgotten to put on my list was to figure out how I wanted to mount the toggle push button for the high beams. I’ve seen two different options for foot operated ones — the switch mounted near the clutch, or behind the left foot heal so you basically kick backwards to toggle them. I decided to put the switch near the clutch. The angle of the tube steel is such that it wouldn’t work well to just screw the switch to the tube at the corner of the footbox. Instead I wanted to make something like a kick panel, and attach the switch to it.
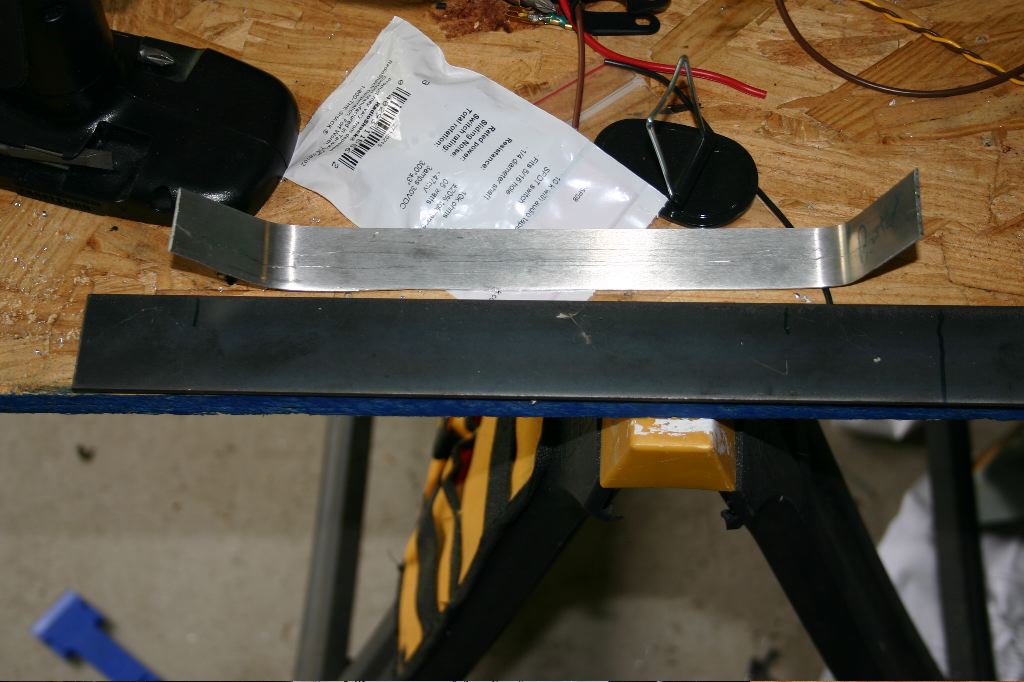
I started off using some scrap (thin) aluminum to make a pattern, which I’d then transfer to steel and bend into shape.
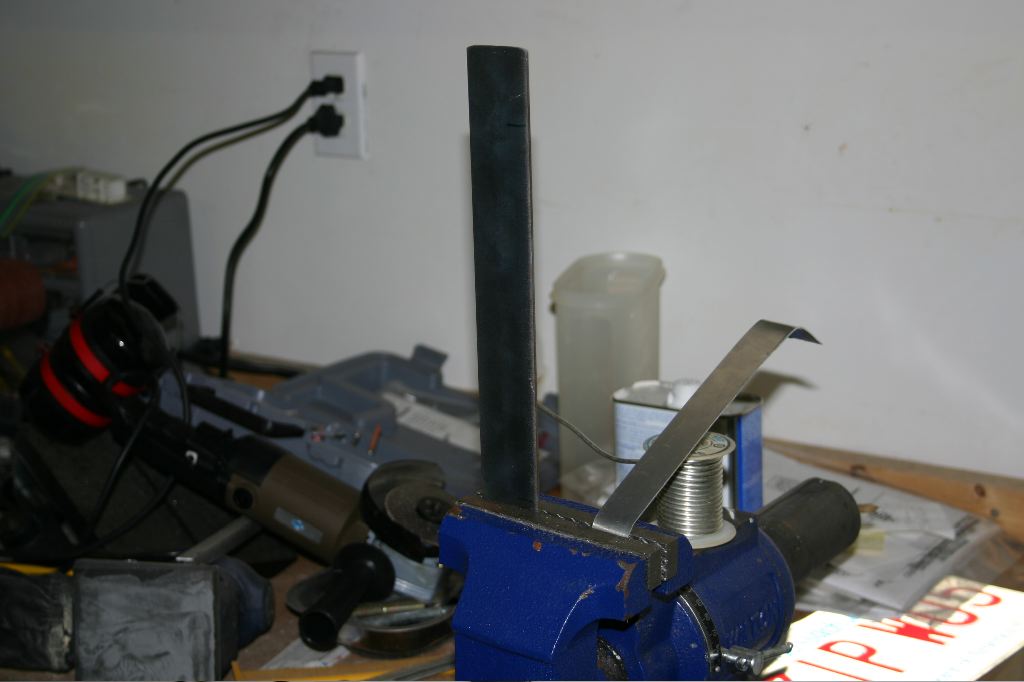
Using a propane torch to heat the steel, I used a hammer and my bench vice to bend the steel into shape.
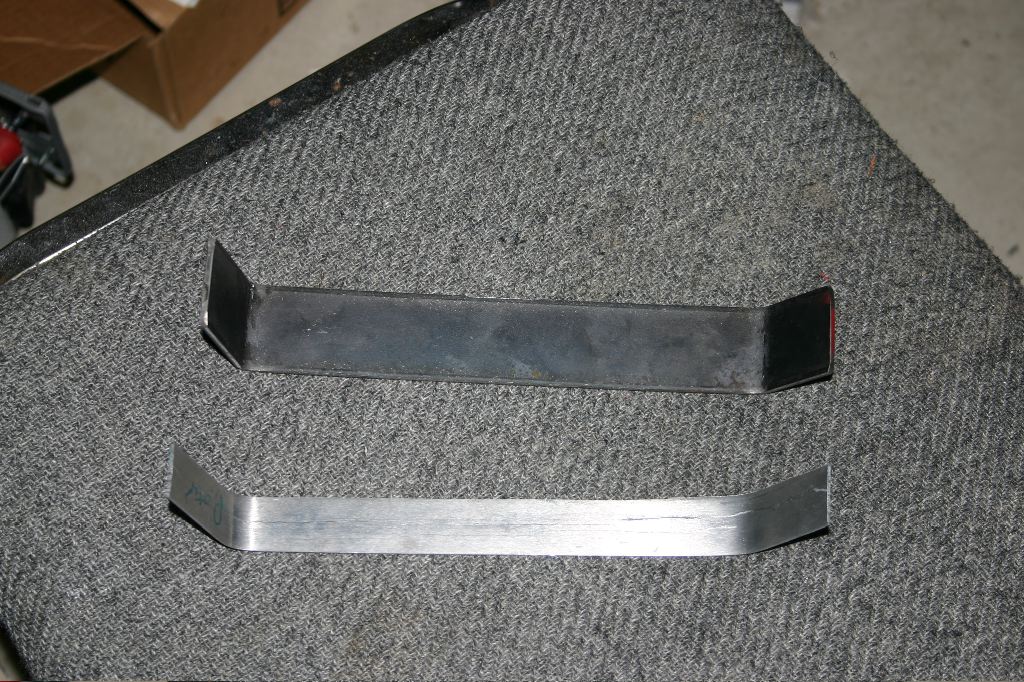
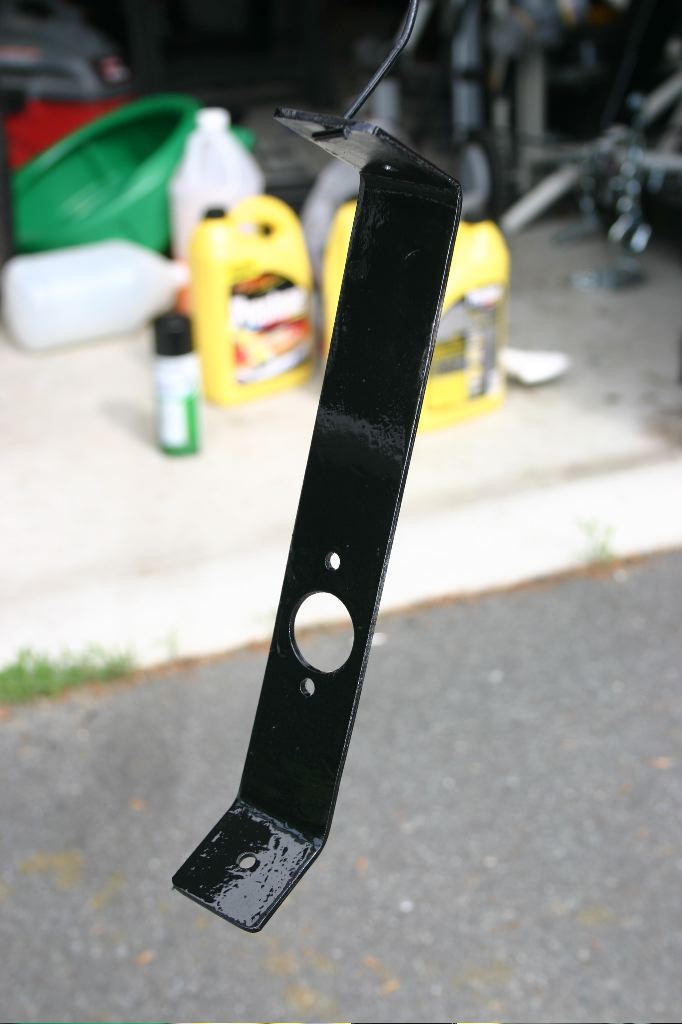
The end result was a steel bracket which was very strong and actually matched the aluminum.
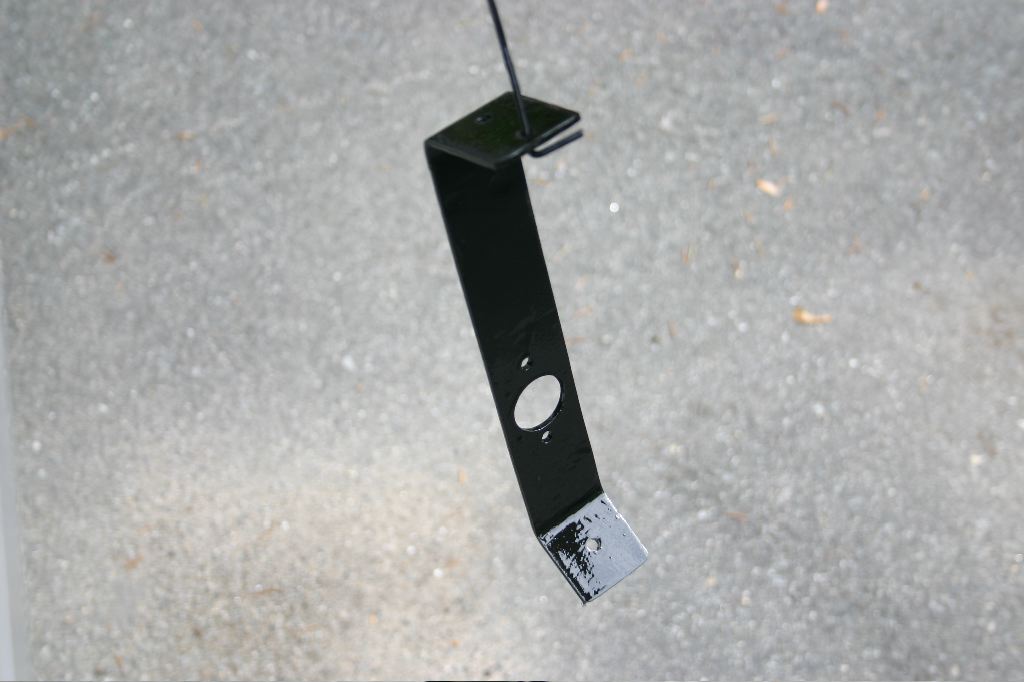
I applied a few coats of epoxy spray paint to protect it. I used the drill press to put two mounting holes on one of the flanges, and one in the other, as well as to drill a 1″ hole in the bracket for the switch to pass though. I could’ve bolted it to the face of the bracket, but decided to mount it behind the bracket so it wouldn’t stick up so much. I think this will work well.
Tomorrow I’ll mount it. I need to let the paint dry, and need to buy some bolts and a pair of spacers to let me mount and inset the switch appropriately.
This is going to be a busy week, but I’m hoping very early in the week to get help getting the body on the car. If so I can focus for the entire three day weekend coming up on getting as much done as I can on the car. I think it still possible to finish in time, but it’ll require having the body on before the weekend.