Its rapidly getting to be the end of July and its been nearly a month since I posted an update on my progress here. Its been a busy month — between trying to enjoy summer, a lot of busy weekends, and a week and a half spent on vacation, I still haven’t gotten a lot done.
For the most part, what time I’ve spent has been fighting with the fitment of the body on the car. The Factory Five bodies are (in)famous for being poor quality — even cheap knock-off fiberglass bodies typically come in paintable gelcoat, whereas the Factory Five bodies take hundreds of hours of prep time to paint. Well, its sort of hit or miss if the things even fit the car properly, and I’ve learned the hard way that paying Factory Five to cut the body openings is hit or miss as well. I’ve wasted a dozen hours or more trying to figure out what parts are okay to have out of alignment and what is important, because the body and frame don’t match well enough for all the openings they’d cut in it to be in the right spot.
I have made some progress, however.
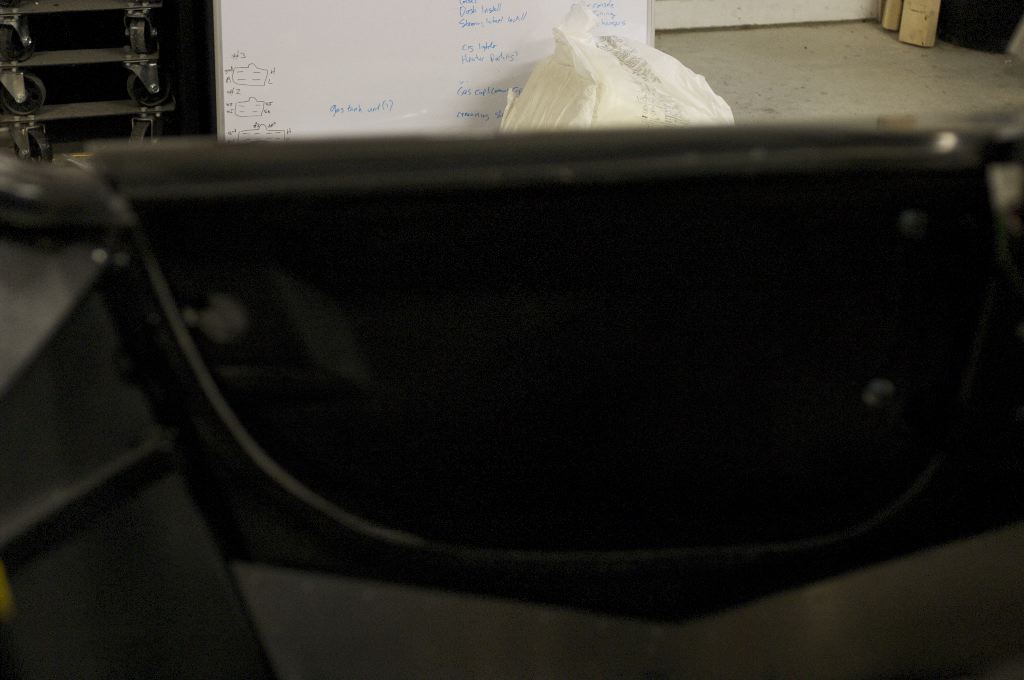
The problem I’ve been facing is body bolt holes and rollbar holes not lining up correctly. This is on top of things like the trunk latch body holes not being drilled in the correct spot as well.
With the rollbars, I’ve had two different problems — the driver’s rollbar just plain didn’t fit, even with the body off. The welded in mount for the rear leg of the rollbar was just plain welded at the wrong angle and it was impossible to install the rollbar. Strangely, the body holes lined up correctly with the incorrectly welded mount, however.
I don’t have photos of it, but some notching and modification to the ends of the main hoop of the driver’s rollbar let me seat it about 3/8″ lower which got the rear leg close to being correct.
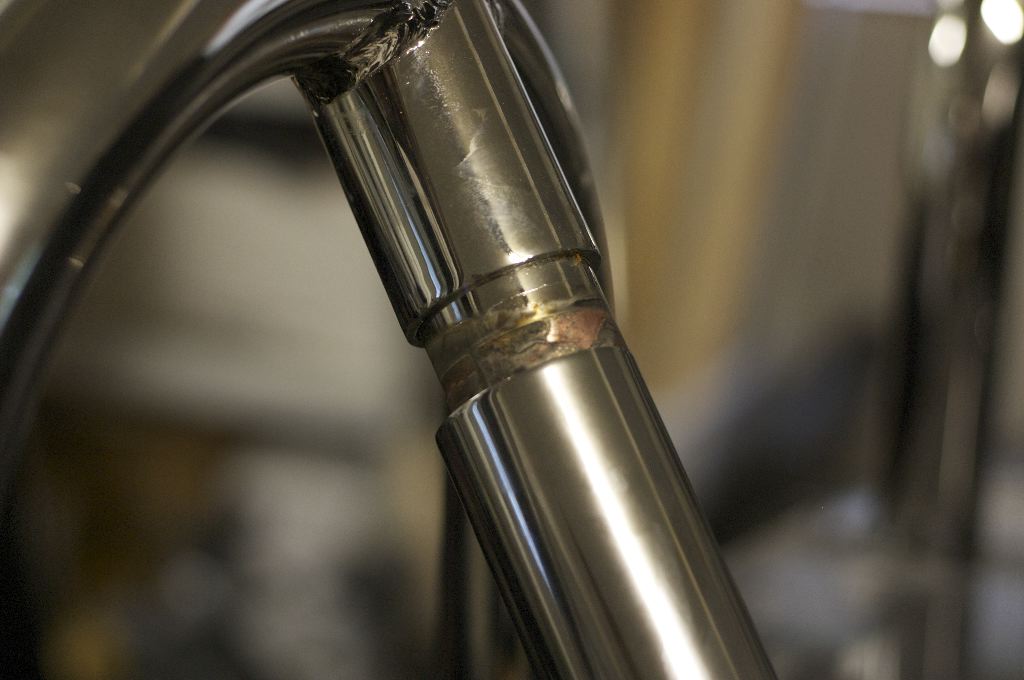
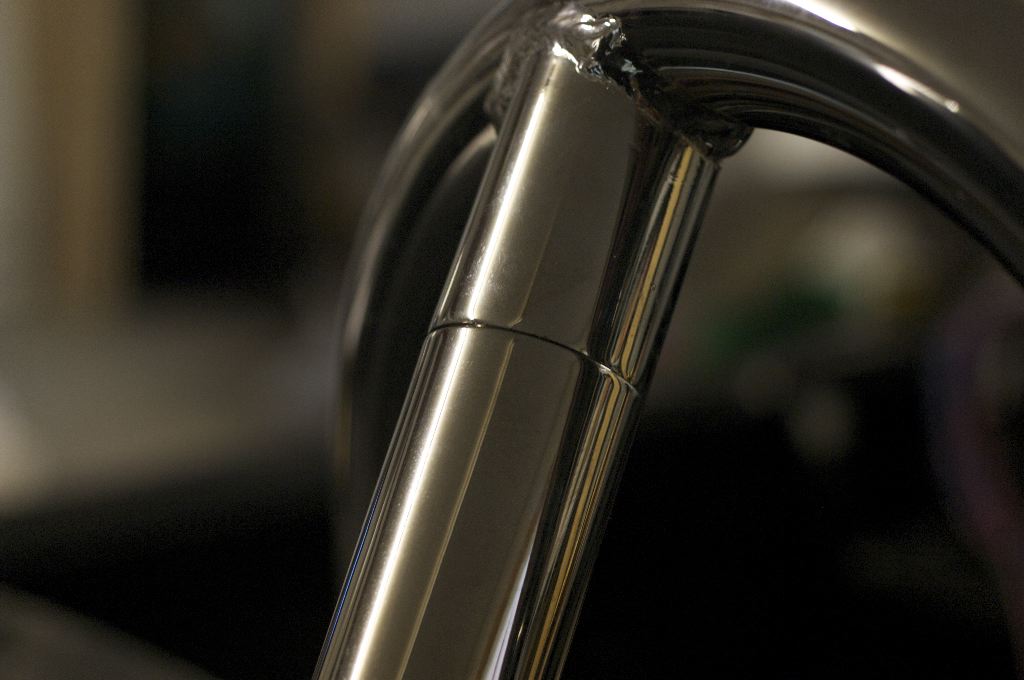
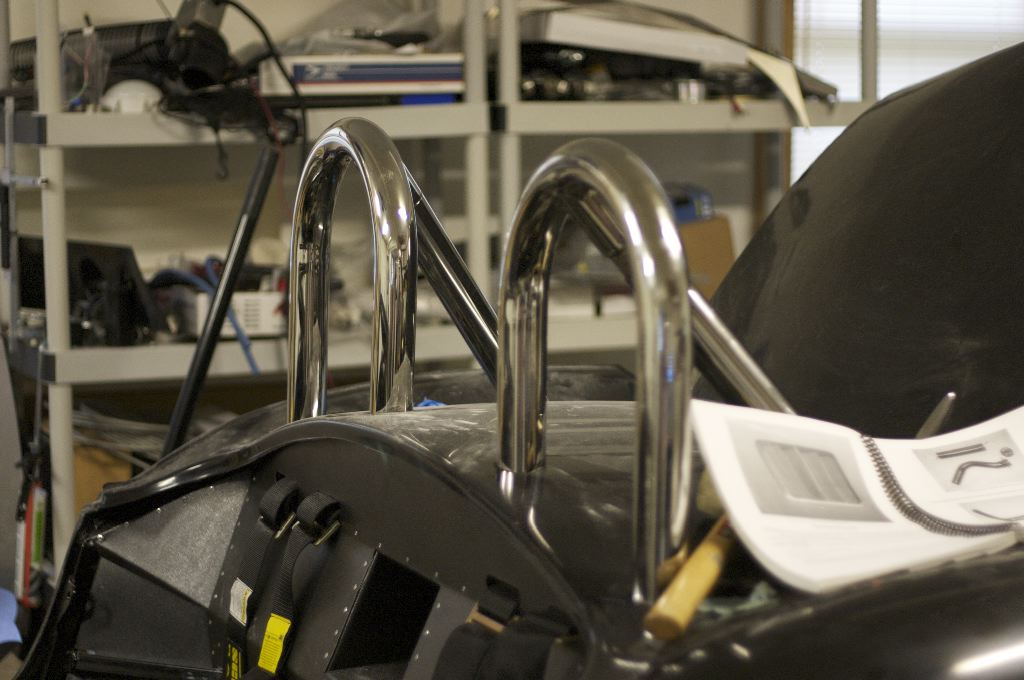
The leg typically slides easily over the flange on the main hoop. The above photo shows that its close, but not quite right. It appears I’ll be able to “massage” it into place by putting some weight behind the bar to bend it slightly into position. I’ve been unable to slip it on myself, though, and need help with it.
The passenger side rollbar fits like a champ — because the rear leg bolts on and can be adjusted. However, Factory Five misdrilled two of the holes — the inboard hole on the front hoop and the hole for the rear leg was vastly off.
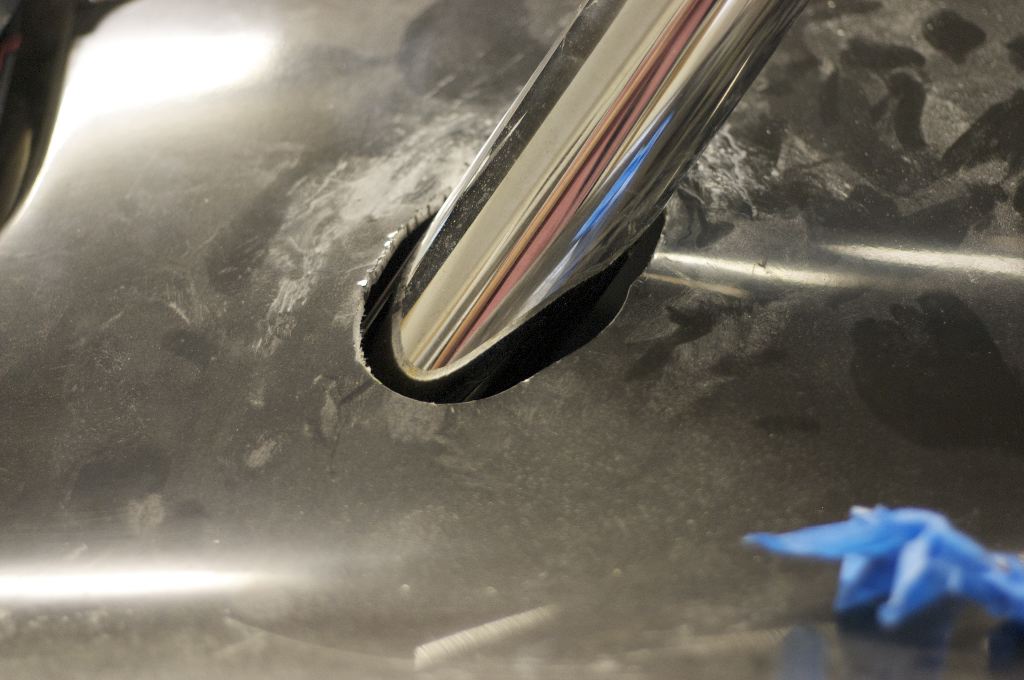
The rear leg was so far off I have more than a half inch gap around it. I’m hoping I can buy rollbar bezels to cover this space, but I may need to do some filler work to narrow the gap. Moral: don’t waste your money paying Factory Five to cut the holes. They did these quicky the day I picked up the car, and clearly missed.
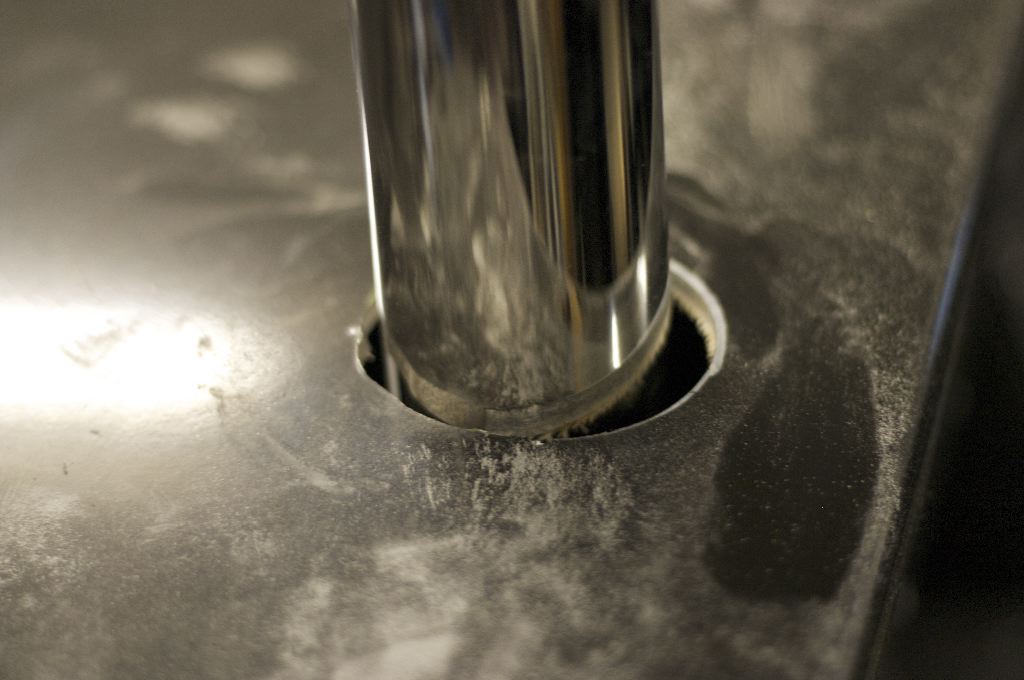
The inboard hole was off by about a quarter of an inch — in this case, the matching hole on the drivers side was a quarter inch back from the lip of the cockpit, so it was definitely just drilled wrong.
The rollbars are close — with some massaging, I think the drivers will go on, and then I just need to drill some holes inside the car to bolt them to the mounts.
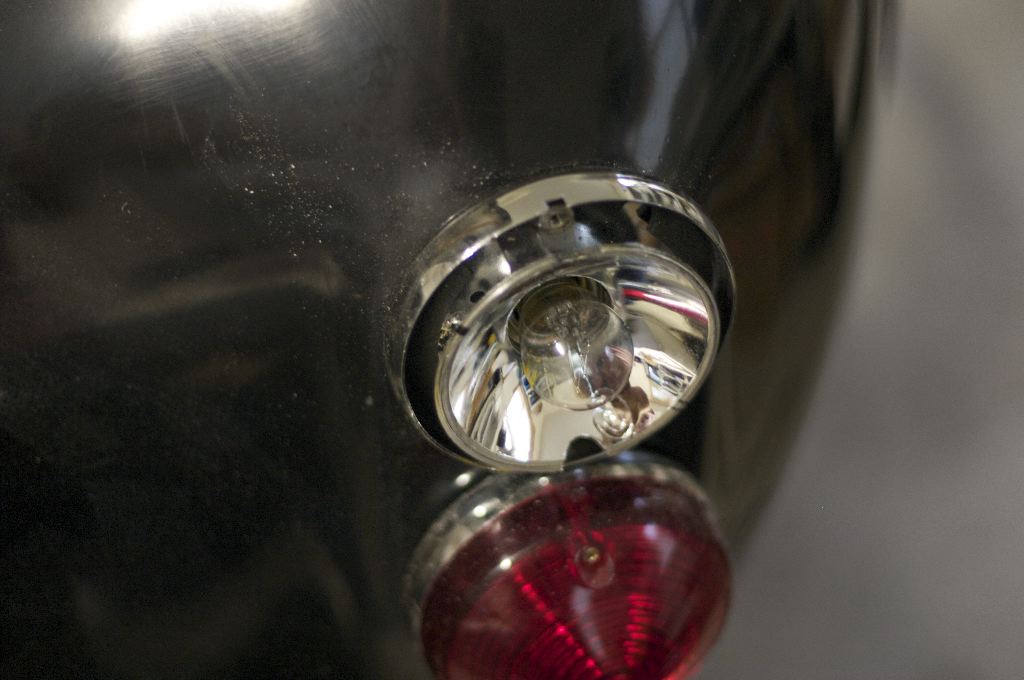
A few weeks ago I spent two hours trying to track down what the problem was with my brake lights — when the headlights were on AND the brakes were on, the driver’s side brake light was going out entirely. I tracked down wiring all over the car, double checking everything. I had tested it all very thoroughly before and was baffled why it wasn’t working at this point.
It turned out the light housing is defective — the low and high beam wires are both connected to the low beam, causing the brake light to short across to the other side and not light. Factory Five has shipped me a replacement, but I haven’t gotten it yet.
I’ve also mounted and unmounted the doors a few times — part of trying to tell if the body is “right” or not. The driver’s door seems to be fitting, minus the seam trimming that is needed.
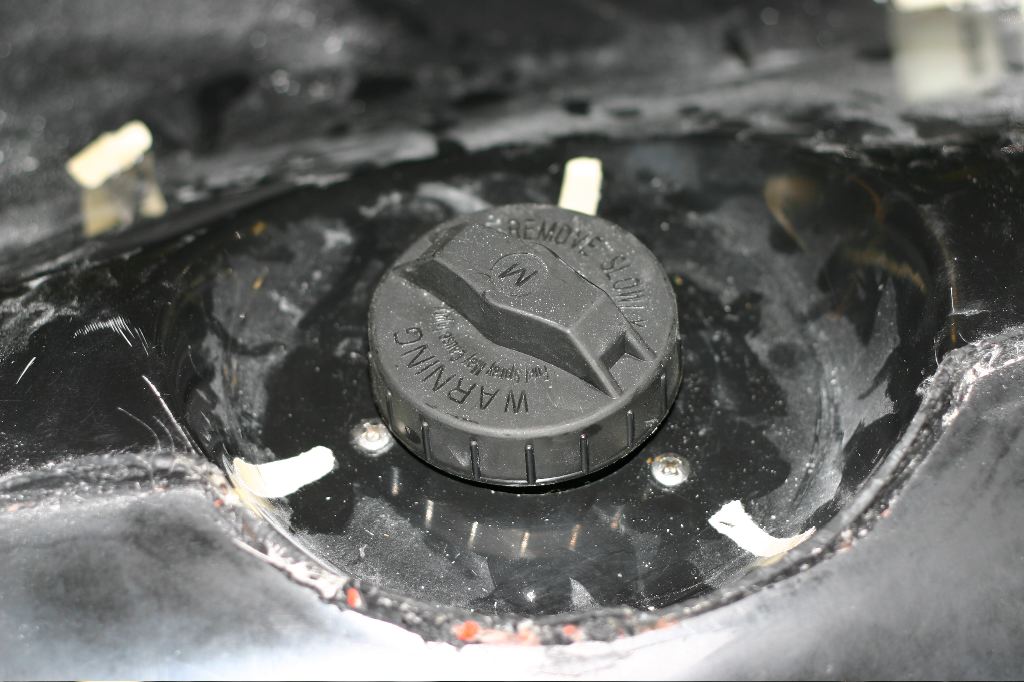
Tonight I started mounting the fuel filler neck. There’s three parts to it — the upper portion of the Mustang filler neck, a fuel cap and the LeMans cap, which is the traditional clasp-opening fuel filler on a Cobra (and on a lot of 60’s era race cars, including things like the Porsche 911).
Factory Five has a newer design now that is much better, but with the one I have you basically drill three holes in the body and mount the filler neck from below. The LeMans cap is for looks only.
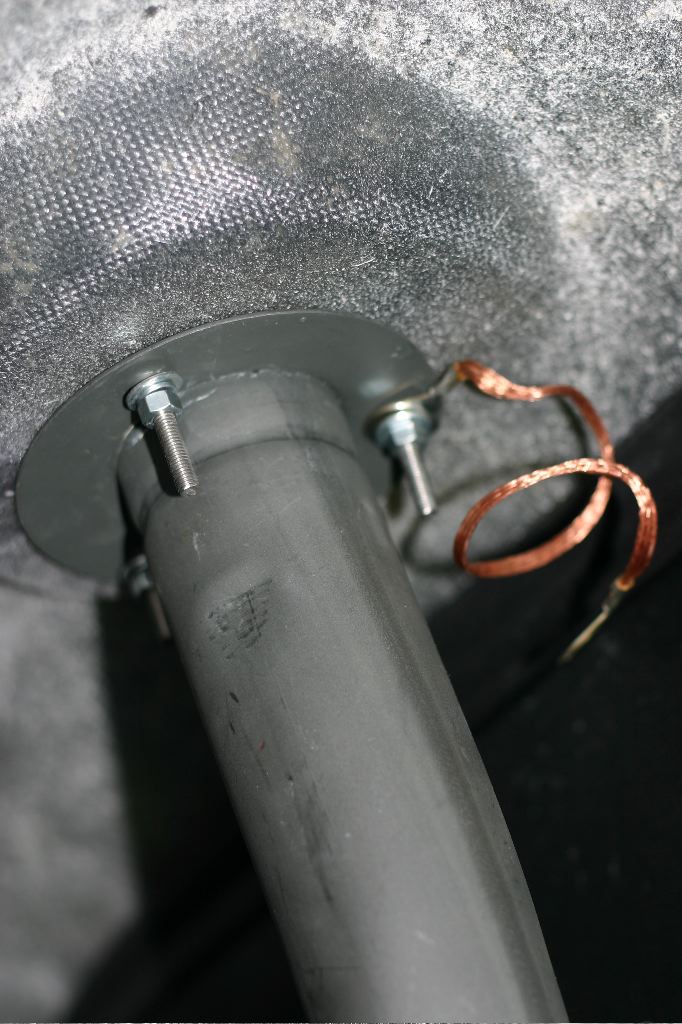
Typically, Factory Five suggests using some nylon spacers to lower the assembly about a half inch from the opening in the body. This is because the whole setup is a bit hacky, and without lowering the filler, the gas cap won’t fit under the LeMans cap. I experimented with a few different setups, and currently have it mounted flush to the body.
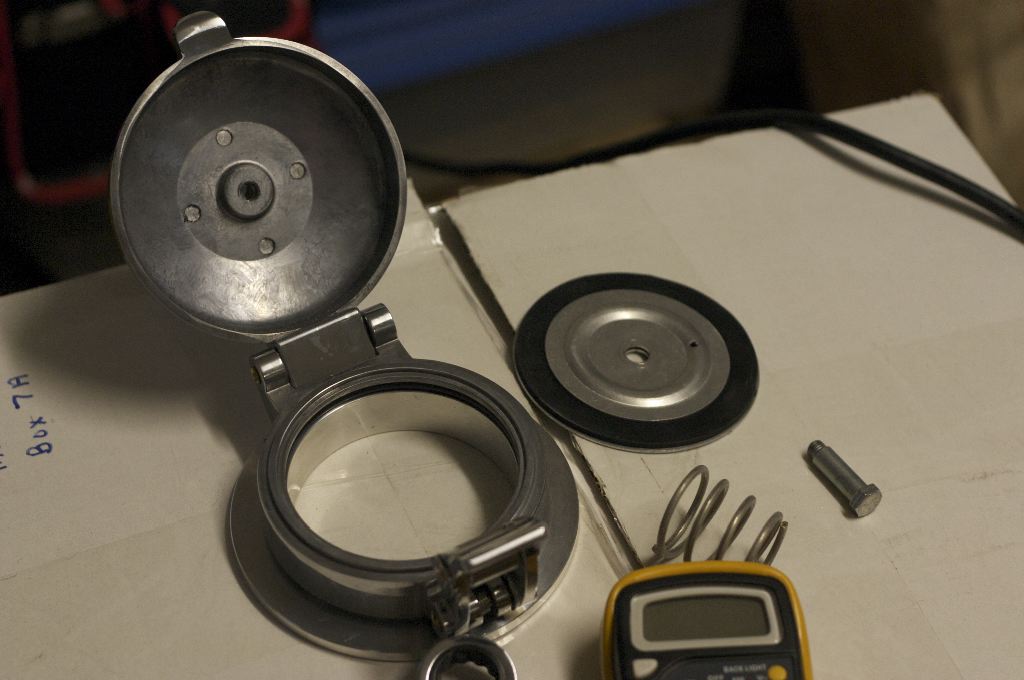
I realized when looking at the LeMans cap that it could be disassembled. In normal usage, it is the actual gas cap — there’s a spring loaded seal up in the cap that seals against the base of it using a rubber gasket. The parts can be seen in the photo above.
With the spring mechanism out, the LeMans cap actually fits over the gas cap without lowering the filler neck.
In the normal position, the gas cap is actually contacting the body because the filler is so low, and it sits very deep down in the LeMans cap.
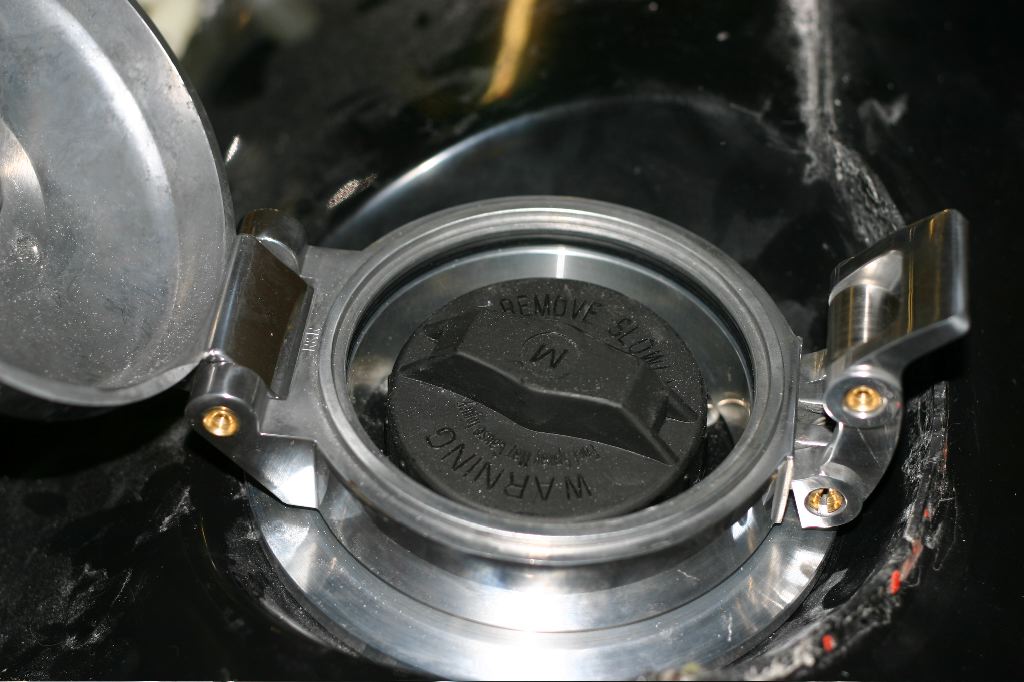
With the filler higher and the spring seal removed, the cap fills it completely.
I’m unsure if I’m going to leave it this way — to do so I’m going to need to rig another spring mechanism to hold the cap down, because the cap will rattle without it. I think I can fabricate something, and this looks vastly better.
Given the long series of major issues I keep having, its clear that its unlikely I’ll have the car street legal before the end of August. Its immensely disappointing to be two or three months late at this point (or a year and three months late depending on how you look at it), but it is what it is.
With any luck once I get the body bolted on, things like the windshield and wipers will go much more quickly.