I once again got some more time today to spend in the garage working on the car — a very hot garage. Summer is definitely not a good time for working on the car. I’ve been struggling with getting the body fitted the last two months, and I think its about as good as I’ll be able to get it. I wanted to get more body-related details done, so I could get the body bolted on and get the remaining sheet metal on the car to ensure the body will not shift any more and I can get the windshield on.
To that end, today I wanted to finalize the fuel filler, and my replacement light showed up from Factory Five, so I wanted to get the tail light swapped out, too.

There wasn’t much to dealing with the tail light. I removed the broken one, and removed the Weatherpak connector from it. I was able to get the pins off the wires and re-use them. Once bolting the light back to the car and hooking it back up, a quick test showed that the previous light was, in fact, the problem. All the lights are working correctly now except the hazard lights, which I believe is a dash wiring problem.
The fuel filler, I decided to mount with spacers and keep the LeMans cap assembled as normal. This is not what I’d decided two weeks ago, but it was going to be more of a hassle getting the LeMans cap to seal any other way.
I didn’t like how the nylon spacers held the fuel neck, though. You could see the gap around the filler neck and it just looked slapped together.

I decided to take a bit of 2″ PVC pipe and cut a half inch ring off of it. I then sanded down the edges of the nylon spacers to make a flat spot and superglued them to the ring.
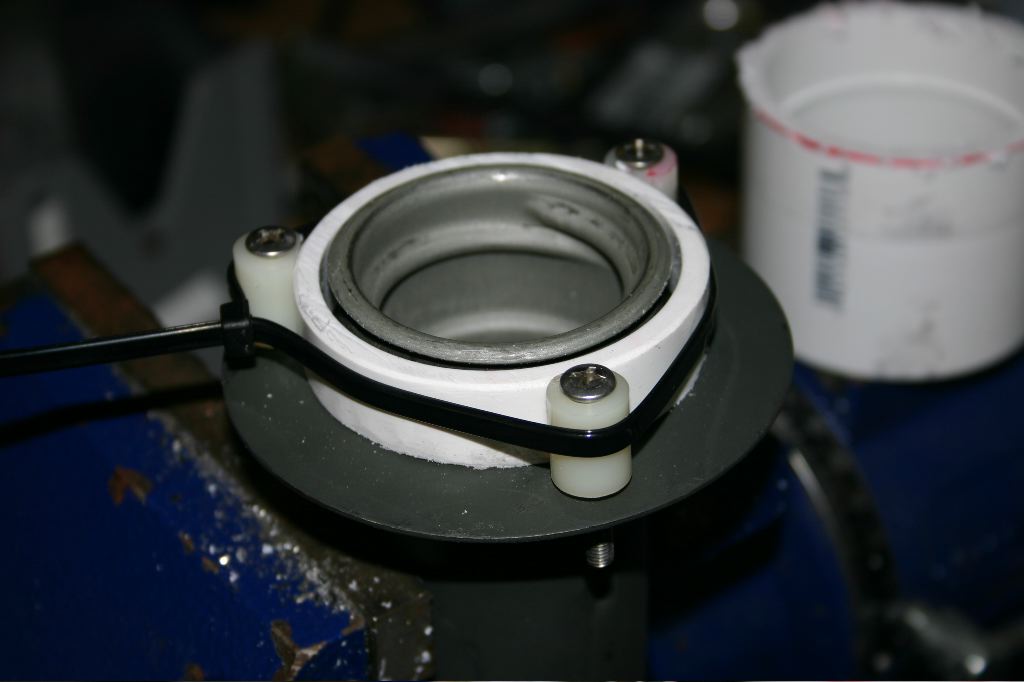
Using a zip-tie to hold it tight, I let it dry. Once dry I painted it black, and it now spaces down the filler neck without unsightly gaps.
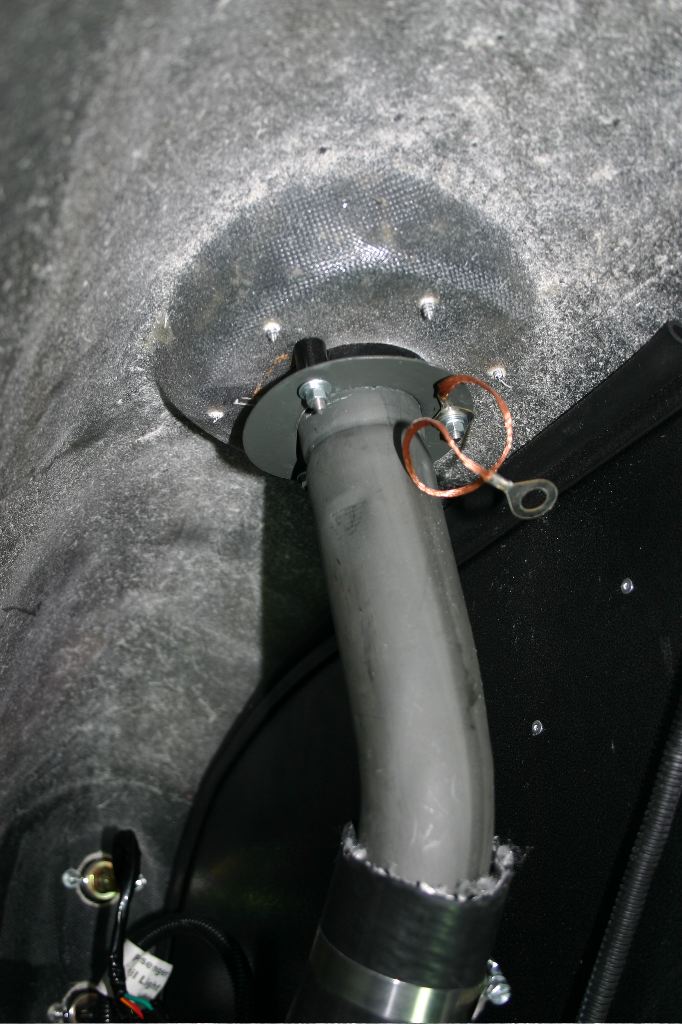
The filler neck bolts up to the body.
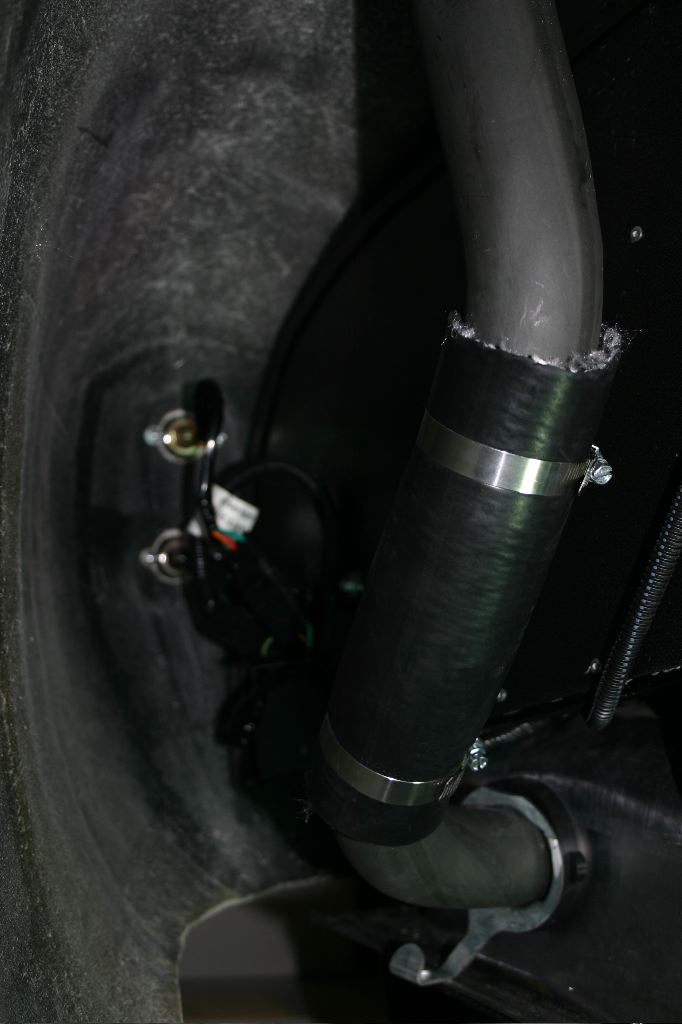
I also shortened the 2″ hose that connects the upper filler neck to the lower filler neck, and tightened it down.
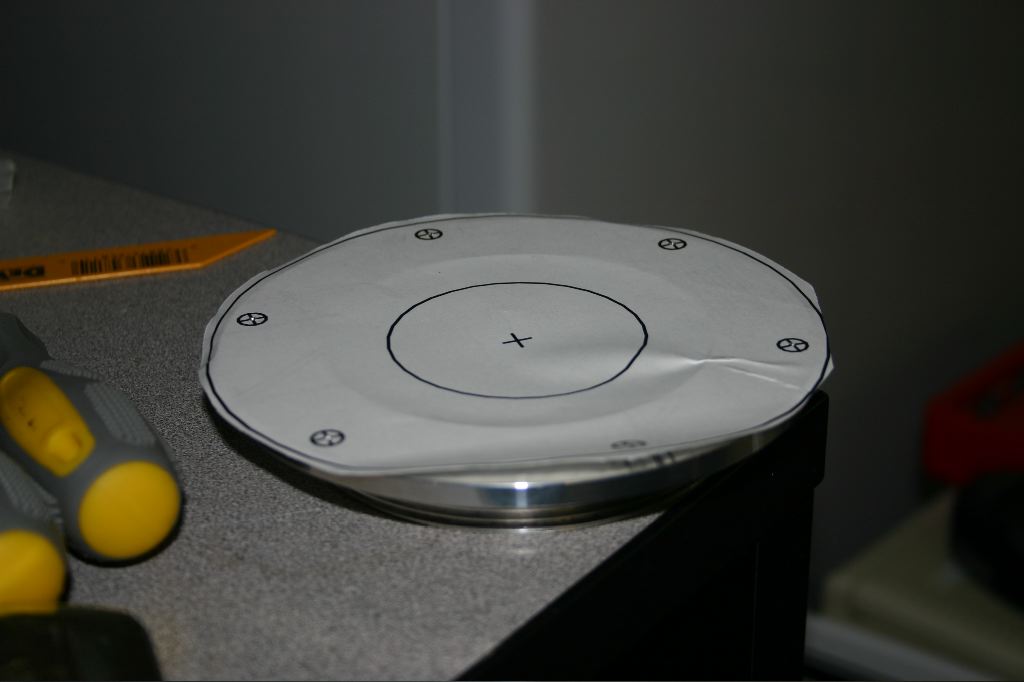
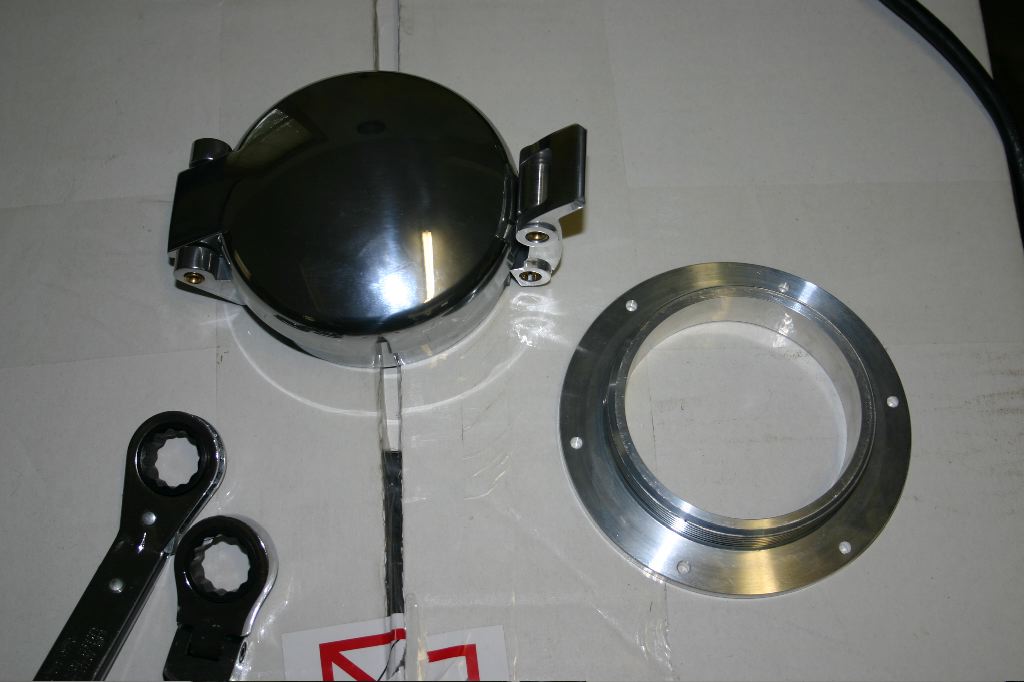
The LeMans cap is in two pieces. In classic cars that used them, it was the entire fuel filler — there was no other neck. To facilitate that, it screws into a base and the cap itself, normally the two of them together seal to the fuel tank itself. In this case, I removed the base and used a template to mark six holes to drill for mounting screws.
After center punching the holes, I used the drill press to drill them into the aluminum base.
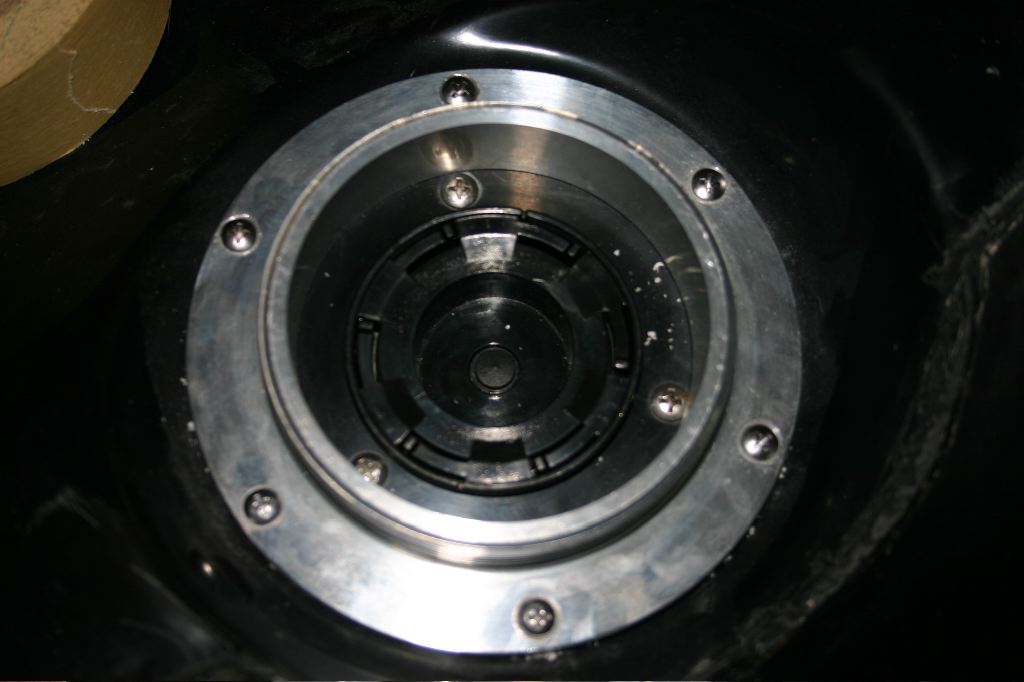
Using a counter-sink bit in the drill press, I cut a cone-shaped countersink into each hole so the screws would sit down into the cap. Using the cap, I then drilled pilot holes into the fiberglass and screwed the cap down.
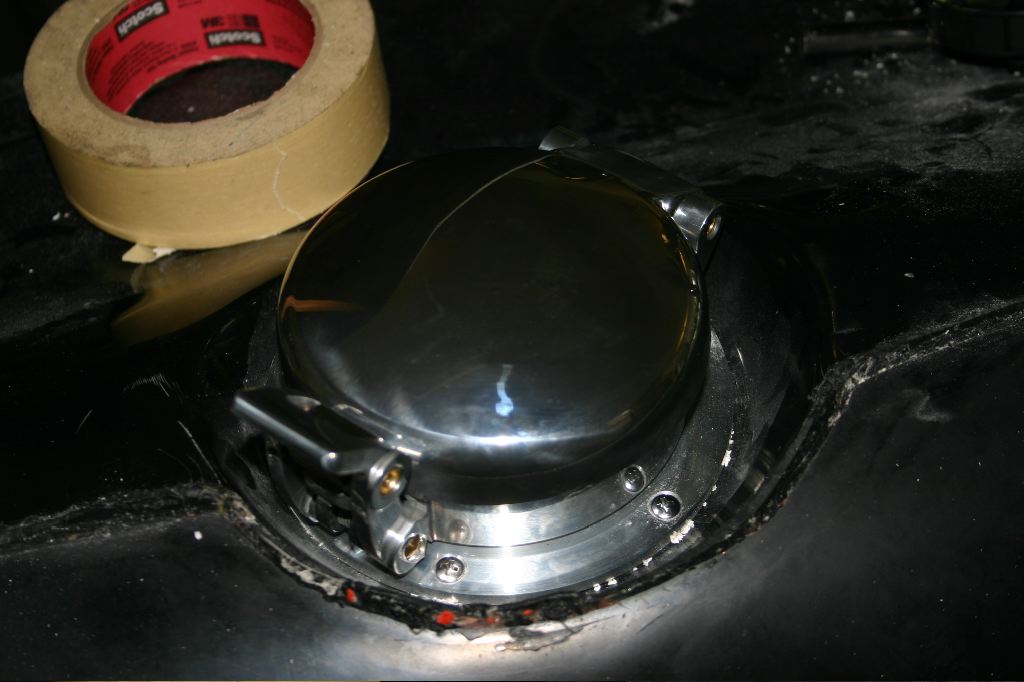
With the base screwed down, the LeMans cap itself screws onto the base.
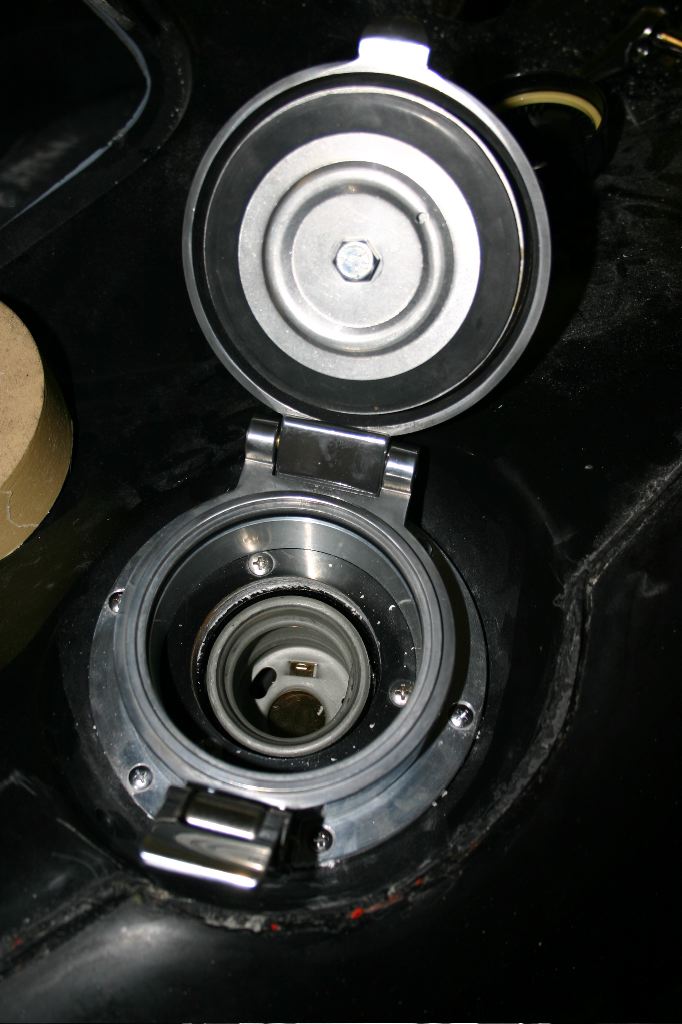
To fuel up the car, you just open the LeMans cap and remove the gas cap inside. This setup is somewhat hokey, but there are 7000 Factory Five cars with it before they changed to the newer one-piece design. If it bothers me long enough, I’ll just replace the unit with the newer model, but this is fine for now.
Beyond this, I also adjusted and tightened down the rear side body mounting bolts. I’ll get the front set in this week, and then can look at getting the elephant ears into the car now that the wiring is all set.
Hopefully I’ll be able to tackle the windshield next weekend.