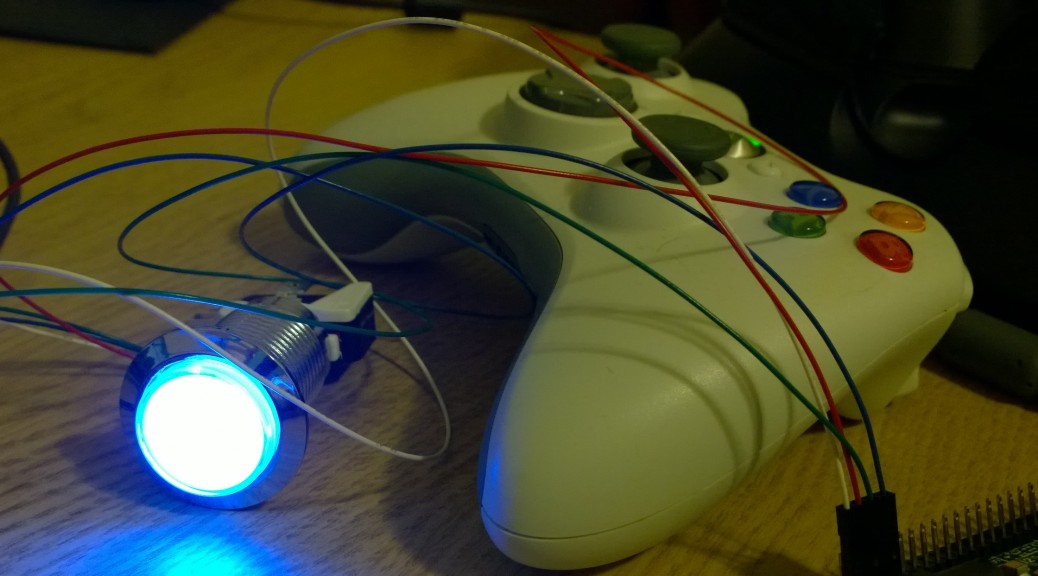
Almost all of the buttons on the arcade cabinet will be illuminated, to show which are used in a given game and to differentiate them. There are 33 RGB illuminated UltraLUX chrome buttons, and four red ones for “credits”. The switches and everything showed up the other day, so I went ahead and played around with the hardware.
All posts by George
Control Panel Design, Part II
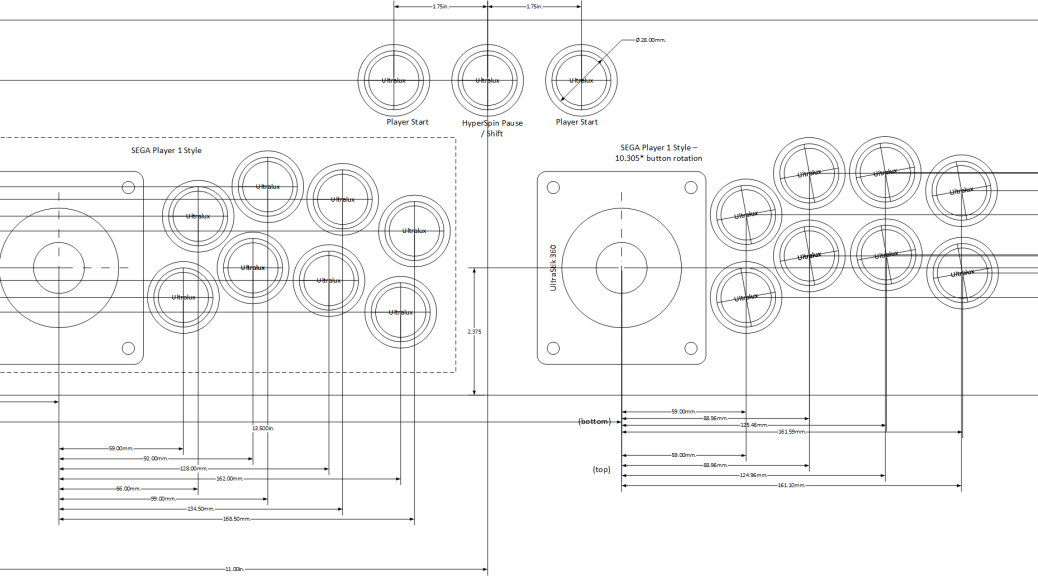
The control panel design is a pretty complicated process. Perhaps if you’ve built a bunch of arcade cabinets before you can get a good sense of what works and doesn’t, but lacking that its just a bunch of guessing. Visio definitely helps, as you can print out and tape together full sized mockups to get a sense of what would fit where. Having done that with the designs in my last post on it, its clear I just simply can’t do what I want to do with either of the cocktail cabinets I’ve found to buy.
Finished with the Home Theater
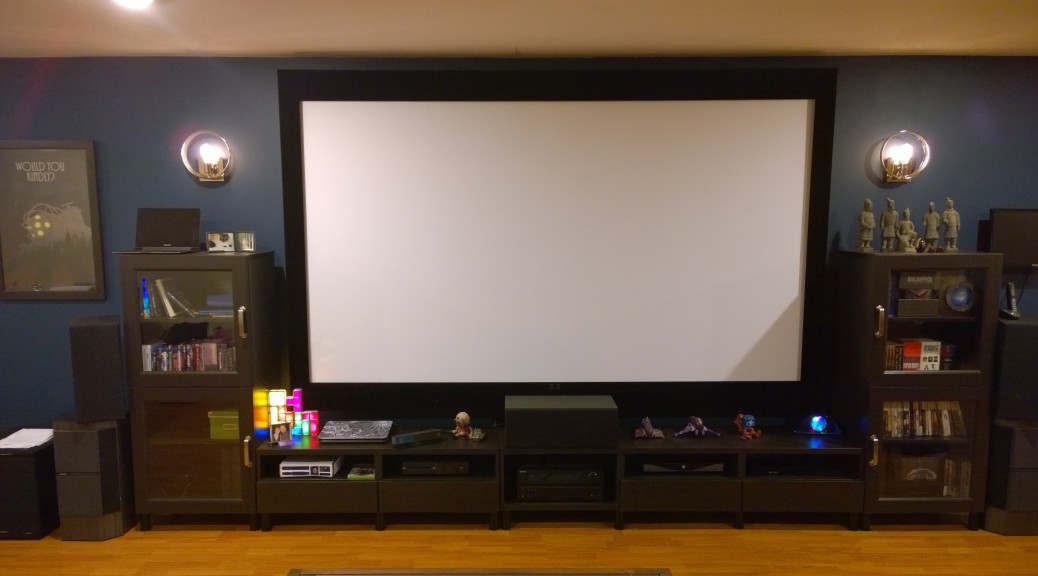
With the addition of the new center and main channel speakers, plus the BIC subwoofer, the home theater is pretty much all set. There’s a small bit of patching and some ceiling painting that is still needed, but everything else is wrapped up.
It wasn’t a small project, but I’m very happy with the results. Now, on to the rest of the basement. There’s a lot of painting needed, and some chair rail, but I think the next project will be finally setting up a MAME arcade machine. That’s step 2 in Project Man-Cave.
Control Panel Design, Part I
The process of working out exactly what I want to build after deciding it was time to finally build myself an arcade machine is a complicated one. There’s a massive number of decisions to be made, like what kind of machine, what kind of games it’ll play, what sort of controls need to be in it, etc… There’s no shortage of ideas online, although a lot of them are bad. A lot of people have no aesthetic or ergonomic sense, it seems. Although mine would be in the “home theater”, which is pretty much geek central, I don’t want too much “OMG, arcade machine!!” bling.
Spring in New England
Anyone in this part of the country can tell you — this has been a brutal winter. The last snow in my yard stuck around until late yesterday. You still see piles of snow in shady places around the neighborhood. For almost two months I had more than four feet of snow in the yard, and snow banks north of seven feet fall along my driveway.
So the spring thaw we’ve finally had the last week or two has been a very welcome respite from the storm after storm of the winter. It was in the low 60’s yesterday, and nearly 70 today. It was definitely time to get the Factory Five out of the garage and put some miles on it. I want to do a fluid change in the next few weeks, but there’s not even a thousand miles on the car yet, so its not really pressing.
I had gotten my other car out of the garage a few weeks ago, and had moved the FFR back in front of the garage door. Yesterday I got it down from the wheel dollies and decided to take it for a ride. Having the car plugged into the battery tender all winter, it fired up immediately and Aimee and I took it for a spin.
The engine ran great, but during the drive I was getting some weird screeching noises when making right turns. We did about a 25 mile loop and it was really bad by the time we got home. I wasn’t sure what it could be — it seemed unlikely to be a wheel bearing, as it was only happening turning one direction, and sounded like it was coming from the rear of the car. The car also seemed squirrely.
Nothing New to Report
As anyone who has been following this blog knows, the car still isn’t completely done. I drove it all year, and put nearly 1000 miles on it. I’ve garaged it for the winter, which doesn’t mean I definitely won’t drive it again until spring, but won’t very often. It was a great year of drives, and the car ran beautifully (other than the nagging oil leaks).
I have a few winter projects I may, or may not, get to this year. After three and a half years of working on the car there are a lot of other projects that need some attention other than car projects. That said, I need to fabricate the carpet set for the car, and need to deal with either recovering or replacing the seats (and getting the seat heaters in). The car needs a careful alignment again. I’ve debated replacing the manual steering with power steering. The center console’s panel needs to be remade — it worked well for the last year or so, but I can do a better job on it. I have some trim pieces that need to be fabricated, such as the door for the rear panel glove box. I need to get a few parts I missed the first time powdercoated. And I need to find a place to paint the car, probably in the spring. I’ve also debated doing a tilt-nose modification on the body (bonding the hood to the body and cutting the nose so it tilts up in its entirety).
If I get to any of the projects, I’ll be documenting them on here, of course. If not, expect the site to be quiet until the spring.
Um, yeah. About That Coolant Leak
Its fixed.
Cap wasn’t tight.
Don’t ask …
Some Coolant Leak Progress
I don’t have a lot to report, but thanks to a good suggestion on ffcars.com, I have made some progress in tracking down the cause of the leaking problem. They say the obvious thing to try is often the easiest to overlook.
Basically, I just rigged up something to seal over the opening of the recovery tank, and with just lung pressure blew air into the tank to force fluid through the coolant line and into the degas tank’s flange. It didn’t take much effort to get coolant spilling out again. A human can blow around 2psi, and I wasn’t blowing all that hard so odds are it was only a single psi of pressure in the coolant that was enough to cause a leak. If the smaller diameter hose running into the overflow tank caused even 1-2psi over the pressure when the valve opens, it would leak (and clearly is).
This doesn’t answer, yet, what is wrong with the de-gas tank, or what I can do to fix it, but its a pretty good bit of progress. The odds are much lower now that its steam in the system, or a head gasket leak, or other much more costly problems. I ordered a micrometer from Amazon yesterday, and will be able to get accurate measurements of the dimensions of the flange — I’m guessing I’m going to discover the thickness of the part the cap holds onto is off by a couple hundredths of an inch — enough to seal when it expands with heat, but off enough to leak until then.
I’ll post more tomorrow.
Replacing the Windshield (again)
Well, July finally drew to a close and ended a month that consisted pretty much of travel and illness. I was home a whopping nine days out of the whole month and was sick as a dog for five of those. Needless to say, I didn’t do much on the car. In fact, I didn’t even fire it up for the entire month.
While I was on one of my business trips last month, the Lexan windshield I ordered finally showed up. It took a while to find some time to deal with it, but I finally was able to replace the (second) broken glass windshield today. I also spent time this week working on the coolant leak problem.
Yes, I’m Still Alive
I know its been a month and a half since I updated anything on here, so I wanted to give a real quick update as to what’s been going on. For the most part, this month has been a total write-off. Not just car-wise, but in general. My job has changed to some extent, and between a vacation and work travel, I’ve been gone 3 out of 4 weeks this month on travel. I spent this last week sick. It’s been a long month … I had debated trying to find a shop this month to get it painted, knowing I wouldn’t be driving it, but that plan just didn’t come together.


